Dusty Rose Peplum Baby Outfit Free Crochet Pattern
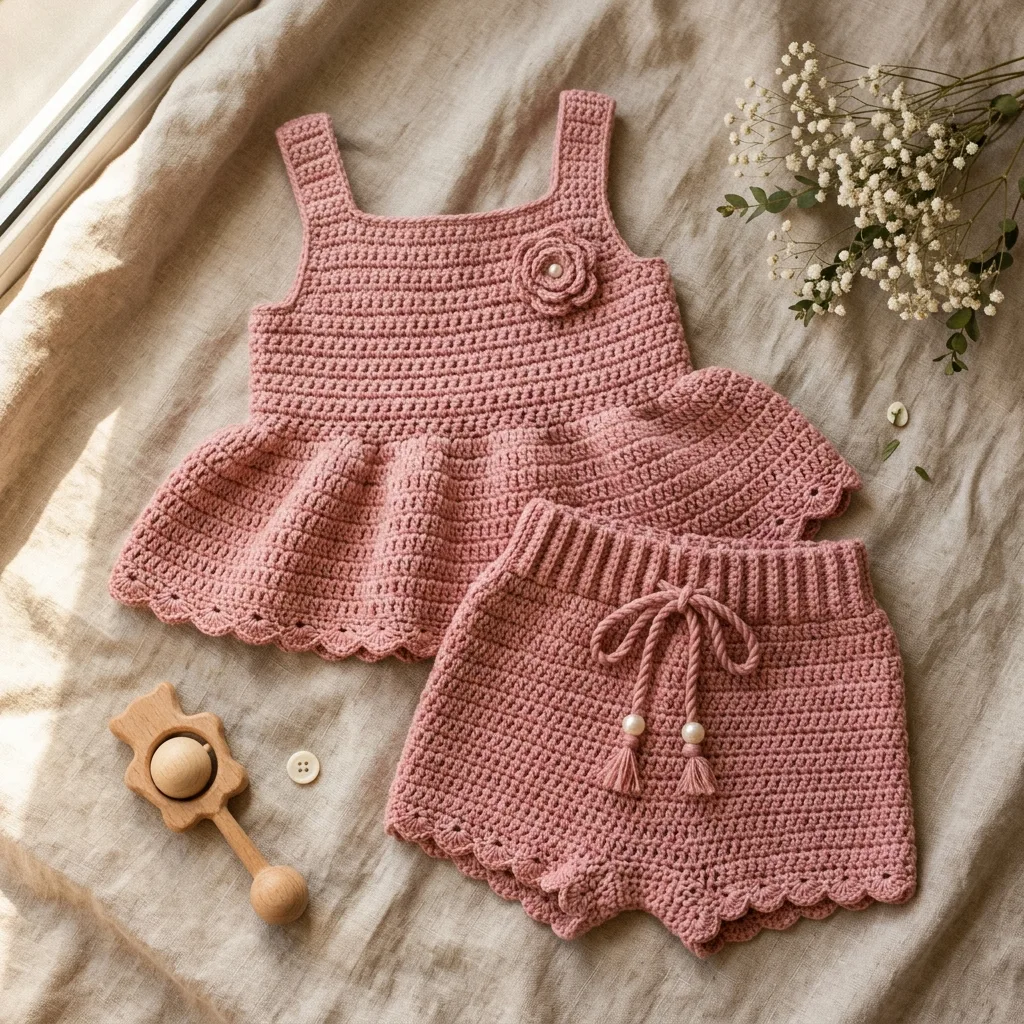
I’ve been looking for the perfect baby outfit pattern for ages, and this one stopped me in my tracks. The combination of that flared peplum, the ribbed bloomers, and those delicate scallop edges hits every mark on my list. This is my favourite kind of project: a coordinated set that looks boutique-worthy but works up with straightforward stitches.
If you’ve got a baby shower coming up or you just want to make something truly special, this dusty rose set delivers. The construction is smarter than it looks. You’re working flat panels for the bodice, joining them together, then picking up stitches to create that gorgeous flared skirt section. The bloomers start with a stretchy ribbed waistband and flow into an easy body worked in the round.
Let me walk you through everything you need to create this beautiful two-piece outfit from start to finish.
What You’re Making
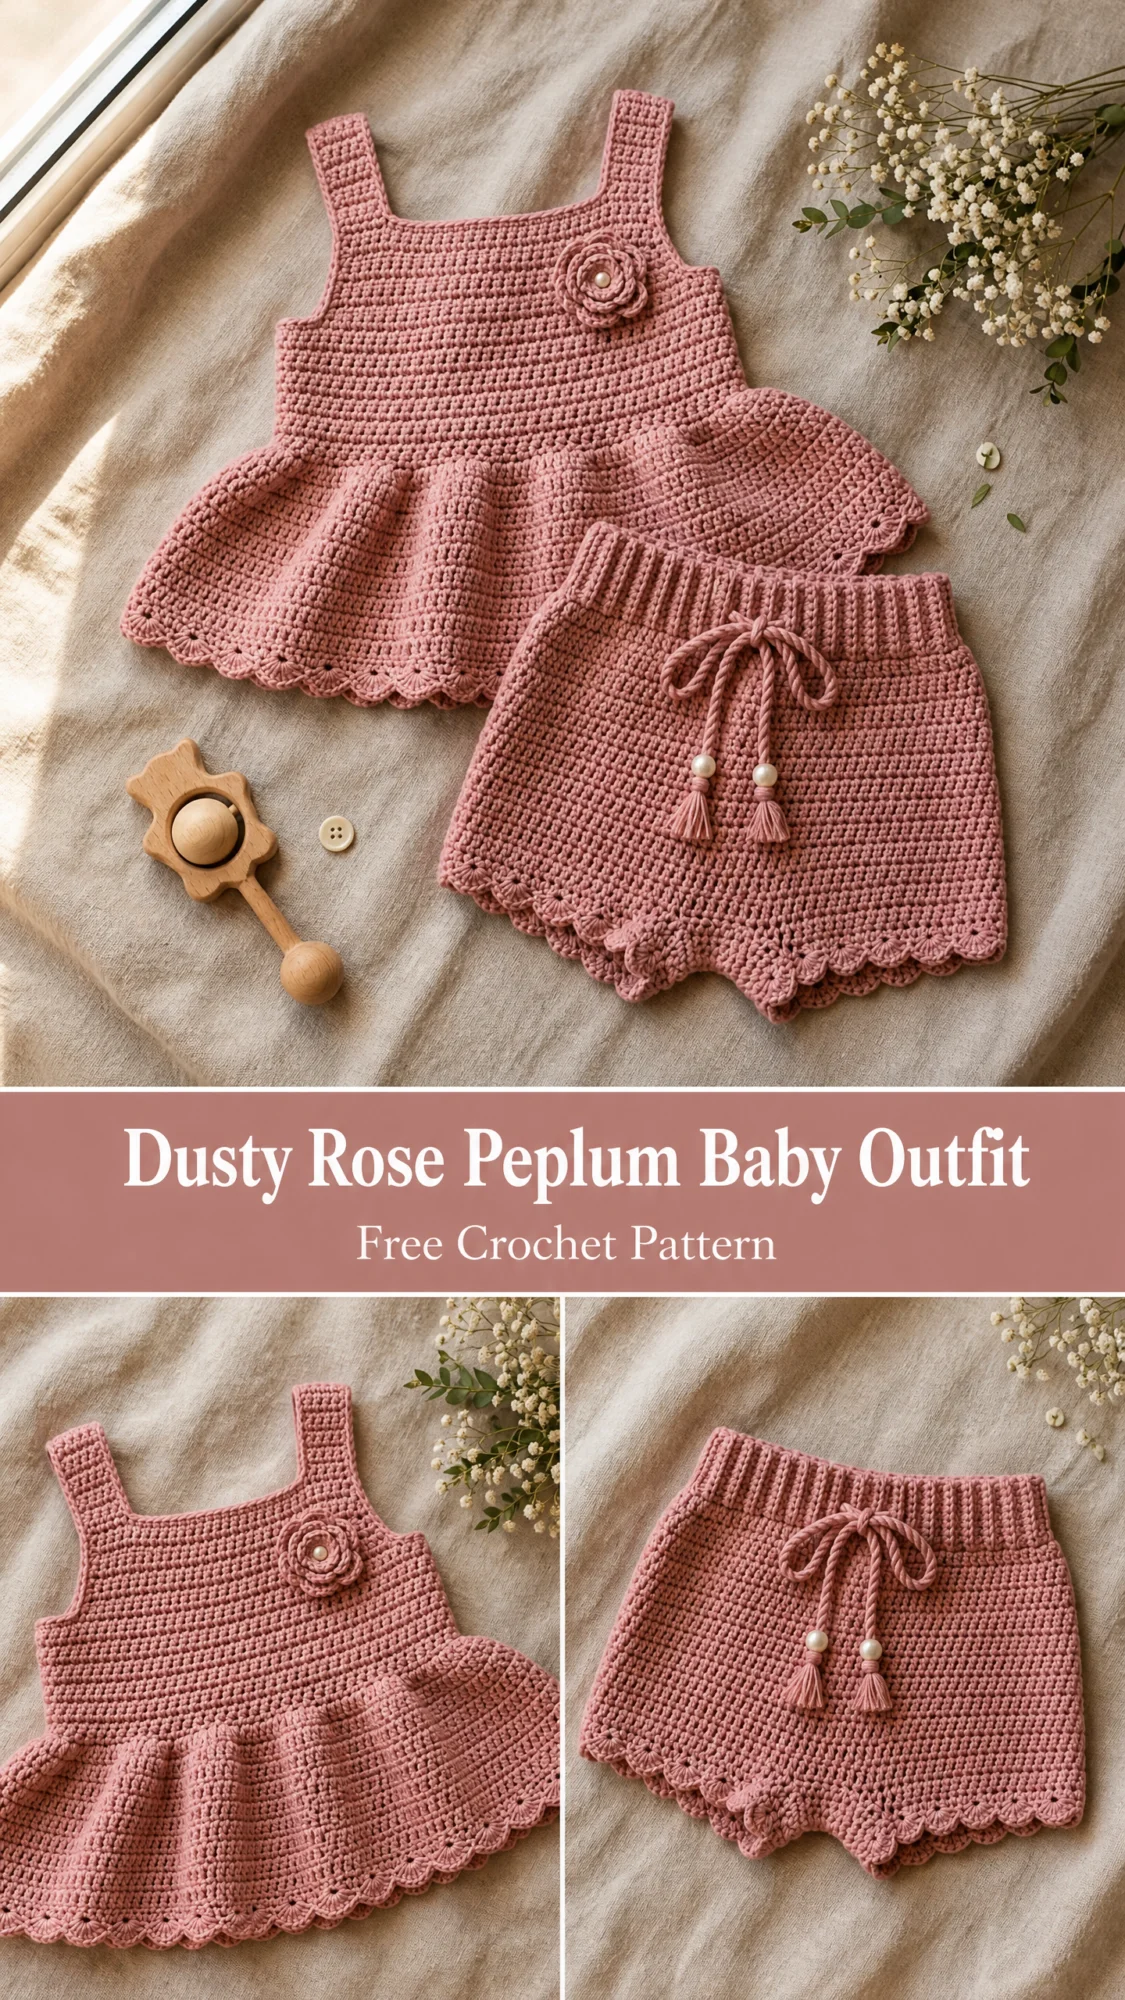
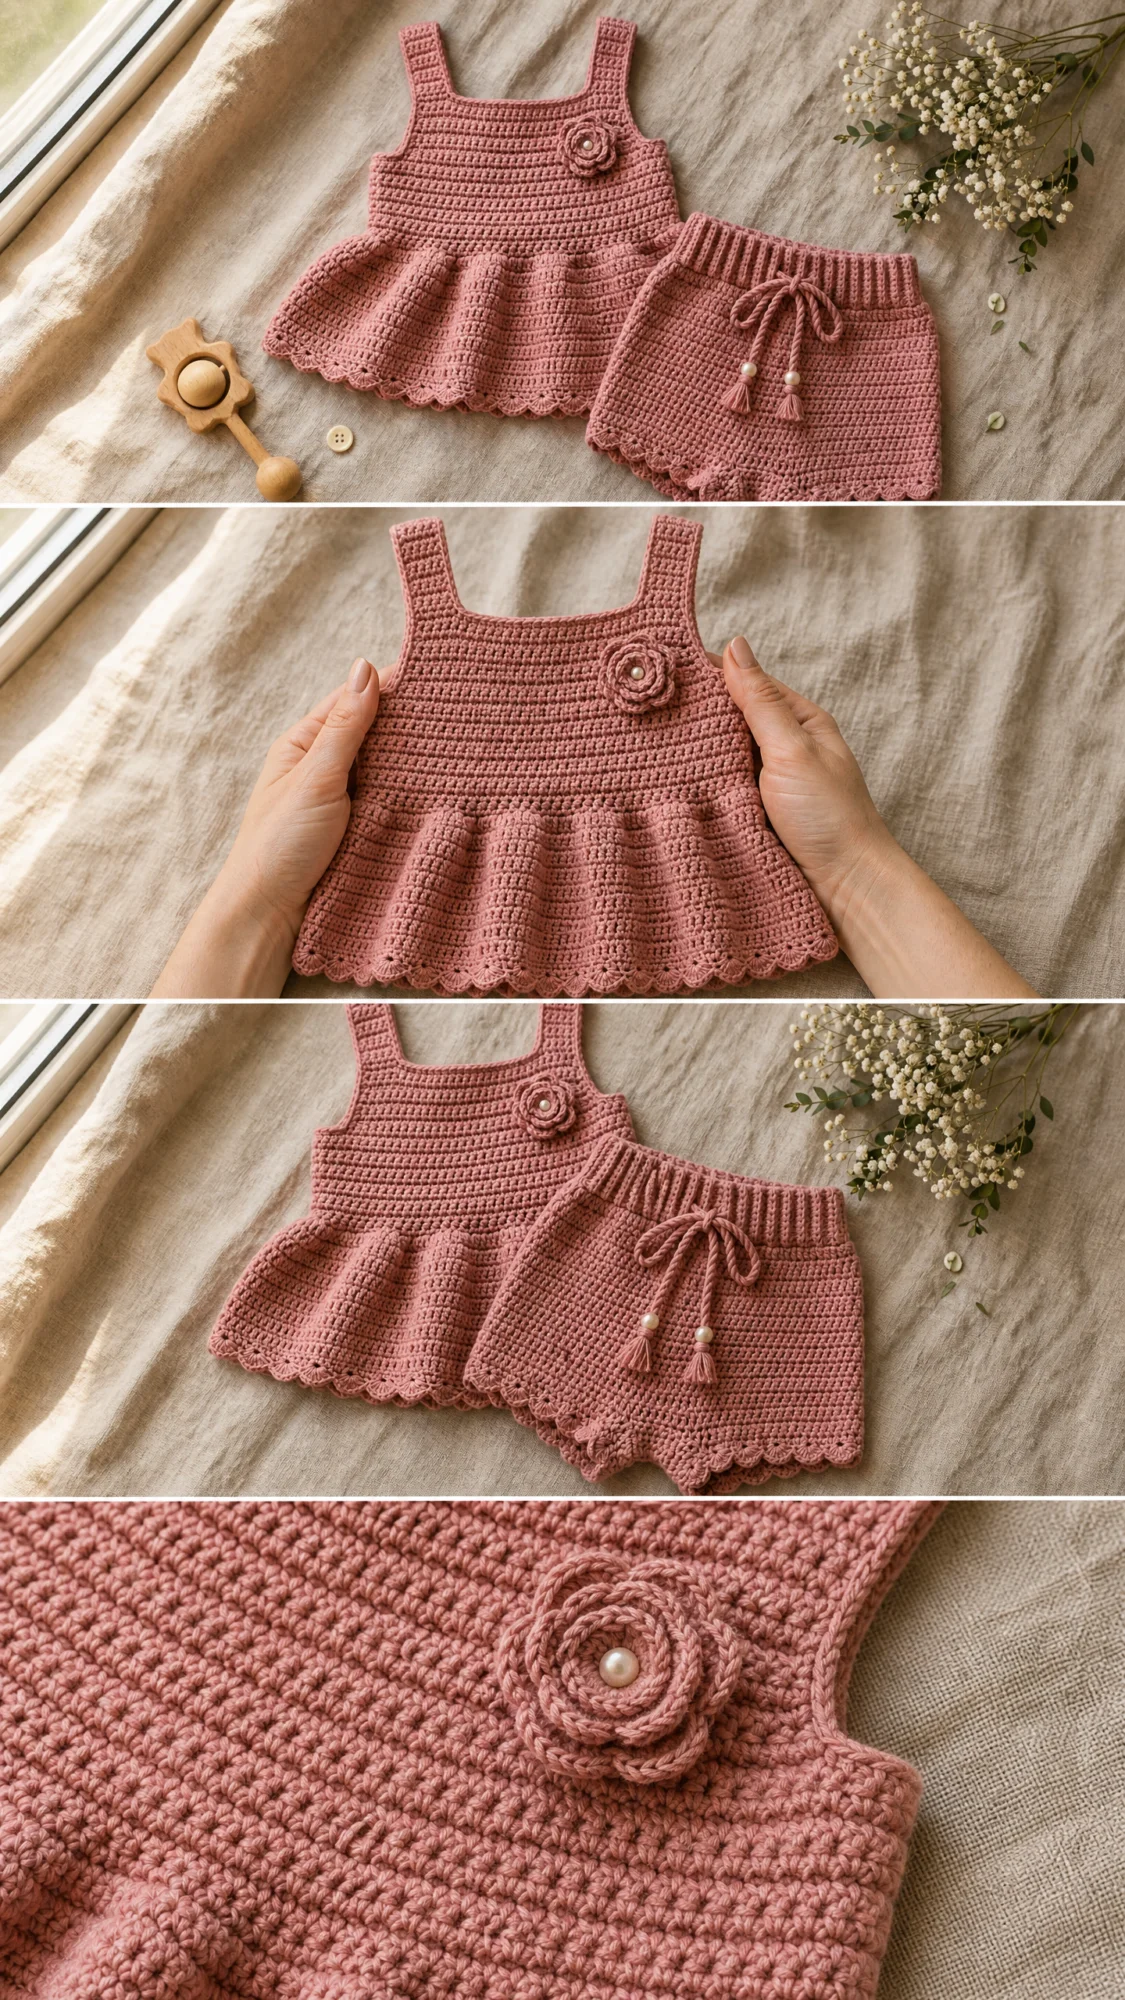
This pattern creates a coordinated peplum tank top and matching bloomers sized for babies 6 to 12 months old. The tank features a structured bodice with wide shoulder straps framing a square neckline, plus a flared peplum skirt that adds movement and charm. A crocheted flower with a pearl center sits on the upper left bodice for that extra touch of sweetness.
The bloomers have a stretchy ribbed waistband that stays put without pinching, a simple body worked in half double crochet (hdc), and matching scallop trim at each leg opening. A braided drawstring with pearl beads and tiny tassels threads through the waist for both function and style.
Finished Measurements:
Materials You’ll Need
Yarn: Approximately 300 to 350 yards / 274 to 320 meters of DK weight (CYCA 3) cotton or cotton-blend yarn in dusty rose
Hook: US size E-4 / 3.5 mm crochet hook
Notions:
Yarn Suggestions:
Paintbox Yarns Cotton DK (100% cotton) in Dusty Rose works beautifully here. Pure cotton gives you that crisp stitch definition you see in the photos and holds the scallop edging perfectly after blocking.
Lion Brand 24/7 Cotton (100% mercerized cotton) in Rose is another excellent choice. It drapes nicely and is hypoallergenic for sensitive baby skin.
Paintbox Yarns Simply DK (100% acrylic) in Dusty Rose or Blush Pink offers a budget-friendly option that washes well.
Any DK weight yarn that matches gauge will work. Stick with cotton or cotton blends for the best stitch clarity. Avoid fuzzy yarns since they’ll hide your beautiful stitch work.
Gauge (Don’t Skip This!)
18 hdc x 12 rows = 4 inches / 10 cm, worked flat with US E-4 / 3.5 mm hook, after blocking.
Gauge matters so much for baby garments. Even one stitch per inch off will change the fit significantly. Make a swatch, block it, measure it, and adjust your hook size if needed. Go up a hook size if your swatch is too small, down if it’s too big.
Abbreviations and Stitch Definitions
Let me break down every stitch you’ll use in this pattern:
Special Stitches Explained
Scallop Stitch
This creates those pretty shell-shaped edges. It works over multiples of 3 stitches.
1. Slip stitch into the first stitch
2. Chain 3
3. Work 2 double crochet into the same stitch (this makes a 3-dc shell)
4. Skip 1 stitch
5. Slip stitch into the next stitch
6. Repeat steps 3 through 5 across
Each scallop uses 3 stitches total.
Crocheted Flower
Round 1: Magic ring, chain 1, work 6 sc into ring, join with sl st to first sc. (6 sc)
Round 2: Chain 1. Work 2 sc into each sc around. Join with sl st. (12 sc)
Round 3: (Ch 3, 2 dc in same st, ch 3, sl st in next st) 6 times. (6 petals formed)
Fasten off, leaving a 12-inch / 30 cm tail for sewing. Attach your pearl button to the center.
Ribbed Waistband
All stitches are worked in back loops only throughout the waistband. This creates that stretchy, ridged texture you see in the photos. Each row: Ch 1 (does not count as a stitch), turn, hdc in BLO across.
Pattern Instructions
PEPLUM TANK TOP
Bodice Panel (Make 2)
You’ll make two identical panels. One becomes the front, one becomes the back.
Foundation Chain: Ch 40.
Row 1 (WS): Hdc in 3rd ch from hook (t-ch counts as 1 hdc), hdc in each ch across. Turn. (39 hdc)
Rows 2 through 12: Ch 2 (counts as hdc), hdc in each st across. Turn. (39 hdc)
You now have a bodice piece approximately 4 inches / 10 cm tall.
Armhole Shaping
Row 13 (begin armhole): Ch 2, hdc in next 12 sts, turn. Leave remaining stitches unworked. (13 hdc)
This starts your right strap section.
Rows 14 through 20: Ch 2, hdc in each st across. Turn. (13 hdc)
Fasten off this strap section.
Return to Row 12. Count 13 stitches in from the left edge and rejoin yarn.
Row 13 (left strap, RS): Ch 2, hdc in next 12 sts. Turn. (13 hdc)
Rows 14 through 20: Ch 2, hdc in each st across. Turn. (13 hdc)
Fasten off.
The center gap of 13 stitches creates your neckline opening. Each strap is 13 stitches wide. Total: 13 + 13 + 13 = 39 stitches.
Checkpoint: Each finished bodice panel should measure approximately 7 inches / 18 cm tall and 8.5 inches / 21.5 cm wide.
Assembling the Bodice
Place both panels with right sides together. Using your yarn needle and matching yarn, seam the side edges with whipstitch or mattress stitch. Leave the top 3 inches / 7.5 cm of each side open for armholes.
Align the shoulder straps and seam the top edges together (13 stitches to 13 stitches on each strap).
Turn right side out. You now have a square neckline, two wide shoulder straps, armhole openings on each side, and an open lower edge ready for the peplum.
Peplum
Join yarn to any stitch at the lower edge of the assembled bodice.
Setup Round: Ch 2. Work 1 hdc into each stitch around the entire lower edge. Join with sl st to top of ch-2. (78 hdc)
Round 1 (increase round, worked in FLO): Ch 2. Working in FLO only, work 2 hdc into each stitch around. Join with sl st. (156 hdc)
Working in front loops only creates that natural fold line where the bodice meets the peplum. This is what gives the skirt its flared drape.
Rounds 2 through 7: Ch 2. Hdc in each st around. Join with sl st. (156 hdc)
Do not fasten off.
Scallop Edging for Peplum Hem
156 stitches divided by 3 = 52 scallop repeats. The math works perfectly.
Edging Round: Sl st into first st. (Ch 3, 2 dc into same st, sk 1 st, sl st into next st) 52 times, working last sl st into beginning sl st. Fasten off and weave in end.
Neckline and Armhole Edging
Neckline Round: With RS facing, join yarn to the neckline edge. Ch 1, work sc evenly around the entire neckline opening. Join with sl st to first sc. Fasten off.
Armhole Edge (work each separately): Join yarn at underarm seam. Ch 1, sc evenly around the armhole opening. Join with sl st. Fasten off.
Attach the Flower
Sew the flower to the upper left front bodice, centering it approximately 1 inch below the left shoulder strap and 1 inch in from the neckline edge. Secure the pearl button through all layers.
BLOOMERS
Ribbed Waistband
Foundation Chain: Ch 11.
Row 1: Hdc in 3rd ch from hook (t-ch counts as hdc), hdc in each ch across. Turn. (10 hdc)
Row 2: Ch 2, hdc in BLO across. Turn. (10 hdc)
Row 3: Ch 2, hdc in BLO across. Turn. (10 hdc)
Continue in BLO ribbing until the strip measures 14 inches / 35.5 cm long (approximately 42 rows).
Do not fasten off. Join the short ends by holding them with right sides together and working sl sts through both layers.
Checkpoint: The waistband ring should measure 14 inches / 35.5 cm in circumference unstretched and approximately 1.75 inches / 4.5 cm in height.
Bloomer Body Setup
With RS facing, join yarn to the lower long edge of the waistband ring. Work 1 sc into each row end around (42 sc). Join with sl st.
Body Round 1 (increase): Ch 2. (Hdc in next st, 2 hdc in next st) 21 times. Join with sl st. (63 hdc)
Body Rounds 2 through 10: Ch 2. Hdc in each st around. Join with sl st. (63 hdc)
Crotch Division
Mark stitch 1 and stitch 32 to divide your 63 stitches into two sections.
Front Leg Section:
Rows 1 through 3: Working on stitches 1 through 32, ch 2, hdc in each st across. Turn. (32 hdc)
Fasten off.
Back Leg Section:
Rejoin yarn to stitch 33.
Rows 1 through 3: Ch 2, hdc in each of the 31 sts across. Turn. (31 hdc)
Fasten off.
Inseam
Fold the bloomers so front and back align at the crotch with right sides together. Seam the crotch and inner leg edges using mattress stitch.
Leg Edging (Work Each Leg Separately)
Join yarn at the inseam of one leg opening.
Setup Round: Ch 1. Work sc evenly around the leg opening to create approximately 30 sc. Join with sl st. (30 sc)
Scallop Leg Edging Round: Sl st into first st. (Ch 3, 2 dc into same st, sk 1 st, sl st into next st) 10 times. Join with sl st. Fasten off.
Repeat for the second leg.
Drawstring
Cut yarn approximately 36 inches / 91 cm long. Weave it through stitches at the top of the bloomer body, in and out every 2 stitches. Pull both ends to the front center.
Thread one 8 mm pearl bead onto each end. Tie an overhand knot below each bead.
Create small tassels by folding 3-inch yarn lengths in half and tying them at each drawstring end below the beads. Trim to approximately 1 inch.
Finishing Your Outfit
Weave in all yarn ends. Wet block both pieces by submerging in cool water for 10 minutes, gently squeezing out excess water (no wringing!), and laying flat to dry. Shape the peplum and scallop edges while damp so they dry crisp and defined.
Size Customization Tips
For 0 to 3 months: Reduce the foundation chain to 34 stitches (33 working hdc). Reduce the waistband to 12 inches / 30.5 cm (approximately 36 rows). Work only 8 body rounds before the crotch division.
For 12 to 18 months: Increase the foundation chain to 46 stitches (45 working hdc). Increase the waistband to 16 inches / 40.5 cm (approximately 48 rows). Add 2 to 3 extra body rounds before the crotch division.
Always make sure your scallop repeats stay divisible by 3.
Care Instructions
Machine wash on delicate in cold water using a mesh laundry bag. Lay flat to dry. Do not tumble dry or iron directly. Store folded to preserve the ribbed waistband shape.
You’ve Got This
This outfit looks impressive, but you’re really just working half double crochet in rows and rounds with some clever shaping. The scallop edges add polish without adding difficulty. Take it one section at a time, and before you know it, you’ll have a gorgeous handmade gift.
I hope you love making this dusty rose baby set as much as I enjoyed putting this tutorial together. Thank you so much for choosing this pattern for your next project!
If you make this outfit, I would absolutely love to see it. Tag me on Instagram or share a photo in my Facebook group. Seeing your finished projects is honestly the best part of my day.
Save this pattern to your Pinterest boards so you can find it when you’re ready to start stitching. And if you make this sweet little outfit, please drop a comment below. I love hearing which yarn colors you choose and seeing how your projects turn out!
You Might Also Like
- Sage Green Textured Clutch Bag Free Crochet Pattern
- Octopus Depths Crochet Carryall Free Pattern
- Sage Green Boho Crochet Backpack Free Pattern
- Pink Valentine Highland Cow Amigurumi Free Crochet Pattern