Sage Green Boho Crochet Summer Dress Free Pattern
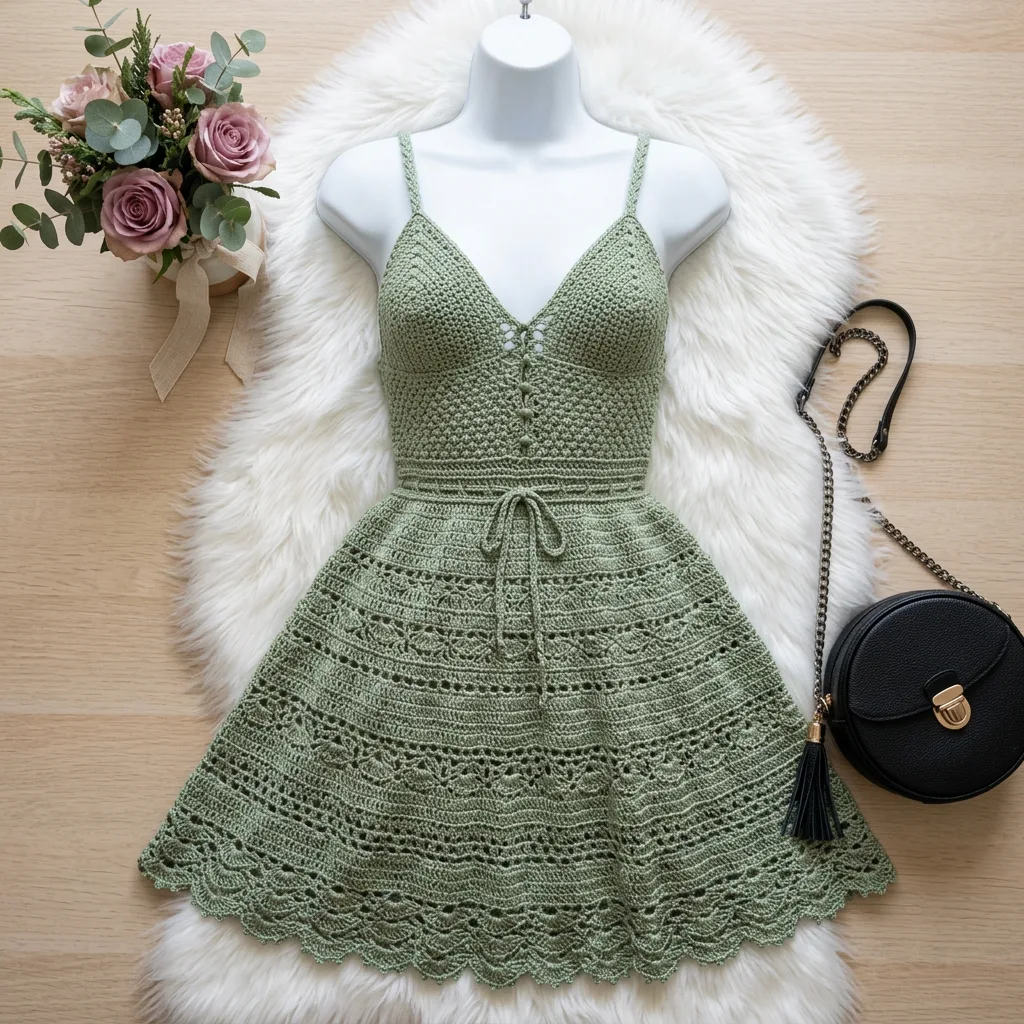
Last summer, I found myself standing in front of my closet with that familiar frustration. You know the feeling. Dozens of dresses, and not a single one that felt like me. I wanted something romantic but not fussy. Bohemian but polished enough for dinner. Handmade but definitely not homemade-looking.
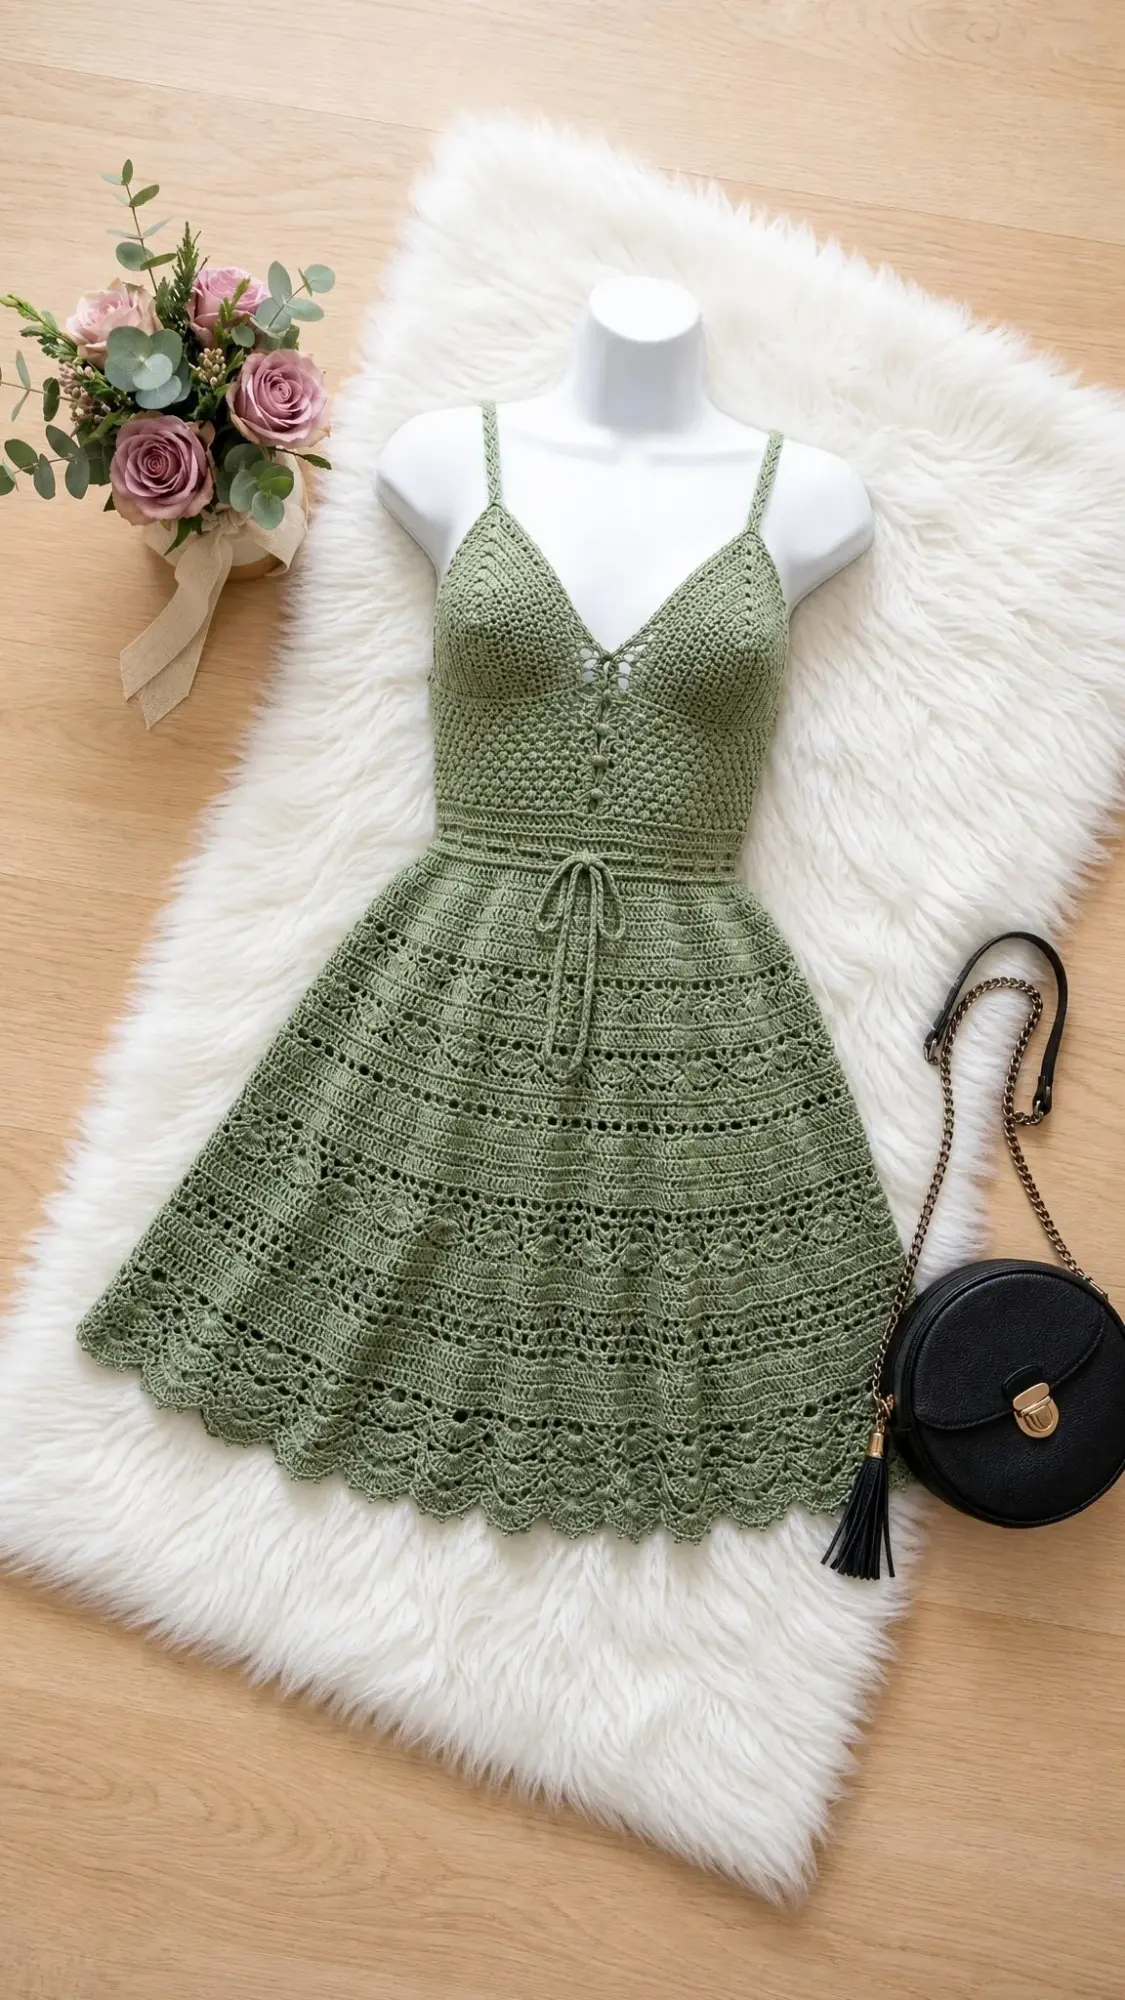
So I did what any yarn-obsessed crafter would do. I grabbed my hooks and got to work.
This sage green boho summer dress became my passion project for nearly two months. Every stitch taught me something new, and now I get to share the whole journey with you. Fair warning: this is not a weekend project. But if you have ever dreamed of making your own crocheted dress, one that actually fits beautifully and looks like it belongs in a boutique window, this is your pattern.
Why This Crochet Summer Dress Pattern Works
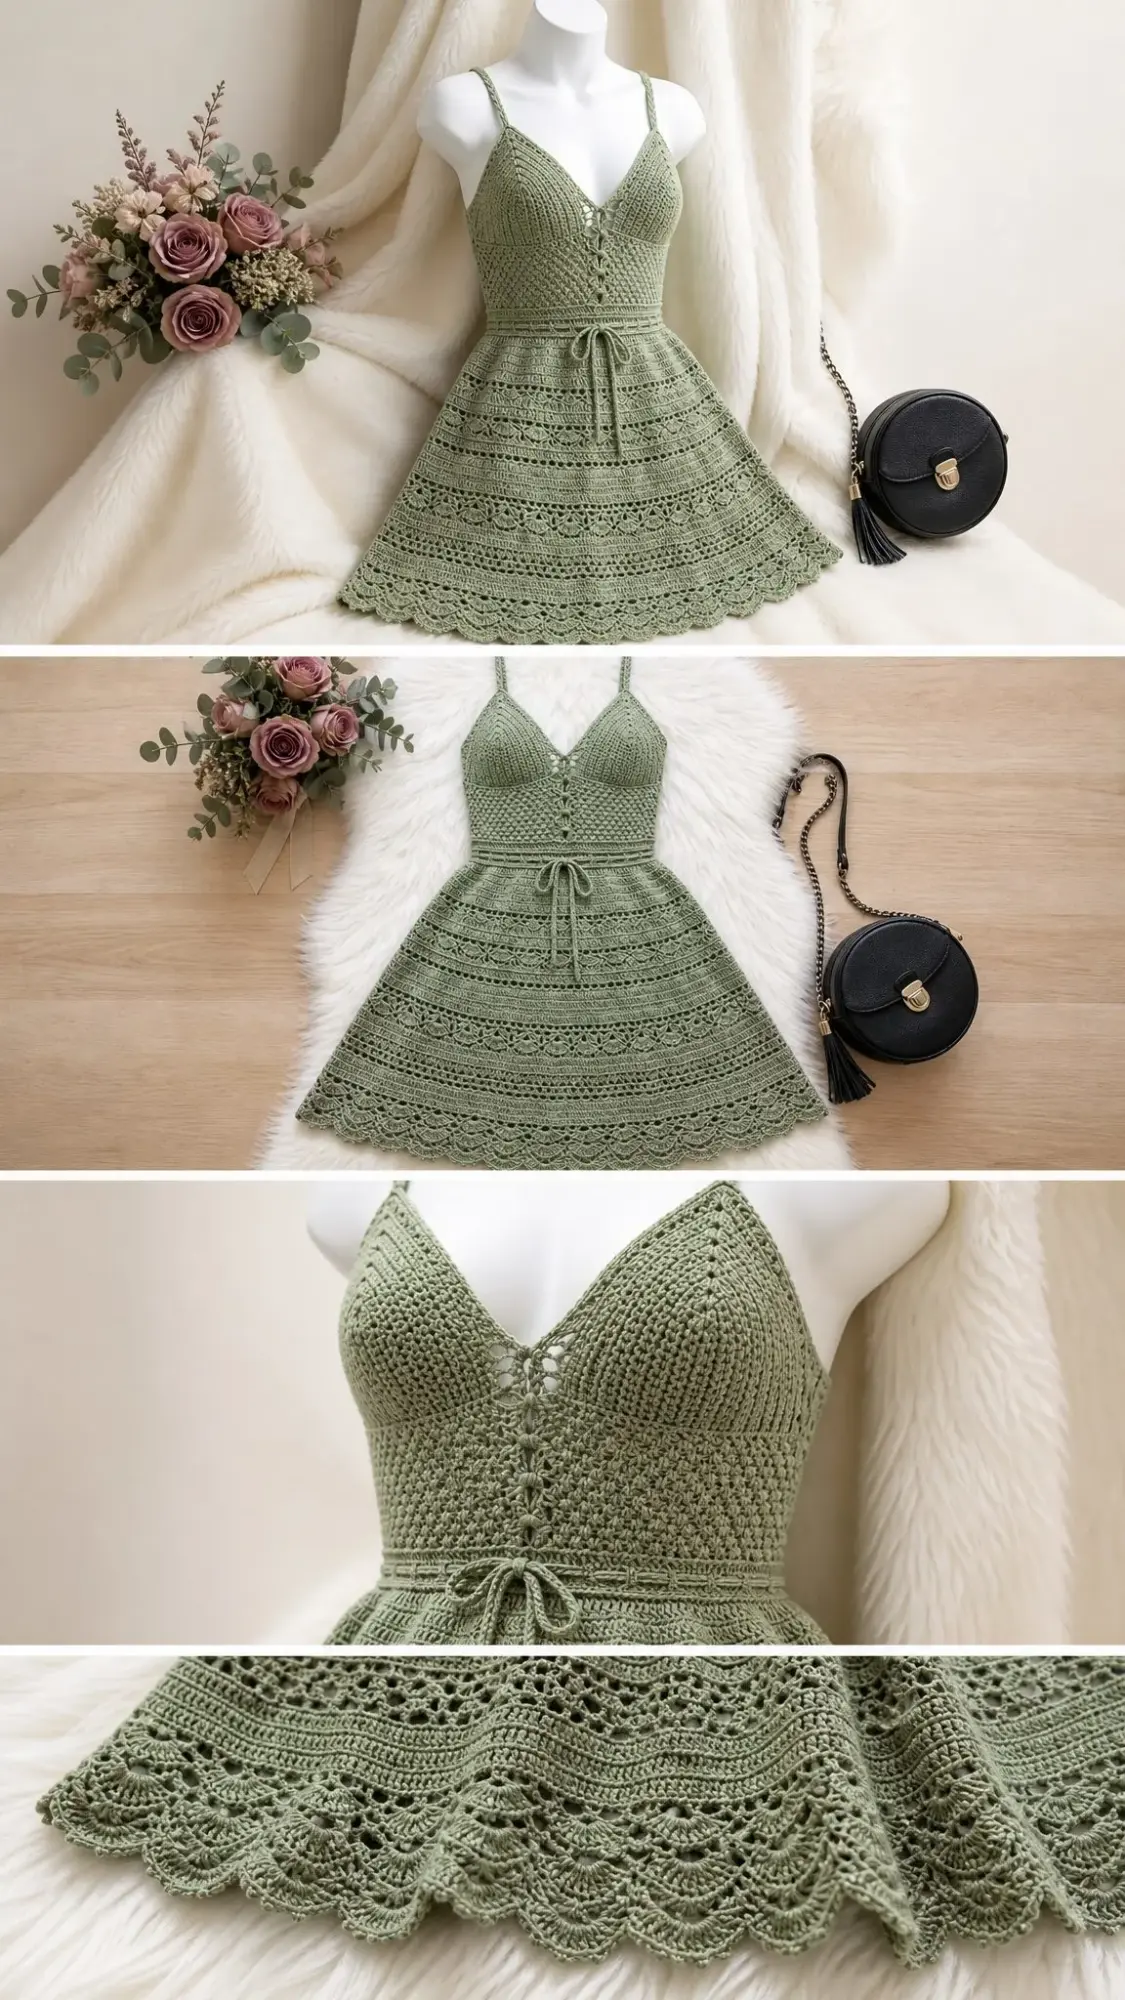
Let me tell you what makes this dress special. The construction is completely seamless. You work the entire garment in the round, which means minimal finishing and no bulky seams pressing against your skin on hot days.
The bodice uses a dense half double crochet (hdc) texture that provides genuine support and structure. No need for a separate lining unless you prefer one. The fabric is thick enough to feel secure but breathable enough for summer.
Then comes the skirt, and this is where the magic happens. Four distinct stitch pattern bands graduate from dense to lacy as they flow toward the hem. The effect is flattering on every body type because it draws the eye downward while the fitted waist cinches everything in just right.
The scalloped shell lace edging at the hem gives the dress that romantic bohemian finish. It catches the breeze when you walk. Trust me on this one.
Skill Level and Time Commitment
I will be honest with you. This is an intermediate to advanced crochet pattern. You should feel comfortable working in the round, reading stitch repeats across multiple pattern bands, and maintaining consistent gauge over a long project.
If you have completed at least two garments before, you will find this manageable. If this is your first garment, I would suggest starting with a simpler top to build your confidence first.
Time estimate: Approximately 30 to 45 hours total. The bodice takes roughly 10 to 12 hours. Each skirt band takes about 4 to 6 hours. Finishing and blocking add another 2 to 3 hours. This is a labor of love, not a last-minute gift project.
Finished Measurements
This pattern is written for a size Small/Medium (US size 4 to 8) with the following finished dimensions:
Size customization tips are included at the end of the instructions.
Materials You Will Need
Yarn
You will need approximately 1,200 yards / 1,097 meters of DK weight yarn (CYCA 3 Light). I strongly recommend 100% cotton or a cotton-bamboo blend for the best drape and stitch definition.
Recommended yarn options:
1. Lion Brand 24/7 Cotton in Sage (100% mercerized cotton, 186 yards per 3.5 oz skein). This gives exceptional stitch definition and holds its shape beautifully after blocking. You will need approximately 7 skeins.
2. Paintbox Yarns Cotton DK in Grass Green or Spearmint (100% cotton, 273 yards per 3.5 oz skein). More yardage per skein means fewer ends to weave. You will need approximately 5 skeins.
3. Scheepjes Cahlista (100% natural cotton, 85 yards per 1.75 oz skein). Excellent for the lace bands due to its smooth twist. You will need approximately 15 small skeins.
Substitution note: Any DK weight smooth cotton or cotton-blend yarn with good stitch definition will work. Avoid fuzzy, textured, or acrylic yarns. The lace bands require clear stitch visibility. Always swatch before beginning.
Hooks
Notions
Gauge (Please Do Not Skip This)
Bodice gauge (E-4 / 3.5 mm hook, half double crochet in the round):
18 hdc x 14 rounds = 4 inches / 10 cm square
Skirt gauge (F-5 / 3.75 mm hook, single crochet in the round):
17 sc x 18 rounds = 4 inches / 10 cm square
Lace band gauge (F-5 / 3.75 mm hook, shell stitch pattern):
One full shell repeat (6 sts) = approximately 1.4 inches / 3.6 cm wide
Gauge is critical for a wearable fit. Take the time to swatch both gauges. Block your swatch before measuring. If your gauge is off, adjust your hook size before adjusting the stitch count.
Abbreviations and Stitch Definitions
Let me walk you through every stitch and abbreviation you will encounter. I am defining them all upfront so you can refer back whenever needed.
Basic Abbreviations:
Special Stitches for This Crochet Dress Pattern
These special stitches create the beautiful texture throughout the dress. Practice each one before you begin if they are new to you.
Shell Stitch (used in skirt Band 2 and Band 4)
Work 5 double crochet (dc) stitches all into the same stitch or chain space. This creates one shell unit that fans out beautifully.
V-Stitch (V-st) (used in skirt Band 3)
Work (1 dc, ch 2, 1 dc) all into the same stitch or chain space. The chain in the middle creates the “V” shape.
Picot (used in hem edging)
Chain 3, then slip stitch into the first chain made (the one closest to the hook). This creates a small decorative loop that adds delicate detail.
Scallop Shell Hem Unit (used in hem edging)
Work (sc, hdc, 3 dc, hdc, sc) all into the same stitch or chain space. This creates the beautiful scalloped edge at the bottom of the dress.
Crossed Half Double Crochet (crossed-hdc) (used in strap braid texture)
Skip the next stitch, hdc into the following stitch, then hdc into the skipped stitch working behind the previous hdc. Both hdc stitches share the same horizontal level. This creates that lovely braided texture on the straps.
FLO sc Ribbing (used in waist band and waist tie border)
Insert your hook into the front loop only of the indicated stitch and work single crochet as usual. This creates a flexible ribbed texture that hugs the waist comfortably.
Important Pattern Notes Before You Begin
Read through these notes carefully. They will save you confusion and frogging later.
1. The dress is worked in the round throughout except for the two straps, which are worked flat.
2. Use a locking stitch marker to mark the beginning of each round. Move it up as you work.
3. Turning chains do NOT count as a stitch in this pattern unless specifically stated.
4. When working in the round, join each round with a slip stitch to the first stitch of that round (not the turning chain), unless the instructions state otherwise.
5. The bodice is worked from the top edge down. The straps are attached after completing the bodice, or you can trap them in place while working.
6. The waist eyelet round creates the channel through which the tie is threaded. Work this round carefully and do not skip any eyelets.
7. The dress photographed uses a yarn with very slight heathering or tonal variation within the sage colorway, which adds depth to the lace bands. A solid sage green will also produce a beautiful result.
8. For a cleaner join at the beginning of rounds in lace sections, consider using the invisible join technique or beginning each round with a standing stitch.
9. The skirt bands are worked in order from Band 1 (dense, closest to waist) through Band 4 (most open lace, at hem). The circumference increases gradually through strategic increases placed at the start of each new band.
10. Block the finished dress before wearing. Cotton responds extremely well to wet blocking and the lace will open up beautifully.
Step by Step Crochet Dress Instructions
Section 1: Straps (Make 2)
Use your E-4 / 3.5 mm hook.
Each strap is a flat band worked in crossed-hdc rows. It measures approximately 14 inches / 35.5 cm before attachment. You can adjust the length with optional D-ring sliders or by working more or fewer rows.
Foundation chain for strap: Ch 9.
Row 1 (RS): Hdc into 3rd ch from hook and in each ch across. (7 hdc)
Row 2: Ch 2, turn. Skip first st. Hdc into 2nd st, hdc into skipped st. Rep from beginning of row, working each crossed-hdc pair across, end hdc in last st. (7 sts)
Repeat Row 2 until strap measures 14 inches / 35.5 cm.
Final row: Ch 1, turn. Sc across all 7 sts. Fasten off, leaving a 12-inch / 30.5 cm sewing tail.
Make second strap identically. Set both aside.
Section 2: Bodice
Use your E-4 / 3.5 mm hook.
Sub-section 2A: Left Cup Foundation
Ch 40. Sl st to first ch to form a ring without twisting. (40 ch ring)
Round 1: Ch 1, sc in each ch around. Join with sl st to first sc. (40 sc)
Note: You can lay one strap end across the top of the ring and work the next round over the strap tail to trap it, or sew the strap in place after completing the bodice.
Round 2: Ch 1, sc in each st around. Join. (40 sc)
Round 3 (cup shaping): Ch 1, sc in first 9 sts, 2 sc in next st, sc in next 20 sts, 2 sc in next st, sc in last 9 sts. Join. (42 sc)
Round 4: Ch 1, hdc in each st around. Join. (42 hdc)
Round 5: Ch 1, hdc in first 10, 2 hdc in next, hdc in 20, 2 hdc in next, hdc in last 9. Join. (44 hdc)
Round 6: Ch 1, hdc in each st around. Join. (44 hdc)
Round 7: Ch 1, hdc in first 11, 2 hdc in next, hdc in 20, 2 hdc in next, hdc in last 10. Join. (46 hdc)
Round 8: Ch 1, hdc in each st around. Join. (46 hdc)
Fasten off, leaving a long tail. Mark last stitch with locking marker.
Sub-section 2B: Right Cup
Work Rounds 1 through 8 exactly as left cup. Do NOT fasten off at end of Round 8. (46 hdc)
Sub-section 2C: Joining Round
With right cup still on hook (Round 8 complete, 46 hdc):
Ch 12 (this bridges the V-neck center front opening).
Sl st into marked last stitch of left cup.
Work across left cup: hdc in each of 46 sts of left cup.
Ch 12 (this bridges center back).
Work across right cup: hdc in each of 46 sts of right cup.
Work across front bridge ch: hdc in each of 12 ch.
Work across back bridge ch: hdc in each of 12 ch.
Join with sl st to first hdc of round. Place marker. (46 + 12 + 46 + 12 = 116 hdc)
Note: This gives a full circumference of 116 sts. The dense hdc fabric stretches to fit your body comfortably.
Round 10: Ch 1, hdc in each st around. Join. (116 hdc)
Round 11: Ch 1, hdc in each st around. Join. (116 hdc)
Round 12 (begin waist shaping, decrease): Ch 1, hdc in first 27, hdc2tog, hdc in next 58, hdc2tog, hdc in last 27. Join. (114 hdc)
Round 13: Ch 1, hdc in each st around. Join. (114 hdc)
Round 14: Ch 1, hdc in first 26, hdc2tog, hdc in next 58, hdc2tog, hdc in last 26. Join. (112 hdc)
Round 15: Ch 1, hdc in each st around. Join. (112 hdc)
Round 16: Ch 1, hdc in first 25, hdc2tog, hdc in next 58, hdc2tog, hdc in last 25. Join. (110 hdc)
Round 17: Ch 1, hdc in each st around. Join. (110 hdc)
Round 18: Ch 1, hdc in first 25, hdc2tog, hdc in next 56, hdc2tog, hdc in last 25. Join. (108 hdc)
Round 19: Ch 1, hdc in each st around. Join. (108 hdc)
Round 20: Ch 1, hdc in first 24, hdc2tog, hdc in next 56, hdc2tog, hdc in last 24. Join. (106 hdc)
Round 21: Ch 1, hdc in each st around. Join. (106 hdc)
Round 22: Ch 1, hdc in first 23, hdc2tog, hdc in next 56, hdc2tog, hdc in last 23. Join. (104 hdc)
Round 23: Ch 1, hdc in each st around. Join. (104 hdc)
Round 24: Ch 1, hdc in first 22, hdc2tog, hdc in next 56, hdc2tog, hdc in last 22. Join. (102 hdc)
Round 25: Ch 1, hdc in each st around. Join. (102 hdc)
Round 26: Ch 1, hdc in first 21, hdc2tog, hdc in next 56, hdc2tog, hdc in last 21. Join. (100 hdc)
Round 27: Ch 1, hdc in each st around. Join. (100 hdc)
CHECKPOINT: After completing Round 27, the bodice should measure approximately 9 inches / 23 cm from the top of the cups. The waist opening should stretch comfortably around a 28 inch / 71 cm form. If your piece is shorter or longer, check your gauge and adjust hook size as needed before proceeding.
Section 3: Waist Band and Eyelet Round
Continue with your E-4 / 3.5 mm hook. Do not join new yarn.
Round 28 (waist band, FLO sc ribbing): Ch 1, sc in FLO of each st around. Join. (100 sc)
Round 29: Ch 1, sc in each st around. Join. (100 sc)
Round 30 (eyelet round for tie): Ch 1, (sc in next 3 sts, ch 2, sk next 2 sts) 20 times. Join with sl st to first sc. (60 sc + 20 ch-2 sps = 100 stitch equivalent)
Round 31: Ch 1, sc in each st and 2 sc in each ch-2 sp around. Join. (100 sc)
Round 32: Ch 1, sc in each st around. Join. (100 sc)
Round 33: Ch 1, sc BLO in each st around. Join. (100 sc)
Note: Rounds 28 and 33 worked in FLO and BLO respectively create a slight ridge that visually defines the waist band. The eyelet channel on Round 30 will hold your tie.
Section 4: Skirt
Switch to your F-5 / 3.75 mm hook. Yarn continues from waist band.
The skirt is worked in four bands. Each band begins with an increase round to widen the circumference.
Skirt Band 1 (Dense Mesh, Rounds 34 through 46)
Round 34 (increase round): Ch 1, (sc in next 4 sts, 2 sc in next st) 20 times. Join. (120 sc)
Rounds 35 through 37: Ch 1, sc in each st around. Join. (120 sc each round)
Round 38 (open mesh row): Ch 1, (sc in next st, ch 1, sk 1) 60 times. Join with sl st to first sc. (60 sc + 60 ch-1 sps)
Round 39: Ch 1, sc in each sc and sc in each ch-1 sp around. Join. (120 sc)
Rounds 40 through 42: Ch 1, sc in each st around. Join. (120 sc each round)
Round 43 (open mesh repeat): Ch 1, (sc in next st, ch 1, sk 1) 60 times. Join. (60 sc + 60 ch-1 sps)
Round 44: Ch 1, sc in each sc and sc in each ch-1 sp around. Join. (120 sc)
Rounds 45 through 46: Ch 1, sc in each st around. Join. (120 sc each round)
CHECKPOINT: After Band 1 (Round 46), the skirt should measure approximately 5 inches / 12.7 cm below the waist band.
Skirt Band 2 (Shell Stitch Band, Rounds 47 through 55)
Round 47 (increase round): Ch 1, (sc in next 4 sts, 2 sc in next st) 24 times. Join. (144 sc)
Round 48 (begin shell pattern): Ch 1, sc in first st, (sk 2 sts, 5 dc shell in next st, sk 2 sts, sc in next st) 24 times. Join with sl st to first sc. (24 shells + 24 sc = 144 sts equivalent)
Round 49: Ch 5 (counts as dc + ch 2), (sc in center dc of next shell, ch 2, dc in next sc, ch 2) 24 times, sc in center dc of last shell, ch 2. Join with sl st to 3rd ch of beg ch-5. (24 dc + 24 sc + 48 ch-2 sps)
Round 50: Ch 1, sc in first dc, (5 dc shell in next sc, sc in next dc) 24 times, shell in last sc. Join. (24 shells + 24 sc = 144 equivalent)
Rounds 51 through 52: Repeat Rounds 49 and 50. (144 equivalent)
Round 53: Ch 1, sc in each dc of each shell and sc in each sc and 2 sc in each ch-2 sp around. (144 sc)
Rounds 54 through 55: Ch 1, sc in each st around. Join. (144 sc each round)
CHECKPOINT: After Band 2 (Round 55), the skirt should measure approximately 10 to 11 inches / 25 to 28 cm below the waist band.
Continue following the remaining skirt bands (Band 3 and Band 4) and the hem edging instructions, then attach your straps and create your waist tie.
Finishing Your Boho Crochet Dress
Blocking
This step is essential. Do not skip it.
Soak your completed dress in lukewarm water for 15 to 20 minutes. Gently squeeze out excess water without wringing. Lay flat on blocking mats and pin to measurements. The lace bands will open up beautifully as the fabric relaxes.
Allow to dry completely before unpinning. This usually takes 24 to 48 hours depending on humidity.
Attaching Straps
If you did not trap the straps while working, use your yarn needle and the long tails to securely sew each strap to the inside top edge of each cup. Try on the dress and adjust strap placement for the most flattering fit before securing permanently.
Creating and Threading the Waist Tie
Create a simple chain tie approximately 60 inches long, or crochet a narrow flat tie using single crochet rows. Thread through the eyelet round using a yarn needle or safety pin. Tie in a bow at center front.
Tips for Customizing the Size
To adjust for larger sizes, add stitches in multiples that work with your shell stitch repeats. For each additional 2 inches of bust, add approximately 9 stitches to your foundation rounds.
For a longer skirt, add additional rounds to any of the bands before transitioning to the next.
For a shorter bodice, work fewer rounds between the joining round and the waist shaping.
Always swatch and measure as you go. Crochet garments are forgiving, but checking your work against your body measurements will ensure the best fit.
You Did It!
Making a crocheted dress from scratch is a true accomplishment. This is the kind of project you will be proud of for years to come. Every time you slip it on for a summer evening out, you will remember the hours of love and creativity that went into creating it.
Thank you so much for choosing this pattern for your next project. I genuinely appreciate you trusting me with your time and your yarn stash. If you make this dress, I would absolutely love to see it! Tag me on Instagram or share a photo in my Facebook group.
If this sage green boho crochet summer dress is calling your name but you are not quite ready to start today, go ahead and save this pattern to your Pinterest boards so you can find it easily later. And please drop a comment below if you make one. I love seeing your finished projects and hearing about your color choices!
You Might Also Like
- Dusty Rose Mesh Crochet Sneaker Boots Free Pattern
- Sage Green Boho Crochet Backpack Free Pattern
- Midnight Navy Elegant Braided Clutch Free Crochet Pattern
- Lavender Daisy Granny Square Bag Free Crochet Pattern