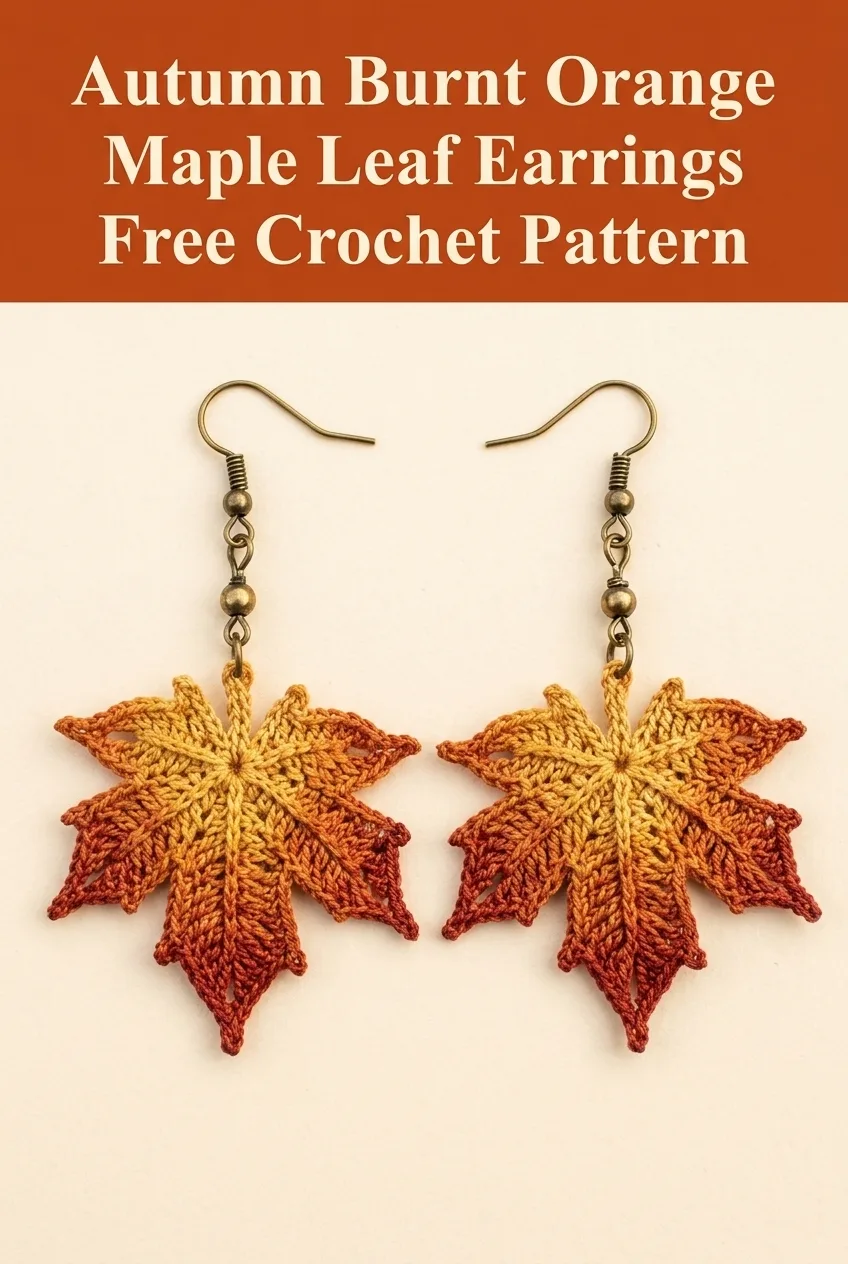
Autumn Burnt Orange Maple Leaf Earrings Free Crochet Pattern
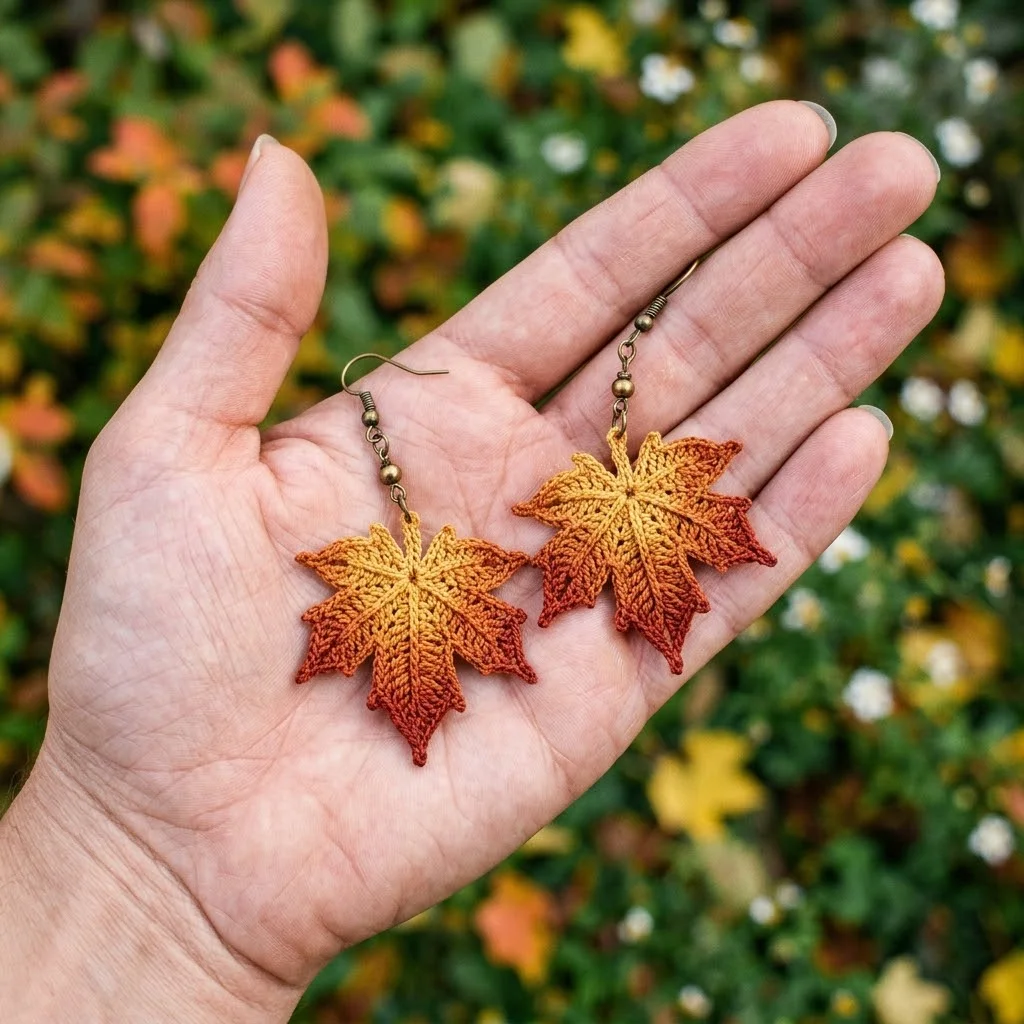
These crochet maple leaf earrings are quick, stunning, and perfect for fall. You need thread weight yarn, a tiny hook, and basic stitches. Each leaf takes about 20 minutes once you get the hang of it.
Why You’ll Love This Crochet Pattern
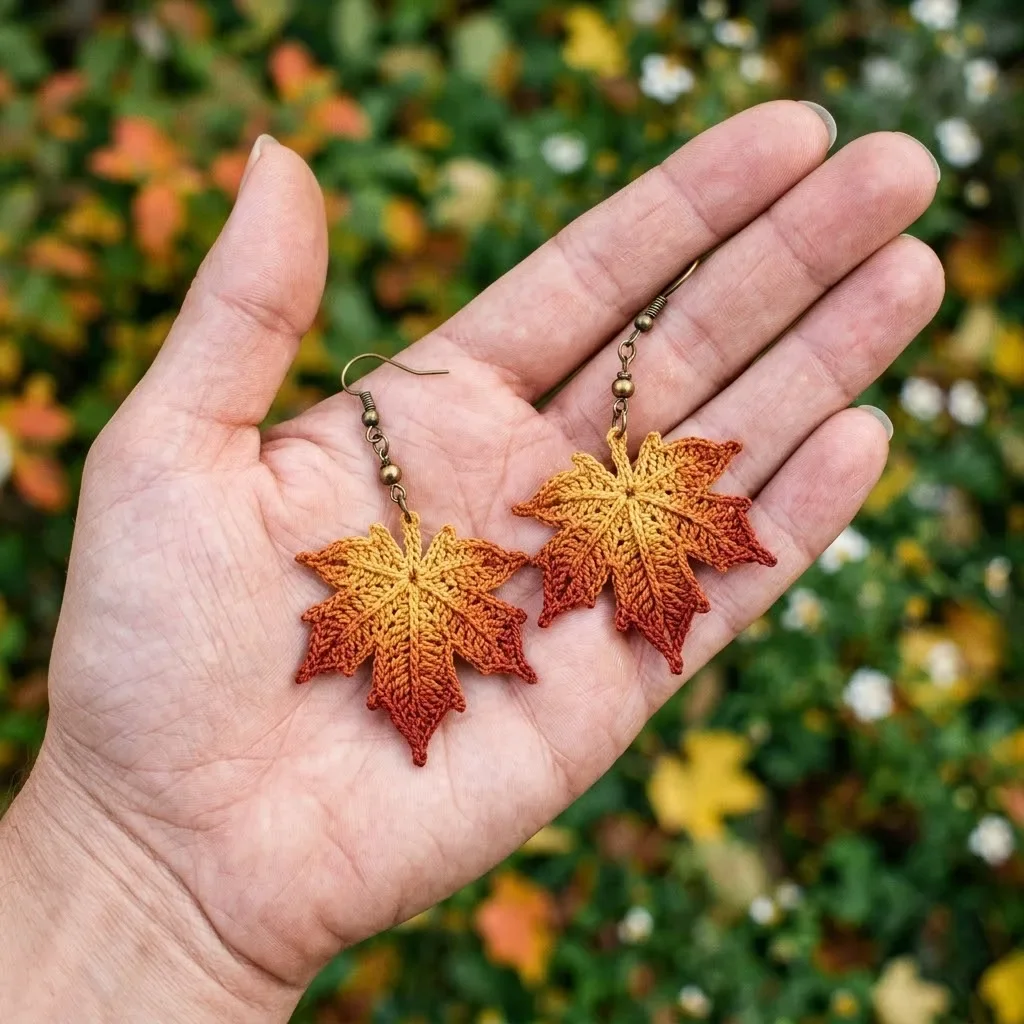
I designed these burnt orange maple leaf earrings after noticing how gorgeous the autumn colors looked against everything. The ombre effect from golden yellow at the center to deep rusty orange at the tips gives each leaf incredible dimension. They look intricate, but the construction is straightforward once you understand the technique.
These earrings make wonderful handmade gifts. They work up fast, use minimal supplies, and look far more complicated than they actually are. You could easily make several pairs in an afternoon for holiday gifting or craft fair inventory.
The leaves measure approximately 1.5 inches across, making them substantial enough to notice but light enough to wear comfortably all day.
Materials Needed
Yarn:
I recommend DMC Petra or Aunt Lydia’s Classic crochet thread. Both hold their shape beautifully and come in gorgeous autumn shades. Look for colors that transition well together, like golden mustard and deep pumpkin.
Hook:
Use whichever size gives you a firm fabric. You want these leaves to hold their shape without being stiff as cardboard.
Notions:
Skill Level
Advanced Beginner to Intermediate
If you can work single crochet, double crochet, and slip stitches confidently, you can make these. The challenge comes from working with thin thread and a tiny hook. Take your time. Good lighting helps tremendously.
Stitch Abbreviations and Definitions
ch = chain: Yarn over, pull through loop on hook. This creates the foundation and adds height.
sl st = slip stitch: Insert hook, yarn over, pull through stitch AND loop on hook in one motion. Used for joining and moving across stitches invisibly.
sc = single crochet: Insert hook, yarn over, pull up a loop (2 loops on hook), yarn over, pull through both loops. Creates a short, tight stitch.
hdc = half double crochet: Yarn over, insert hook, yarn over, pull up a loop (3 loops on hook), yarn over, pull through all 3 loops. Slightly taller than single crochet.
dc = double crochet: Yarn over, insert hook, yarn over, pull up a loop, yarn over, pull through 2 loops, yarn over, pull through remaining 2 loops. Twice as tall as single crochet.
tr = treble crochet: Yarn over twice, insert hook, yarn over, pull up a loop, (yarn over, pull through 2 loops) three times. Creates a tall stitch for the pointed leaf tips.
picot = A decorative point made by chaining 3, then slip stitching into the first chain.
Gauge
Gauge is less critical for jewelry than for garments. Your leaf should measure approximately 1.5 inches at the widest point when blocked. If yours is significantly larger or smaller, adjust your hook size.
Pattern Notes
Read through the entire pattern before starting. The leaf is worked from the center outward, creating each point (or lobe) separately, then joining them together. The color change creates that beautiful ombre effect you see in the photo.
The maple leaf has 5 main points and 2 smaller side points. Each point is worked in short rows using increasing stitch heights to create the natural leaf shape.
Color Change Tip: When switching from yellow to orange, complete the last stitch of the yellow section by pulling the orange thread through for the final yarn over. This creates a clean color transition.
Crochet Maple Leaf Earrings Pattern
Center Ring (Yellow)
With golden yellow thread:
Round 1: Ch 6, sl st to first ch to form a ring. Ch 1, work 12 sc into the ring, sl st to first sc to join. (12 sc)
Do not fasten off. You will now work each leaf point directly from this center ring.
First Main Point (Center Top Point)
This is the tallest point of the maple leaf.
Row 1: Ch 3 (counts as first dc), dc in same st, dc in next st, 2 dc in next st, turn. (5 dc)
Row 2: Ch 3, dc in same st, dc in next 3 sts, 2 dc in top of turning ch, turn. (7 dc)
Row 3: Change to burnt orange. Ch 4 (counts as first tr), tr in same st, tr in next 5 sts, 2 tr in top of turning ch, turn. (9 tr)
Row 4: Ch 1, sc in first st, hdc in next st, dc in next 2 sts, tr in next st, dc in next 2 sts, hdc in next st, sc in last st. (9 sts)
Row 5: Ch 1, skip first st, sl st in next st, sc in next st, hdc in next st, dc in next st (this is the tip), ch 3, sl st in first ch (picot made), dc in same st as last dc, hdc in next st, sc in next st, sl st in next st. Fasten off this point.
Second Main Point (Upper Right)
Rejoin golden yellow to the center ring, 2 stitches clockwise from where you started the first point.
Row 1: Ch 3, dc in same st, dc in next st, turn. (3 dc)
Row 2: Ch 3, dc in same st, dc in next st, 2 dc in top of turning ch, turn. (5 dc)
Row 3: Change to burnt orange. Ch 3, dc in same st, dc in next 3 sts, 2 dc in top of turning ch, turn. (7 dc)
Row 4: Ch 1, sc in first st, hdc in next 2 sts, dc in next st, hdc in next 2 sts, sc in last st. (7 sts)
Row 5: Ch 1, skip first st, sl st in next st, sc in next st, hdc in next st, dc in next st (tip), ch 2, sl st in first ch (small picot), dc in same st, hdc in next st, sc in next st, sl st in last st. Fasten off.
Third Main Point (Upper Left)
Rejoin golden yellow to the center ring on the opposite side, mirroring the second point.
Work exactly as Second Main Point.
Fourth Point (Lower Right)
This is a smaller side point.
Rejoin burnt orange only (no yellow for this smaller point) to the center ring, 2 stitches clockwise from the second main point.
Row 1: Ch 2, hdc in same st, hdc in next st, turn. (2 hdc plus ch-2)
Row 2: Ch 2, hdc in same st, hdc in next st, 2 hdc in top of turning ch, turn. (5 hdc)
Row 3: Ch 1, sc in first st, hdc in next st, dc in next st (tip), ch 2, sl st in first ch, dc in same st, hdc in next st, sc in last st. Fasten off.
Fifth Point (Lower Left)
Mirror the Fourth Point on the opposite side of the center ring.
Small Side Lobes
Between the main points and the lower points, you may notice small indentations in a real maple leaf. To create these:
Rejoin burnt orange between any two main points. Work (sl st, ch 2, dc, ch 2, sl st) into the space between points. This creates subtle side lobes. Repeat on the other side if desired.
Stem
Rejoin burnt orange to the bottom center of the leaf (opposite the top main point).
Ch 8, sl st in second ch from hook, sl st in next 6 ch. Fasten off.
Weave in all ends securely. Thread weight yarn can unravel, so weave through at least 1 inch of stitches.
Blocking and Stiffening
Why block? Blocking evens out your stitches and helps the leaf lie flat. Stiffening keeps the leaf from flopping around on your ear.
To block: Dampen the leaf with water, pin it to your foam board in the proper shape (each point stretched slightly outward), and let it dry completely.
To stiffen: Apply fabric stiffener according to package directions. I like Beacon Stiffen Stuff or a mixture of white glue and water (50/50). Let dry completely before handling.
The stiffening step is optional but highly recommended. Without it, the leaves will curl and twist over time.
Attaching Earring Hardware
Once your leaves are completely dry and stiffened:
1. Open a jump ring using your pliers (twist sideways, never pull apart).
2. Thread the jump ring through the top of the center point, just below the picot.
3. Thread the earring hook onto the jump ring.
4. Close the jump ring securely.
Test the earring by holding it up. The leaf should hang with the stem pointing down and the main point facing up.
Pattern Variations and Ideas
Single Color Version: Skip the color change entirely for a simpler project. Solid rust, golden yellow, or even deep burgundy looks beautiful.
Gradient Effect: Use variegated thread that shifts from one color to another naturally.
Different Sizes: Use sport weight yarn and a 3.5mm hook for larger statement earrings, or size 20 crochet thread for delicate miniature leaves.
Necklace Pendant: Make one leaf and attach it to a simple chain for a matching necklace.
Garland: String multiple leaves together for autumn home decor.
Troubleshooting Common Issues
Leaves curling: Your tension may be too tight. Try going up a hook size. Blocking also helps tremendously.
Points looking lumpy: Make sure your increases and decreases are placed consistently. The stitch heights create the point shape, so follow the pattern exactly.
Thread splitting: Steel hooks can split thread easily. Slow down and make sure you are catching the entire thread with each stitch.
Color change looks messy: Practice the color change technique on a swatch first. Pull the new color through on the very last yarn over of the previous stitch.
Care Instructions
Store earrings flat in a jewelry box to prevent crushing. If the leaves become misshapen, lightly dampen and reshape with your fingers. Avoid getting them soaking wet, as this can dissolve the fabric stiffener.
These earrings make wonderful gifts for teachers, nature lovers, and anyone who appreciates handmade accessories. Package them in a small gift box with tissue paper for a professional presentation.
Final Thoughts on This Maple Leaf Earrings Crochet Pattern
I hope you love making these autumn maple leaf earrings as much as I enjoyed designing them. The combination of crochet thread, careful shaping, and that gorgeous burnt orange ombre creates truly wearable art.
Once you master the basic leaf shape, you can experiment with different color combinations for every season. Try green for spring, deep red for winter holidays, or rainbow variegated thread for something whimsical.
This crochet pattern works up quickly once you get comfortable with the small hook and thread. Your first leaf might take 45 minutes, but by your third or fourth, you will be finishing them in 20 minutes or less.
Thank you so much for choosing this pattern. I genuinely appreciate you spending your crafting time here with me. If you make these earrings, I would absolutely love to see them. Tag me on Instagram or share a photo in my Facebook group. Seeing your creations is the best part of my day.
If this pattern inspired you, go ahead and save it to your Pinterest boards so you can find it when autumn crafting season rolls around. And please drop a comment below if you make a pair. I love hearing which colors you chose and who you made them for.
You Might Also Like
- Gray and Pink Heart Granny Square Blanket Free Crochet Pattern
- Coral Peach Tie Front Crochet Cardigan Free Pattern
- Pastel Rainbow Unicorn Granny Square Blanket Free Pattern
- Dusty Rose Mesh Crochet Sneaker Boots Free Pattern