Dusty Rose Fringed Pocket Wrap Free Crochet Pattern
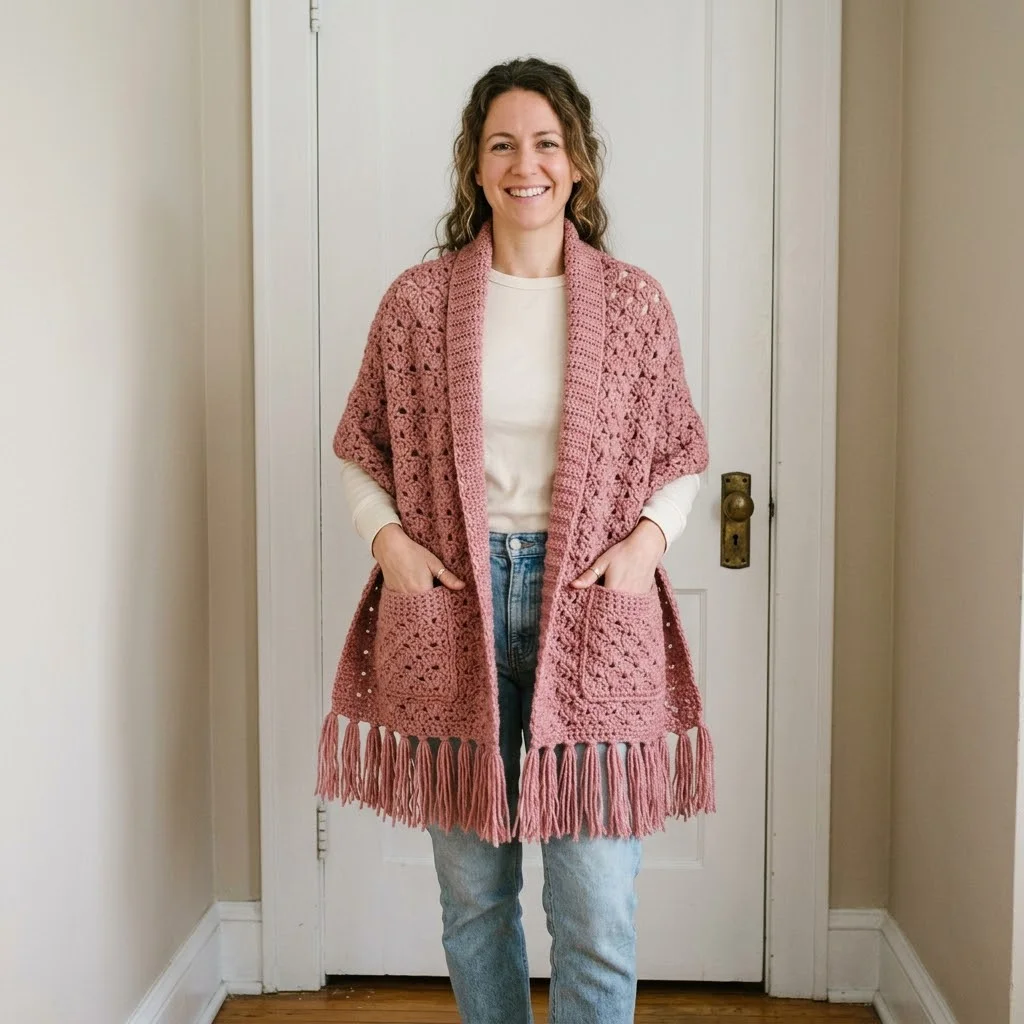
I’ve been looking for the perfect pocket shawl pattern for ages, and honestly, this one checks every single box. Cozy texture, functional pockets, gorgeous fringe detail, and a dusty rose color that works with everything in my closet. This is my favorite kind of project. The kind you wrap yourself in during chilly mornings with coffee, or gift to someone who really deserves something handmade and beautiful.
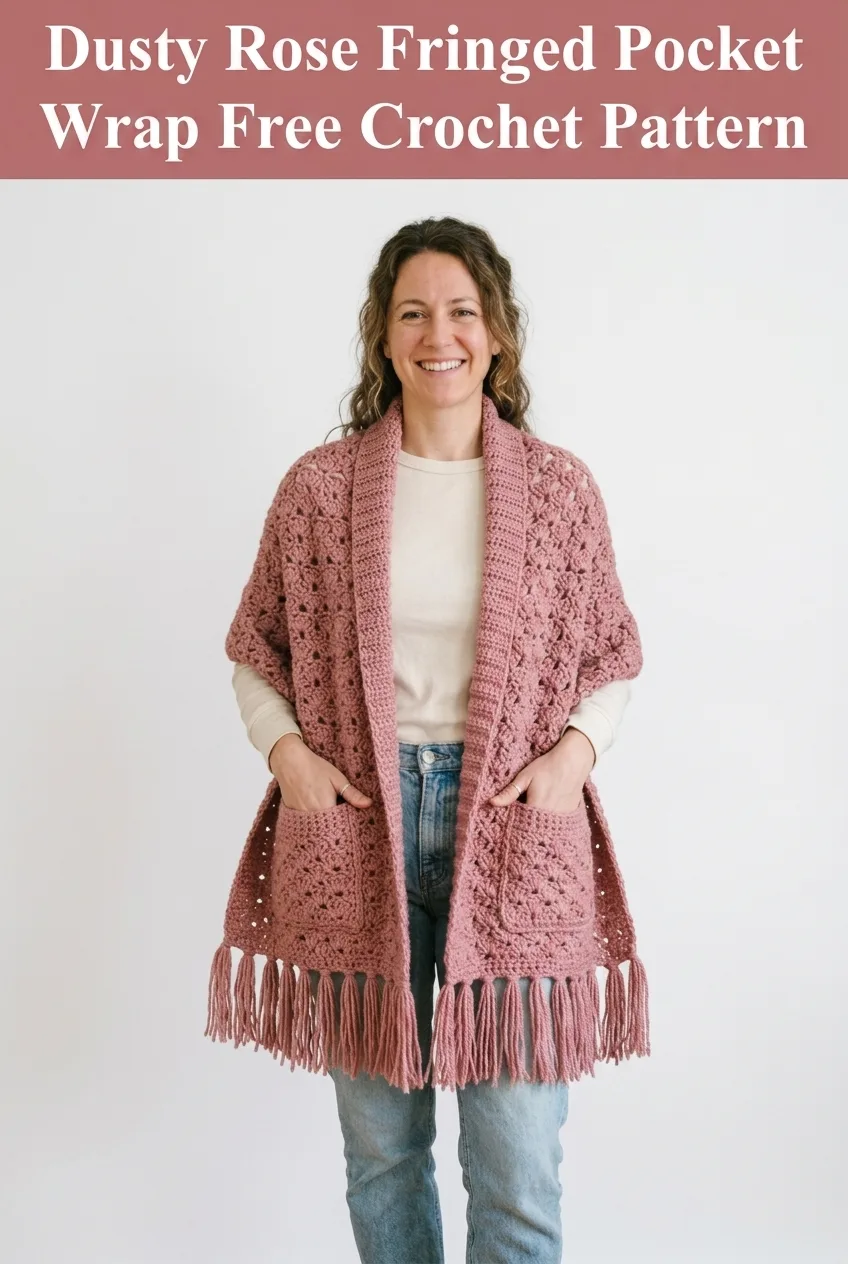
This crochet pocket wrap combines a lovely shell stitch pattern with practical deep pockets and playful fringe along the bottom edge. The construction is straightforward. You’ll work the main body as one long rectangle, add the pockets separately, then attach fringe at the end. It’s the kind of project that looks far more complicated than it actually is.
Why You’ll Love This Crochet Pocket Wrap Pattern
Let me tell you why this pattern has become one of my absolute favorites to recommend.
It’s incredibly wearable. This isn’t one of those beautiful but impractical projects that sits in your closet. The pockets keep your hands warm and give you a place to stash your phone or tissues. The weight is substantial enough to provide real warmth without feeling heavy on your shoulders.
The shell stitch creates stunning texture. That lacy, dimensional look you see in the photos comes from a simple shell stitch repeat. Once you get the rhythm down, you’ll fly through row after row.
One size fits most. The generous dimensions of this wrap mean it drapes beautifully on a wide range of body types. No complicated sizing adjustments needed.
It’s a perfect gift. Whether you’re making this for your mom, your best friend, or yourself, this pocket wrap feels special. The fringe adds a finished, boutique quality touch.
Materials Needed for Your Pocket Wrap
Before you start, gather these supplies. Having everything ready makes the whole process smoother.
Yarn:
Hook:
Notions:
Gauge:
Skill Level
This pattern is rated intermediate beginner to intermediate. You should be comfortable with basic crochet stitches and reading pattern instructions.
Don’t let that intimidate you though. If you can chain, single crochet, and double crochet, you absolutely have the skills to make this. The shell stitch is simply a grouping of double crochets worked into the same space. Nothing scary, I promise.
Finished Dimensions
Abbreviations and Stitch Definitions
Let me walk you through every stitch you’ll need for this project. No confusion, no guessing.
ch = chain: Wrap yarn over hook, pull through loop on hook. This creates the foundation for your work.
sl st = slip stitch: Insert hook into stitch, yarn over, pull through stitch and loop on hook in one motion. Used for joining and finishing.
sc = single crochet: Insert hook into stitch, yarn over and pull up a loop (2 loops on hook), yarn over and pull through both loops. Creates a short, tight stitch.
dc = double crochet: Yarn over, insert hook into stitch, yarn over and pull up a loop (3 loops on hook), yarn over and pull through 2 loops (2 loops remain), yarn over and pull through remaining 2 loops. Creates a taller stitch with nice drape.
sk = skip: Pass over the indicated stitch without working into it.
shell = shell stitch: Work 5 double crochets into the same stitch or space. This creates the beautiful fan-shaped clusters you see in the fabric.
sp = space: The gap or hole between stitches where you’ll insert your hook.
Pattern Notes
Read through these tips before starting. They’ll save you time and frustration.
Main Body Instructions
Foundation Row
Ch 252 (or any multiple of 6 plus 4 for desired length).
This creates the length of your wrap. Yes, it’s a long chain. Take your time and try not to twist it. Counting in groups of 10 can help you keep track.
Row 1 (Right Side)
Dc in 4th ch from hook (the skipped chains count as your first dc), dc in next ch, *sk 2 ch, shell in next ch, sk 2 ch, dc in next 2 ch*, repeat from * to * across until 4 ch remain, sk 2 ch, dc in last 2 ch. Turn.
Stitch count: 250 sts (including shells as 5 sts each)
Row 2 (Wrong Side)
Ch 3 (counts as dc), dc in next dc, *shell in center dc of shell below, dc in sp between shells, dc in next sp*, repeat from * to * across, ending with dc in last 2 dc. Turn.
Stitch count: 250 sts
Rows 3 through 36
Repeat Row 2.
Your main body should measure approximately 18 inches wide at this point. If you want a wider wrap, continue repeating Row 2 until you reach your desired width. If your gauge is different, adjust row count accordingly.
Border Section
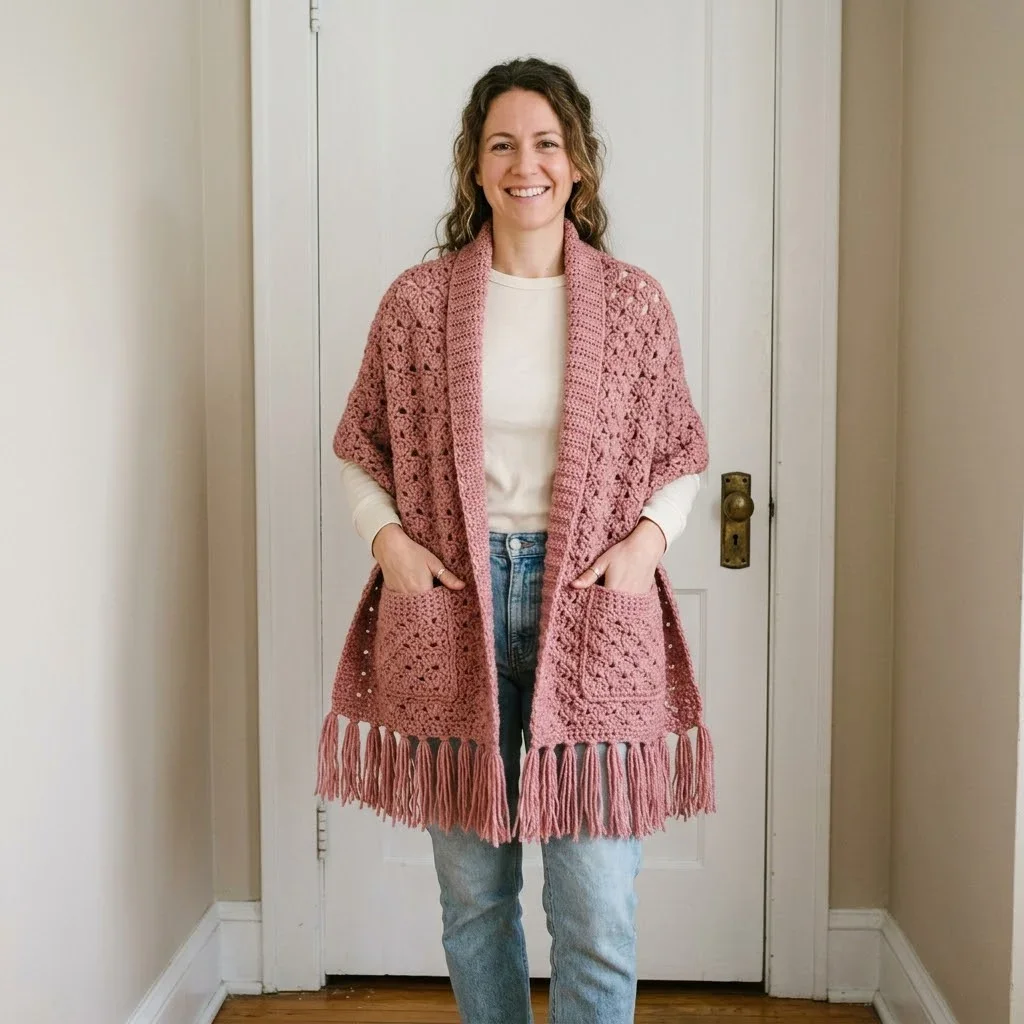
The border uses a simpler stitch pattern to create visual contrast around the edges, similar to the ribbed look visible in the sample.
Border Row 1: Ch 2, hdc in each st across. Turn. (250 sts)
Border Row 2: Ch 2, working in back loops only (blo), hdc in each st across. Turn. (250 sts)
Border Rows 3 through 8: Repeat Border Row 2.
Fasten off and weave in ends.
Side Borders
With right side facing, join yarn at corner of short edge.
Row 1: Ch 2, work approximately 44 hdc evenly across the short edge (about 1 hdc per row). Turn.
Rows 2 through 4: Ch 2, hdc in blo across. Turn.
Fasten off. Repeat on opposite short edge.
Pocket Instructions (Make 2)
The pockets use the same shell stitch pattern as the main body for a cohesive look.
Foundation
Ch 28.
Row 1
Dc in 4th ch from hook, dc in next ch, *sk 2 ch, shell in next ch, sk 2 ch, dc in next 2 ch*, repeat from * to * across. Turn.
Stitch count: 26 sts
Rows 2 through 18
Ch 3 (counts as dc), dc in next dc, *shell in center dc of shell below, dc in sp between shells*, repeat pattern across, ending with dc in last 2 dc. Turn.
Stitch count: 26 sts per row
Pocket Border
Work 2 rows of hdc in blo across the top edge only. This creates the ribbed top edge of each pocket.
Fasten off, leaving a long tail for sewing.
Assembly
Attaching Pockets
1. Lay your main body flat with the right side facing up.
2. Position pockets near each end of the wrap, approximately 6 inches from the short edges and centered between the long edges.
3. Pin in place with stitch markers or sewing pins.
4. Using your tapestry needle and the long tail from each pocket, whip stitch the sides and bottom of each pocket to the main body. Leave the top open, obviously.
5. Weave in all ends securely.
Take your time with this step. Neat seaming makes a big difference in the finished look.
Fringe Instructions
The fringe adds movement and visual interest to this pocket wrap. Here’s how to create and attach it.
Cutting Your Fringe
1. Cut a piece of cardboard approximately 6 inches tall.
2. Wrap yarn around the cardboard about 100 times.
3. Cut along one edge to create individual strands approximately 12 inches long.
4. You’ll need approximately 100 to 120 strands total, depending on your spacing preference.
Attaching Fringe
1. Take 4 strands and fold them in half.
2. Insert your crochet hook from back to front through a stitch along the bottom edge of the wrap.
3. Pull the folded loop through slightly.
4. Pull all 8 ends (the loose ends of your 4 strands) through the loop.
5. Tug firmly to tighten.
6. Repeat across the entire bottom edge, spacing fringe bundles approximately 1.5 inches apart.
7. Trim fringe ends evenly to approximately 5 inches.
The fringe should feel full and substantial. If it looks sparse, add more bundles between existing ones.
Helpful Tips for Success
If your wrap is curling: This sometimes happens with shell stitch patterns. Blocking will help tremendously. Wet your finished piece, pin it flat to a blocking mat, and let it dry completely.
If your pockets seem too small: You can easily adjust by adding more foundation chains (in multiples of 6) and additional rows.
If the shell pattern feels confusing at first: Work a small swatch before starting the main body. Once you see how the shells stack, everything will click.
For yarn substitutions: Stick with worsted weight for best results. A yarn with good stitch definition, like cotton or acrylic, will show off the shell pattern beautifully. Very fuzzy or textured yarns may obscure the stitch detail.
Care Instructions
Treat your finished wrap gently to keep it looking beautiful for years.
Customization Ideas
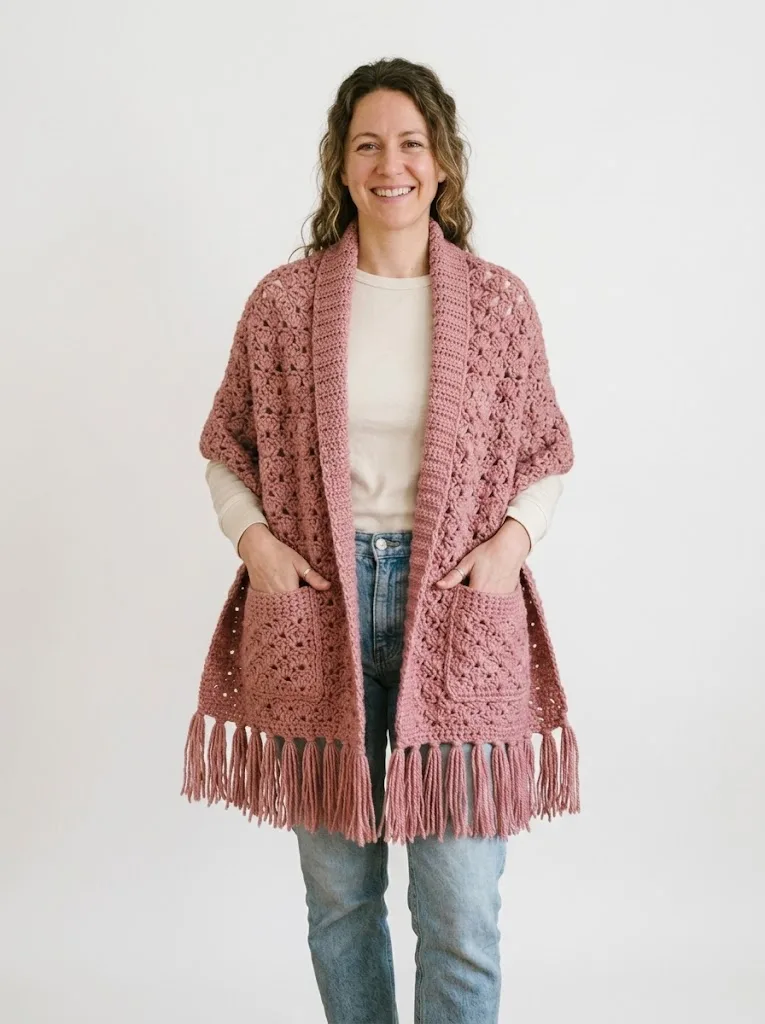
Make this pattern your own with these simple modifications.
Add stripes: Change colors every 6 rows for a striped effect. End with matching border sections for a polished look.
Skip the fringe: If fringe isn’t your style, the wrap looks equally lovely without it. Simply work a row of single crochet along the bottom edge for a clean finish.
Make it longer: Add more chains to your foundation row in multiples of 6. Each additional 6 chains adds approximately 1.7 inches to the length.
Change the pocket placement: Position pockets higher or lower based on where your hands naturally fall when wearing the wrap.
Thank you so much for choosing this pattern for your next crochet project. I truly hope you love making it as much as I loved designing it. If you complete your pocket wrap, I would absolutely love to see it. Tag me on Instagram or share a photo in my Facebook group. Seeing your finished projects genuinely makes my day.
If you found this crochet pocket wrap tutorial helpful, please save it to your Pinterest boards so you can find it later and share it with your crafty friends. And if you make one, leave a comment below. I’d love to hear which color you chose and who you’re making it for.
You Might Also Like
- Mint Green Popcorn Stitch Baby Jumpsuit Free Crochet Pattern
- Pastel Rainbow Kitty Tote Bag Free Crochet Pattern
- Lavender Crochet Sandals in Modern Bedroom Free Pattern
- Sage Green Tiered Wall Planter Free Crochet Pattern