Octopus Depths Crochet Carryall Free Pattern
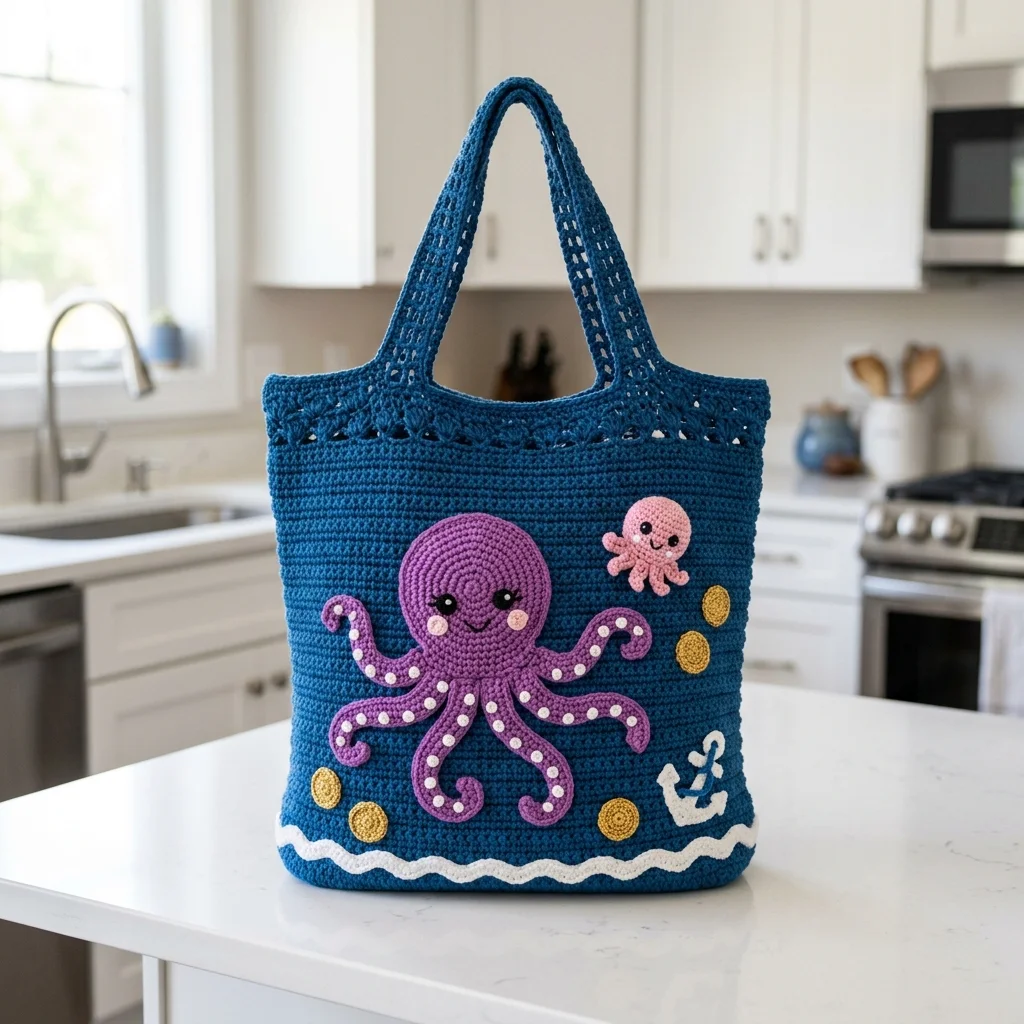
Last summer, my daughter came home from the aquarium absolutely obsessed with octopuses. She talked about them for weeks. How they have three hearts. How they can change colors. How they squeeze through tiny spaces. When her birthday rolled around, I knew exactly what I wanted to make her. I grabbed my hook, some deep ocean blue yarn, and started sketching out this whimsical tote bag. The look on her face when she saw that purple octopus peeking out from the waves? Honestly, it made every single stitch worth it. Now I’m sharing this pattern with you because I think your favorite little ocean lover, or maybe just your inner ocean lover, deserves one too.
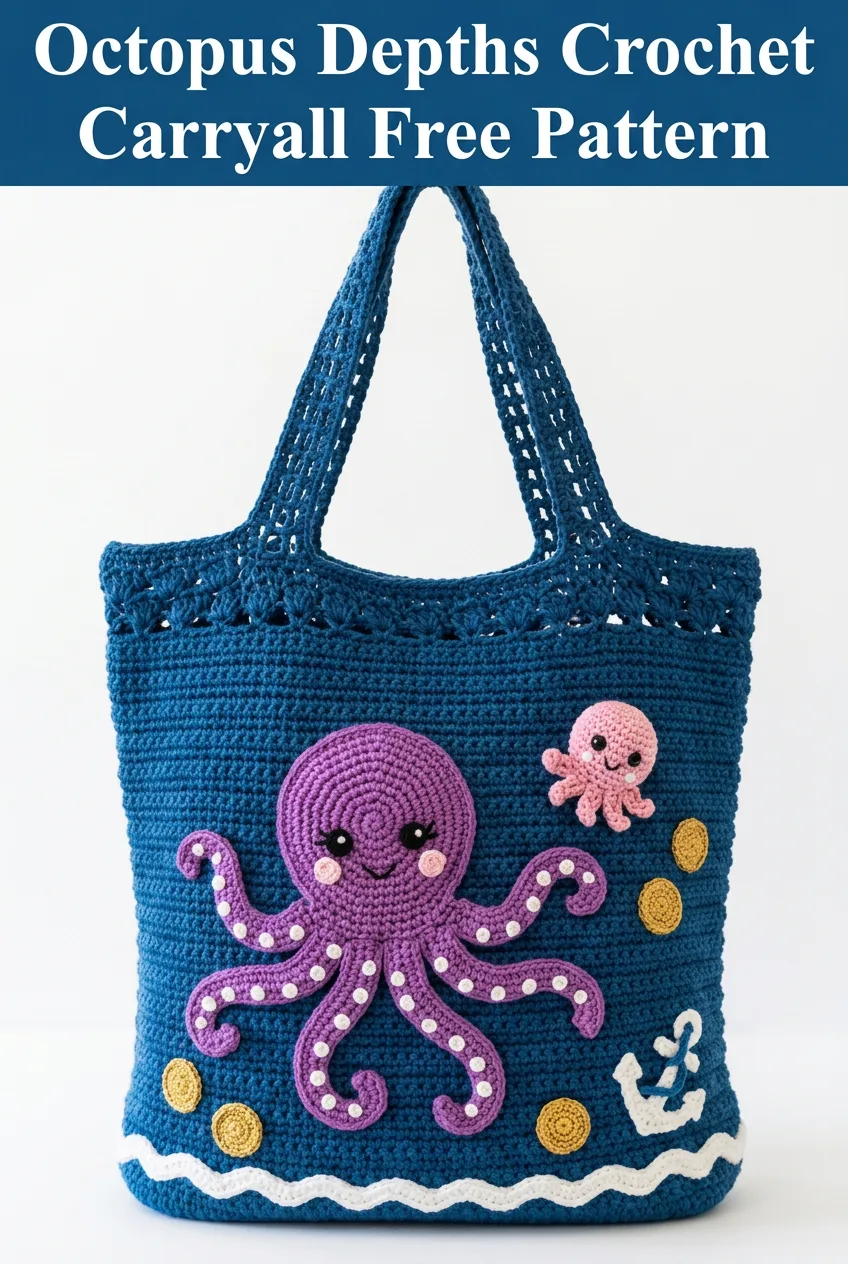
About This Octopus Depths Crochet Carryall
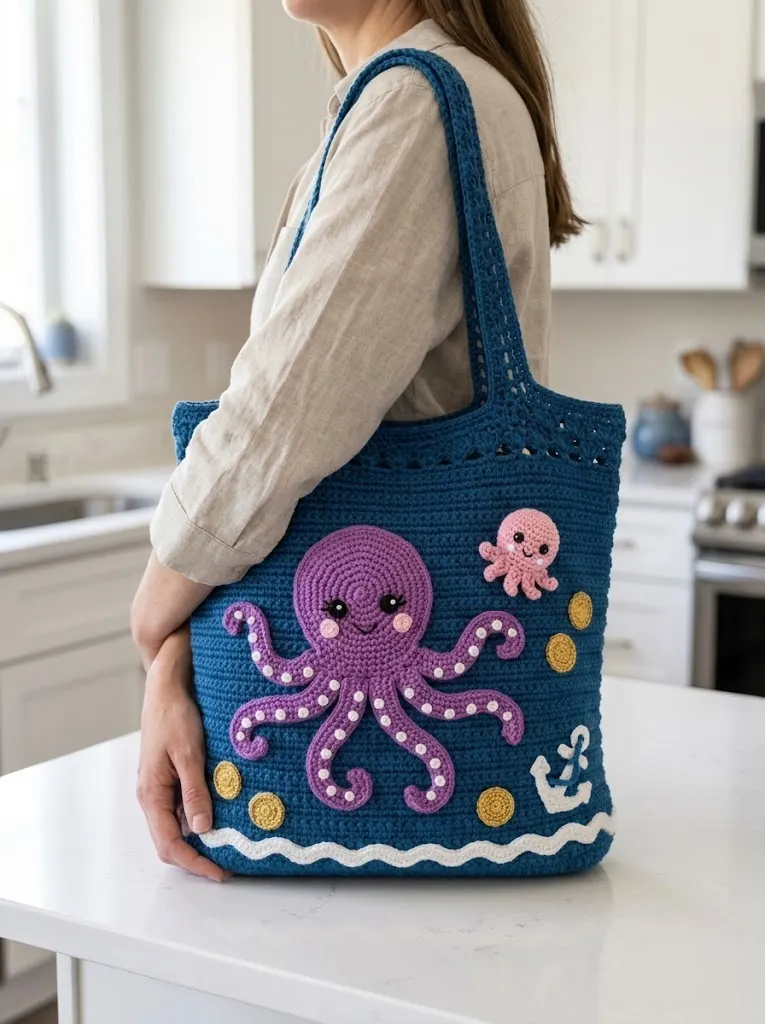
This nautical crochet tote bag combines a sturdy, practical carryall with playful ocean-themed appliqués. The main bag body uses simple single crochet stitches worked in the round, creating a dense fabric that holds its shape beautifully. The real magic happens with the adorable octopus appliqué, complete with curling tentacles decorated with little sucker details.
Skill Level: Intermediate
This crochet pattern requires comfort with basic stitches and working in the round. The appliqué work adds complexity, but I walk you through every step. If you have made amigurumi before or crocheted any kind of stuffed toy, you will feel right at home here.
Finished Dimensions:
Materials Needed for Your Crochet Tote Bag
Yarn:
I recommend 100% cotton yarn for this project. Cotton holds its structure better than acrylic for bags, and it gets softer with washing. Brands like Lily Sugar’n Cream, Paintbox Cotton DK, or Lion Brand 24/7 Cotton work beautifully.
Hook:
Notions:
Gauge (Please Check This!)
With 5.0mm hook and worsted weight cotton:
14 single crochet stitches and 16 rows = 4 inches
Take a few minutes to make a gauge swatch. I know, I know. Nobody likes making swatches. But cotton yarn can be tricky, and your bag will turn out too floppy or too stiff if your gauge is way off. Just a quick 4×4 inch square will save you headaches later.
Stitch Abbreviations and Definitions
Before we dive in, let me explain every stitch you will encounter:
Step by Step Crochet Pattern Instructions
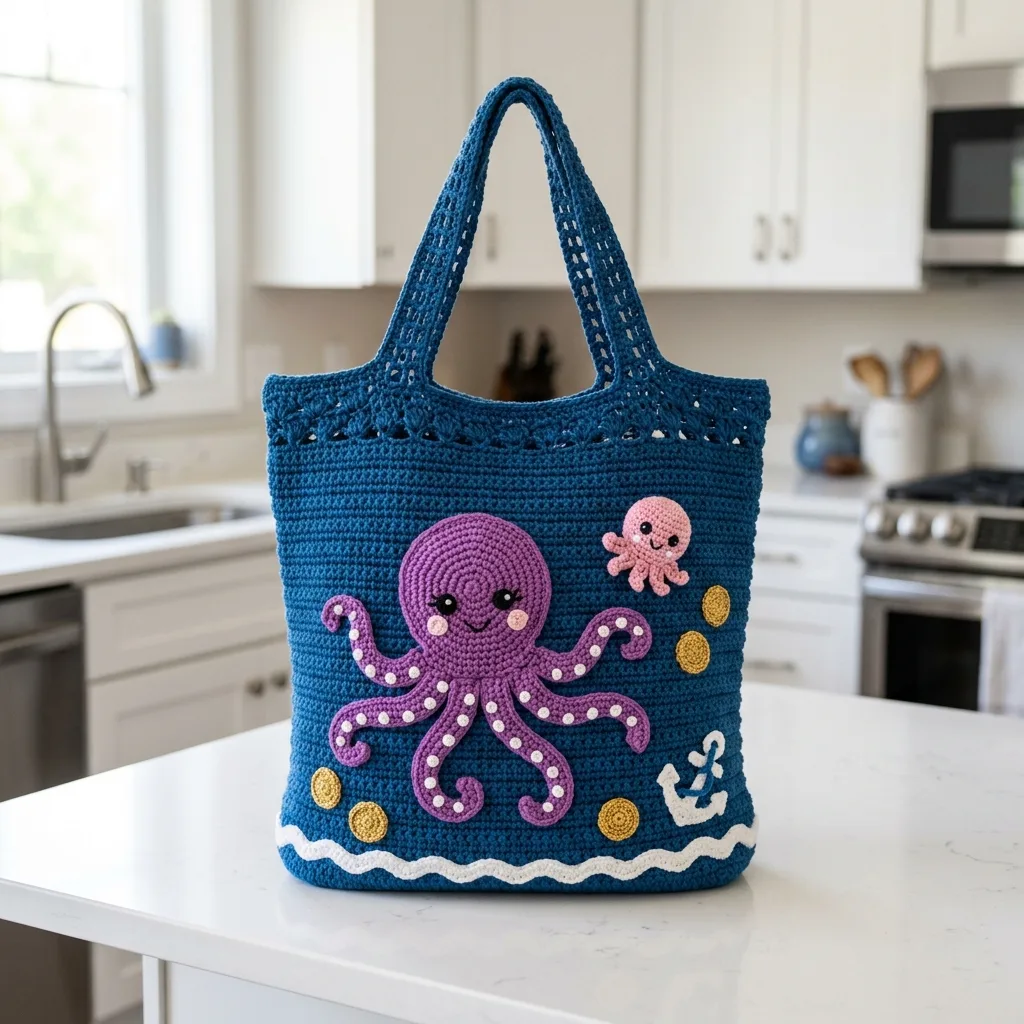
Part 1: Bag Base
We start with an oval base worked in continuous rounds. This gives the bag a nice flat bottom so it sits upright.
With MC and 5.0mm hook:
Foundation: Ch 25.
Round 1: Sc in 2nd ch from hook, sc in next 22 ch, 3 sc in last ch (this creates your turn at the end). Now working along the opposite side of the foundation chain: sc in next 22 ch, 2 sc in last ch. Place marker. Do not join. (50 sts)
Round 2: Inc in first st, sc in next 22 sts, inc in next 3 sts, sc in next 22 sts, inc in next 2 sts. (56 sts)
Round 3: Sc in first st, inc in next st, sc in next 22 sts, *sc in next st, inc in next st* 3 times, sc in next 22 sts, *sc in next st, inc in next st* twice. (62 sts)
Round 4: Sc in first 2 sts, inc in next st, sc in next 22 sts, *sc in next 2 sts, inc in next st* 3 times, sc in next 22 sts, *sc in next 2 sts, inc in next st* twice. (68 sts)
Round 5: Sc in first 3 sts, inc in next st, sc in next 22 sts, *sc in next 3 sts, inc in next st* 3 times, sc in next 22 sts, *sc in next 3 sts, inc in next st* twice. (74 sts)
Round 6: Sc in first 4 sts, inc in next st, sc in next 22 sts, *sc in next 4 sts, inc in next st* 3 times, sc in next 22 sts, *sc in next 4 sts, inc in next st* twice. (80 sts)
Your base should measure approximately 3.5 inches wide by 9 inches long. If it looks way different, check your gauge.
Part 2: Bag Body
Now we build the walls of your crochet carryall. This is where the real progress happens, and it works up faster than you might expect.
Round 7: Working in BLO only for this round (this creates a nice crisp edge at the base), sc in each st around. (80 sts)
Rounds 8-55: Sc in each st around. (80 sts)
That is 48 rounds of straight single crochet. Perfect for watching TV or listening to a podcast. Move your stitch marker up every few rounds so you do not lose your place.
Your bag body should measure approximately 12 inches tall at this point.
Part 3: Decorative Top Border
This lacy edge adds a beautiful finishing touch and helps reinforce the top of your bag.
Round 56: *Sc in next 3 sts, ch 2, skip 1 st* repeat around. (60 sc, 20 ch-2 spaces)
Round 57: *Sc in next 3 sc, 2 sc in ch-2 sp* repeat around. (100 sts)
Round 58: Sl st in each st around. Fasten off.
Part 4: Handles (Make 2)
Strong handles are essential for a carryall that actually gets used. We create these with rows of single crochet for maximum durability.
With MC and 5.0mm hook:
Row 1: Ch 61, sc in 2nd ch from hook, sc in each ch across. (60 sts)
Rows 2-6: Ch 1, turn, sc in each st across. (60 sts)
Fasten off, leaving a long tail for sewing.
Attaching Handles:
Position the first handle on the front of the bag, approximately 2.5 inches from each side edge. The bottom of the handle should sit about 1 inch below the decorative border. Pin in place and whipstitch securely using your tapestry needle. Go over each attachment point multiple times for strength.
Repeat for the second handle on the back of the bag, making sure both handles align evenly.
Part 5: Large Octopus Appliqué
This adorable fellow is the star of your Octopus Depths Crochet Carryall. Take your time with him.
Octopus Head:
With Color A (purple) and smaller hook:
Round 1: Magic ring, 6 sc into ring. Pull tight. (6 sts)
Round 2: Inc in each st around. (12 sts)
Round 3: *Sc in next st, inc in next st* repeat around. (18 sts)
Round 4: *Sc in next 2 sts, inc in next st* repeat around. (24 sts)
Round 5: *Sc in next 3 sts, inc in next st* repeat around. (30 sts)
Rounds 6-10: Sc in each st around. (30 sts)
Round 11: *Sc in next 3 sts, dec* repeat around. (24 sts)
Round 12: *Sc in next 2 sts, dec* repeat around. (18 sts)
Stuff lightly with yarn scraps if desired, or leave flat. Sl st to join, fasten off leaving a long tail.
Tentacles (Make 8):
With Color A:
Row 1: Ch 20, sl st in 2nd ch from hook, sc in next 2 ch, hdc in next 2 ch, dc in remaining 14 ch. Fasten off.
The tentacle will naturally curl. This is perfect!
Sucker Details:
With Color C (white), embroider small French knots or tiny circles along each tentacle using a tapestry needle. Space them about half an inch apart on the inner curve.
Assembly:
Arrange tentacles around the bottom edge of the octopus head, overlapping slightly. Whipstitch in place. The curls should face outward in different directions for a playful look.
Part 6: Small Octopus Appliqué
This little baby octopus adds charm to your design.
With Color B (coral pink) and smaller hook:
Round 1: Magic ring, 6 sc into ring. (6 sts)
Round 2: Inc in each st around. (12 sts)
Round 3: *Sc in next st, inc in next st* repeat around. (18 sts)
Rounds 4-5: Sc in each st around. (18 sts)
Round 6: *Sc in next st, dec* repeat around. (12 sts)
Sl st to join, fasten off.
Mini Tentacles (Make 4):
Ch 10, sl st in 2nd ch from hook, sc in remaining 8 ch. Fasten off.
Attach tentacles to bottom of head.
Part 7: Wave Border
With Color C (white):
Row 1: Ch 71.
Row 2: Sc in 2nd ch from hook, *hdc in next st, dc in next st, hdc in next st, sc in next st* repeat across, creating a scalloped wave effect. (70 sts)
Fasten off.
Part 8: Anchor Appliqué
With Color C (white):
Vertical post: Ch 12, sc in 2nd ch from hook, sc in each ch across. (11 sts)
Crossbar: Ch 7, sc in 2nd ch from hook, sc in each ch across. (6 sts)
Bottom curve: Ch 9, sc in 2nd ch from hook, hdc in next 2 ch, dc in next 2 ch, hdc in next 2 ch, sc in last ch. (8 sts)
Assemble pieces into anchor shape using whipstitch.
Part 9: Bubble Circles (Make 4-6)
With Color D (gold):
Small bubble: Magic ring, 6 sc into ring, sl st to join. Fasten off.
Large bubble: Magic ring, 6 sc into ring, sl st to join. Round 2: inc in each st around, sl st to join. (12 sts) Fasten off.
Part 10: Final Assembly
This is where your crochet carryall comes together!
1. Position the wave border along the bottom third of the bag front. Pin and whipstitch in place.
2. Center the large octopus above the waves, with tentacles draping down. Pin carefully, then sew around the head edge.
3. Tack each tentacle tip to the bag at one or two points to keep them from flopping.
4. Position the small octopus in the upper right area. Sew in place.
5. Place the anchor in the lower right corner, partially overlapping the waves. Sew securely.
6. Scatter the bubble circles around both octopuses. Sew each one down.
7. Embroider faces using black yarn: small V-shapes or French knots for eyes, and a tiny curved line or pink circle for rosy cheeks.
Customization Ideas for Your Crochet Tote Bag
Want to make this pattern your own? Here are some ideas:
Care Instructions
Cotton yarn is wonderfully washable. Turn the bag inside out and machine wash on gentle cycle with cold water. Lay flat to dry, reshaping while damp. The appliqués may need gentle pressing to lay flat again after washing. Avoid the dryer, as it can cause shrinkage and distort your beautiful stitchwork.
I really hope you love making this Octopus Depths Crochet Carryall as much as I loved designing it. If you have questions along the way, drop a comment below and I will help you out. And when you finish yours, please tag me on Instagram or share in our Facebook group because seeing your makes absolutely lights up my day. Happy hooking, friend!
If this pattern caught your eye, go ahead and pin it to your crochet board so you can find it when you are ready to start. And please leave a comment below if you make one. I would love to hear which colors you chose and who the lucky recipient will be!
You Might Also Like
- Pastel Rainbow Kitty Tote Bag Free Crochet Pattern
- Sage Green Froggy Toilet Paper Cozy Free Crochet Pattern
- Mint Garden Baby Crochet Dress Free Pattern
- Pastel Rainbow Unicorn Granny Square Blanket Free Pattern