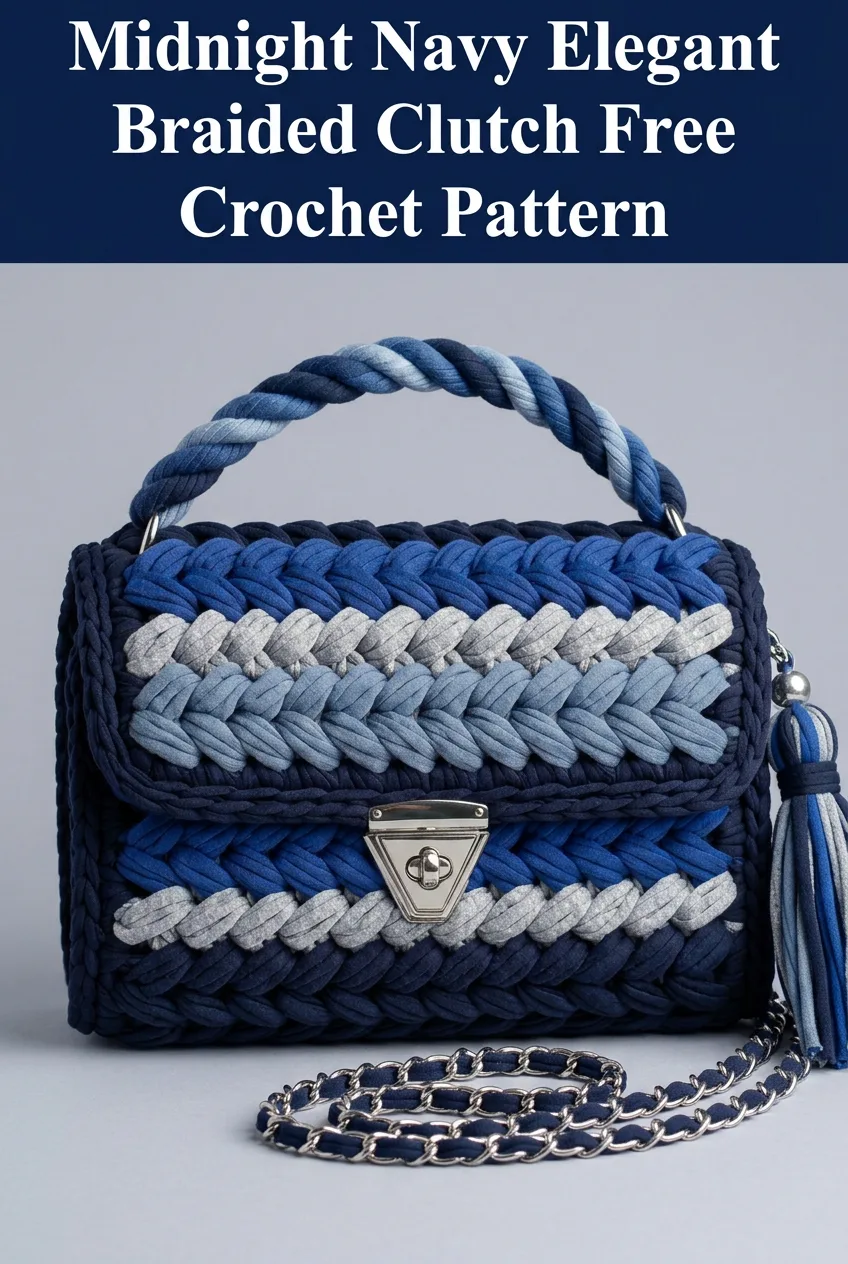
Midnight Navy Elegant Braided Clutch Free Crochet Pattern
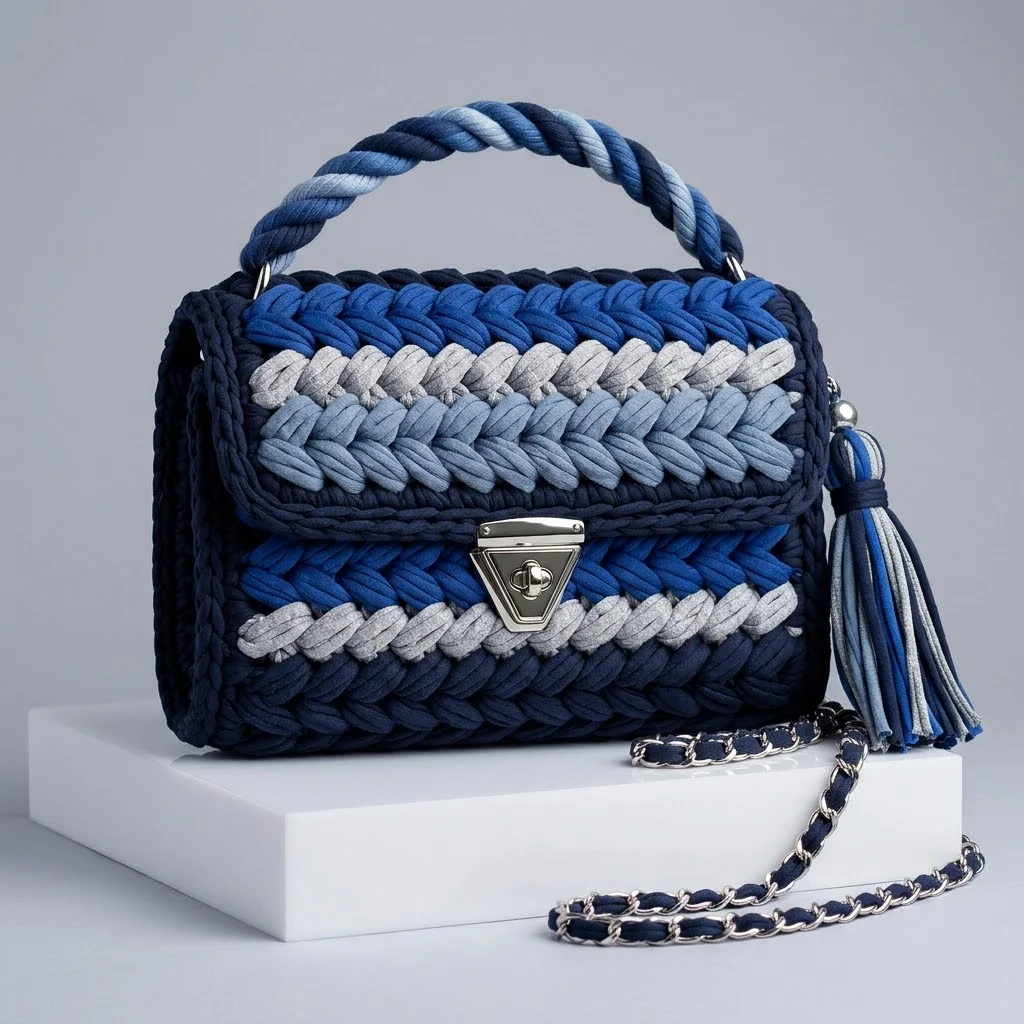
When I set out to design this clutch, I had one goal in mind. I wanted a bag that looked like it walked straight off a designer runway but could be made at home with t-shirt yarn and a crochet hook. I wanted bold color blocking, a textured braided look, and hardware that elevates the whole piece. After playing with stitch placement and color combinations for weeks, I finally nailed it. I am SO thrilled with how this turned out, and I cannot wait to share every detail with you.
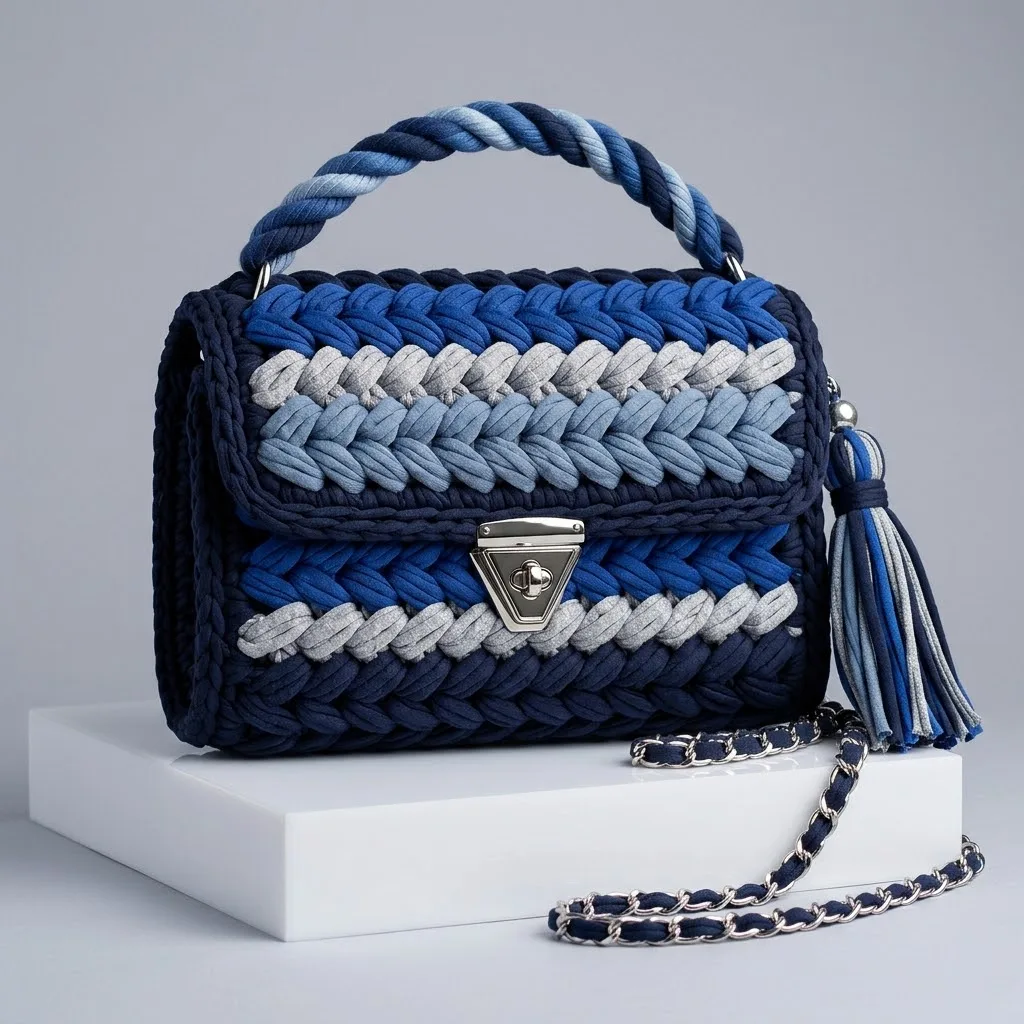
This Midnight Navy Elegant Braided Clutch is the kind of project that makes people say, “Wait, you *made* that?” The chunky herringbone-style rows create a woven, braided appearance that looks incredibly sophisticated. The navy, royal blue, light blue, and grey color palette gives it a nautical elegance that works for everything from brunch to evening events.
Why You’ll Love This Crochet Clutch Pattern
This crochet pattern strikes the perfect balance between impressive results and achievable construction. The braided texture comes from a simple stitch variation that I’ll walk you through step by step. No advanced techniques required.
The structured shape holds its form beautifully thanks to the dense stitch work and sturdy t-shirt yarn. You’ll add professional hardware including a turn-lock clasp and chain strap to really make this bag shine.
Skill level: Intermediate. If you’re comfortable with single crochet and can follow a color change sequence, you can absolutely make this bag.
Finished dimensions: Approximately 9 inches wide by 6 inches tall by 3 inches deep (23 cm x 15 cm x 8 cm)
Materials Needed for Your Braided Clutch
Gathering your supplies before you start makes the whole process smoother. Here’s everything you’ll need:
Yarn:
– Navy blue, approximately 150 yards (137 meters), Color A
– Royal blue, approximately 100 yards (91 meters), Color B
– Light grey, approximately 75 yards (69 meters), Color C
– Light blue, approximately 75 yards (69 meters), Color D
T-shirt yarn is a super bulky weight yarn made from strips of jersey fabric. It creates that chunky, substantial look you see in the photos. Popular brands include Hoooked Zpagetti, Tek-Tek, and Lion Brand Fettuccini.
Hook:
This larger hook works perfectly with t-shirt yarn to create a dense but not stiff fabric.
Hardware:
Notions:
Stitches and Abbreviations
Let me break down every stitch you’ll use. Even if you know these, a quick refresher never hurts.
Ch = Chain. Wrap yarn over hook, pull through loop on hook. This creates your foundation.
Sl st = Slip stitch. Insert hook, yarn over, pull through both loops at once. Used for joining and creating a flat, tight stitch.
Sc = Single crochet. Insert hook, yarn over, pull up a loop (2 loops on hook), yarn over, pull through both loops.
Hdc = Half double crochet. Yarn over, insert hook, yarn over, pull up a loop (3 loops on hook), yarn over, pull through all 3 loops.
Puff st = Puff stitch. (Yarn over, insert hook, pull up a loop) 3 times in the same stitch (7 loops on hook), yarn over, pull through all 7 loops. This creates the raised, braided texture.
BLO = Back loop only. Work into only the back loop of the stitch below, leaving the front loop unworked.
FLO = Front loop only. Work into only the front loop of the stitch below.
Don’t worry if the puff stitch sounds intimidating. It’s just a series of yarn overs and pull ups repeated in the same spot. Once you do a few, your hands will remember the motion.
Understanding the Braided Texture
The stunning woven appearance of this clutch comes from working puff stitches in alternating colors. Each puff creates a raised bump, and when you alternate colors across rows, those bumps form diagonal lines that look like braided strands.
Here’s the secret: you’re not actually braiding anything. The color placement and the height of the puff stitches create that optical illusion. Pretty clever, right?
Step by Step Crochet Pattern for the Clutch Body
This bag is worked in rows, starting with the base, then working up the sides and back, across the base again, and up the front. The flap is worked separately and attached.
Base Panel
Using Color A (Navy) and your 10mm hook:
Row 1: Ch 21. Sc in 2nd ch from hook and in each ch across. (20 sts)
Row 2: Ch 1, turn. Sc in each st across. (20 sts)
Rows 3-8: Repeat Row 2. (20 sts each row)
You should have a rectangular base approximately 9 inches by 3 inches. Fasten off Color A.
Building the Body
Now we work up and around the base to form the sides. Join yarn at corner of base.
Round 1: With Color A, ch 1. Work 20 sc across long edge, 3 sc in corner, 8 sc across short edge, 3 sc in corner, 20 sc across second long edge, 3 sc in corner, 8 sc across final short edge, 3 sc in corner. Sl st to first sc to join. (64 sts)
Place a stitch marker in the first stitch of each long side. These mark your front and back panels.
Round 2: Ch 1. Working in BLO, sc in each st around, working 3 sc in each corner st. Sl st to join. (72 sts)
Round 3 (Pattern Round, Color A): Ch 2 (counts as hdc). *Puff st in next st, hdc in next st.* Repeat from * around. Sl st to join. (72 sts)
Round 4 (Color B): Join Color B. Ch 2. *Hdc in puff st, puff st in hdc.* Repeat from * around. Sl st to join. Fasten off Color B. (72 sts)
This is where the magic happens. By placing puff stitches where hdcs were in the previous round, you create that diagonal braided effect.
Round 5 (Color C): Join Color C. Ch 2. *Puff st in hdc, hdc in puff st.* Repeat from * around. Sl st to join. Fasten off Color C. (72 sts)
Round 6 (Color A): Join Color A. Ch 2. *Hdc in puff st, puff st in hdc.* Repeat from * around. Sl st to join. (72 sts)
Round 7 (Color B): Join Color B. Repeat Round 4 pattern. (72 sts)
Round 8 (Color C): Join Color C. Repeat Round 5 pattern. (72 sts)
Round 9 (Color A): Join Color A. Ch 1. Sc in each st around. Sl st to join. (72 sts)
This completes the lower portion of the bag body. The sc round creates a clean border before the upper section.
Upper Body Section
Round 10 (Color A): Ch 2. *Puff st, hdc.* Repeat from * around. Sl st to join. (72 sts)
Round 11 (Color B): Join Color B. Ch 2. *Hdc in puff, puff in hdc.* Repeat around. Sl st to join. Fasten off. (72 sts)
Round 12 (Color C): Join Color C. Repeat Round 5 pattern. Fasten off. (72 sts)
Round 13 (Color A): Join Color A. Sc in each st around. Sl st to join. Fasten off. (72 sts)
Your bag body should now stand approximately 4.5 to 5 inches tall.
Creating the Flap
The flap is worked separately in rows, then attached to the back of the bag.
Using Color A, ch 21.
Row 1: Sc in 2nd ch from hook and each ch across. (20 sts)
Row 2: Ch 2, turn. *Puff st, hdc.* Repeat across. (20 sts)
Row 3 (Color B): Join Color B. Ch 2, turn. *Hdc in puff, puff in hdc.* Repeat across. Fasten off. (20 sts)
Row 4 (Color C): Join Color C. Ch 2, turn. *Puff in hdc, hdc in puff.* Repeat across. Fasten off. (20 sts)
Row 5 (Color D): Join Color D. Ch 2, turn. *Hdc in puff, puff in hdc.* Repeat across. Fasten off. (20 sts)
Row 6 (Color B): Join Color B. Ch 2, turn. *Puff in hdc, hdc in puff.* Repeat across. Fasten off. (20 sts)
Row 7 (Color A): Join Color A. Ch 1, turn. Sc in each st across. (20 sts)
Border Round: Without turning, rotate to work along edges. Ch 1. Work 2 sc in each row end down the side, 3 sc in corner, sc across bottom edge, 3 sc in corner, 2 sc in each row end up the other side, sc across top. Sl st to join. Fasten off.
Twisted Handle Tutorial
The beautiful twisted handle adds such a luxe touch to this clutch.
Cut 6 strands of t-shirt yarn, each approximately 36 inches long. Use 2 strands each of navy, royal blue, and light blue.
Step 1: Knot all 6 strands together at one end. Secure this end to a fixed point, like a doorknob or heavy object.
Step 2: Separate into two groups of 3 strands each.
Step 3: Twist each group tightly to the right until it wants to kink up on itself.
Step 4: While keeping tension, twist both groups around each other to the left.
Step 5: Knot the other end to secure. Trim to approximately 8 to 10 inches finished length.
Attach handle ends to D-rings using tight wrapping or sewing securely.
Making the Tassel
Cut 12 to 15 strands of t-shirt yarn in mixed colors, each about 8 inches long.
Fold in half. Wrap another strand around the top about 1 inch down to create the tassel head. Secure with a knot. Attach to the bag’s zipper pull point or side ring using a slip knot or metal finding.
Assembly and Finishing
Attaching the flap: Position the flap along the back edge of the bag opening with the wrong side of the flap facing the right side of the bag back. Using a tapestry needle and matching yarn, whip stitch the straight edge of the flap to the back of the bag opening.
Installing the turn-lock clasp: Mark the center of the flap’s lower edge and the center of the bag front. Most turn-lock clasps come with prongs that push through the fabric. Reinforce the area with a small piece of felt if needed. Install the decorative plate on the flap and the twist mechanism on the bag body.
Adding the chain strap: Thread your t-shirt yarn through a metal chain if making your own strap. Attach strap connectors to D-rings on each side of the bag.
Weaving in ends: Take your time here. With t-shirt yarn, ends are bulkier. Weave each tail through several stitches on the wrong side, then trim close.
Optional lining: Cut fabric to match the interior dimensions. Hand sew or use fabric glue to attach inside the bag for a polished finish and to protect your belongings.
Tips for Success
Tension matters. Keep your stitches firm and even. T-shirt yarn can be unforgiving with loose stitches.
Color changes. When joining a new color, carry the previous color along the top of your stitches if you plan to use it again soon. This reduces ends to weave in.
Blocking. You can steam block t-shirt yarn gently to even out stitches. Don’t press hard or you’ll flatten the texture.
Customizing colors. This pattern works beautifully in any color family. Try blush pinks and burgundy, or sage green with cream for different aesthetics.
Make It Your Own
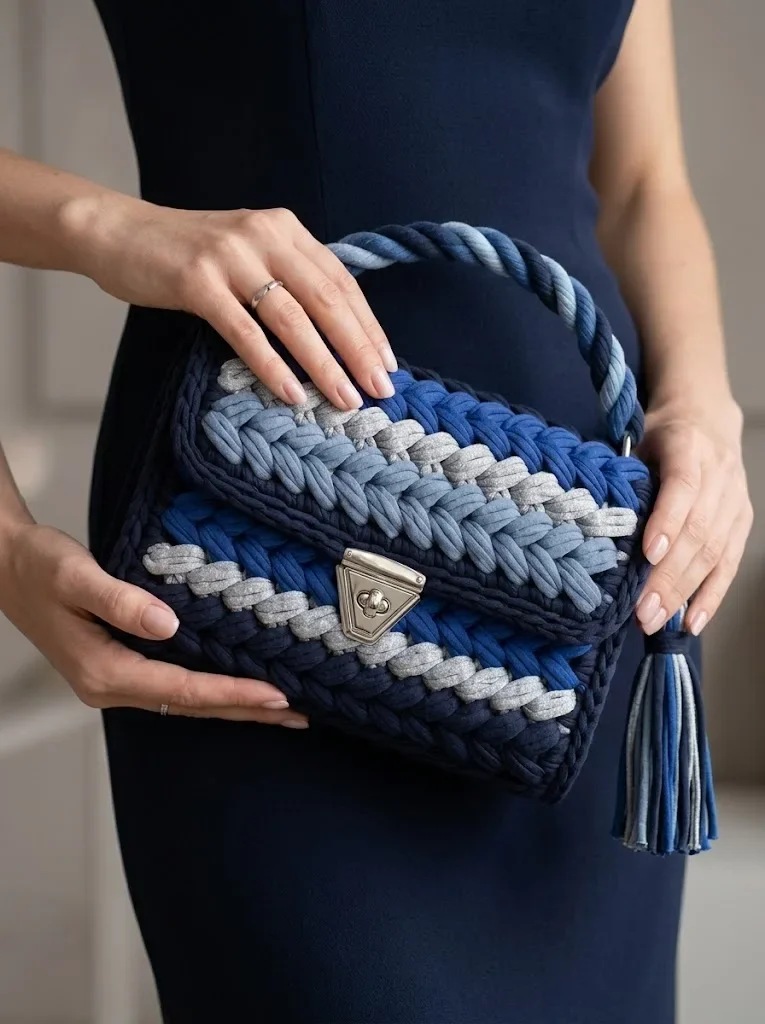
This crochet clutch pattern is a wonderful foundation for creativity. Swap the chain strap for a longer crossbody version. Add interior pockets during the lining process. Use metallic t-shirt yarn for extra sparkle at evening events.
You could also simplify by skipping the twisted handle and making this a true clutch with just the chain strap option.
Thank you so much for choosing this pattern for your next crochet project. I put so much thought into the design and instructions, and I truly hope you enjoy making your own Midnight Navy Elegant Braided Clutch. If you share your finished bag on Instagram or Facebook, please tag me because I would absolutely love to see your color combinations and personal touches.
If this pattern inspired you, go ahead and save it to your Pinterest boards so you can find it when you’re ready to start. And please drop a comment below if you make one. I read every single comment and love hearing about your crochet adventures.
You Might Also Like
- Lavender Dream Bow Crochet Vest Free Crochet Pattern
- Lavender Purple Dreamy Tassel Clutch Free Crochet Pattern
- Sage Green Textured Baby Outfit Set Free Crochet Pattern
- Mustard Yellow Sunshine Slipper Boots Free Crochet Pattern