Ocean Blue Coastal Granny Square Backpack Crochet Pattern
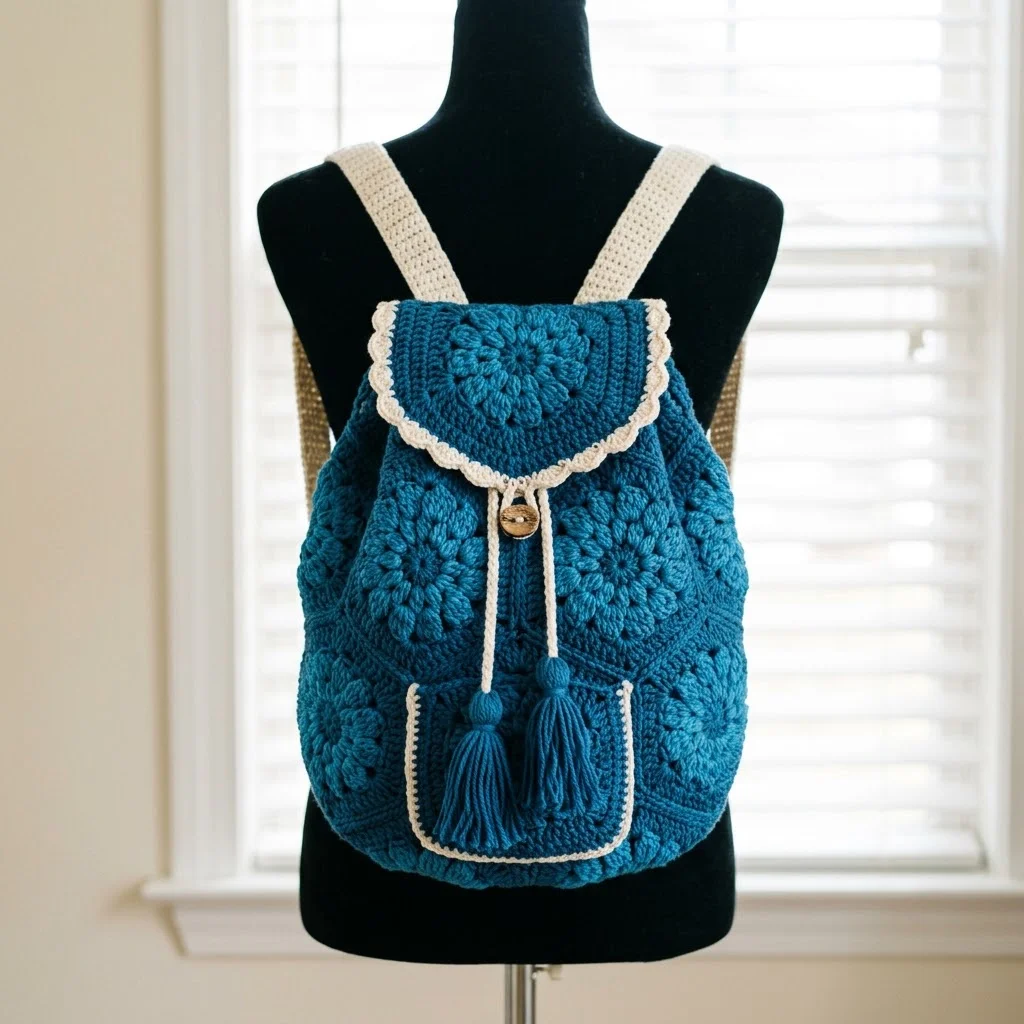
Crochet backpacks look intimidating. I get it. All those squares, the shaping, the straps, the hardware. But here’s the truth: if you can crochet a granny square and sew pieces together, you can absolutely make this bag. The construction breaks down into simple, manageable steps. You’ll work individual squares, join them, add a base, and attach straps. That’s it. Whether you’re an adventurous beginner ready for your first big project or an experienced crocheter looking for a satisfying weekend make, this pattern meets you where you are.
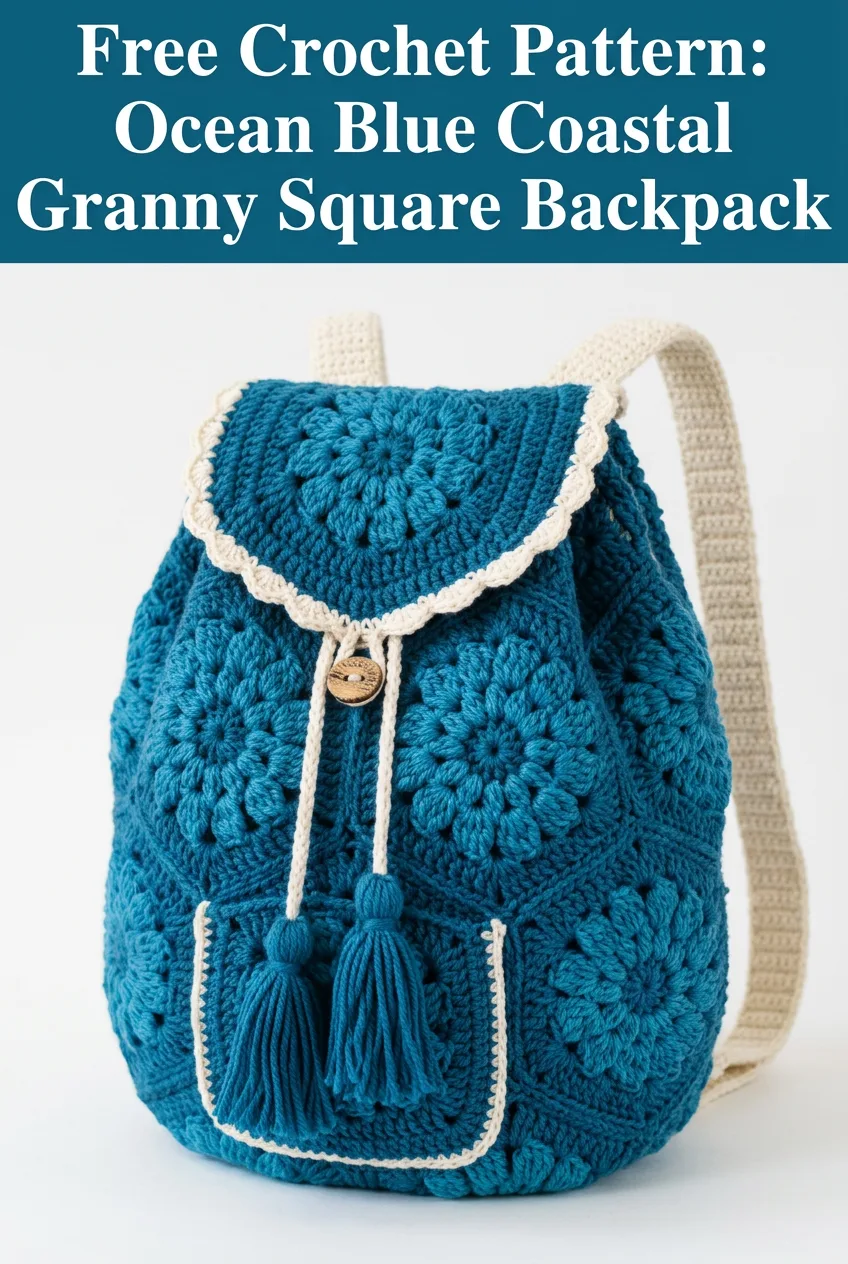
About This Coastal Granny Square Backpack Crochet Pattern
This stunning backpack features a beautiful teal blue main body constructed entirely from textured granny squares. The design uses a puff stitch center motif that creates gorgeous flower-like medallions across each square. Cream contrast trim edges the flap, pocket, and forms the adjustable shoulder straps.
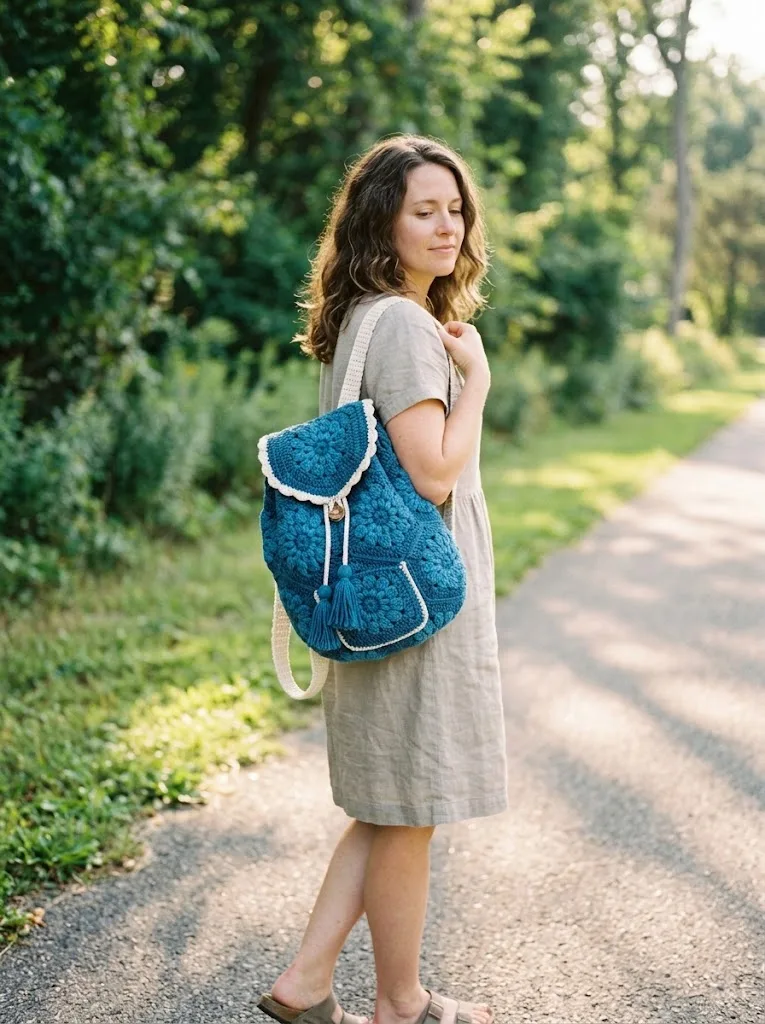
The finished backpack measures approximately 12 inches tall, 10 inches wide, and 4 inches deep. It’s roomy enough for everyday essentials while remaining lightweight and comfortable to wear.
What makes this design special:
Skill Level
Intermediate. You should be comfortable with basic crochet stitches, working in the round, and seaming pieces together. If you’ve made granny squares before, you’re ready for this project.
Materials You’ll Need
Yarn:
I recommend a sturdy cotton or cotton blend yarn for this project. Cotton holds its shape well and creates a structured bag that won’t stretch out over time. Look for yarn labeled as worsted weight or medium weight, which is sometimes called weight 4 on the yarn label.
Hook:
Notions:
Gauge
One completed granny square should measure approximately 4 inches by 4 inches after blocking.
Always check your gauge before starting. If your squares are too large, try going down one hook size. If they’re too small, go up one hook size.
Abbreviations and Stitch Definitions
Let me walk you through every stitch you’ll need for this pattern.
Ch = Chain. Wrap yarn over hook and pull through the loop on your hook. This creates one chain stitch.
Sl st = Slip stitch. Insert hook into stitch, yarn over, pull through both the stitch and the loop on your hook in one motion. Used for joining rounds.
Sc = Single crochet. Insert hook into stitch, yarn over and pull up a loop (2 loops on hook), yarn over and pull through both loops.
Dc = Double crochet. Yarn over, insert hook into stitch, yarn over and pull up a loop (3 loops on hook), yarn over and pull through 2 loops (2 loops remain), yarn over and pull through remaining 2 loops.
Hdc = Half double crochet. Yarn over, insert hook into stitch, yarn over and pull up a loop (3 loops on hook), yarn over and pull through all 3 loops at once.
Puff st = Puff stitch. (Yarn over, insert hook into stitch, yarn over and pull up a loop) 3 times in the same stitch (7 loops on hook), yarn over and pull through all 7 loops. This creates a puffy, rounded cluster.
3-dc cluster = Three double crochet cluster. Work 3 dc into the same stitch or space.
Sk = Skip. Pass over the indicated stitch without working into it.
Sp = Space. The gap or hole created between stitches, typically a chain space.
Pattern Instructions
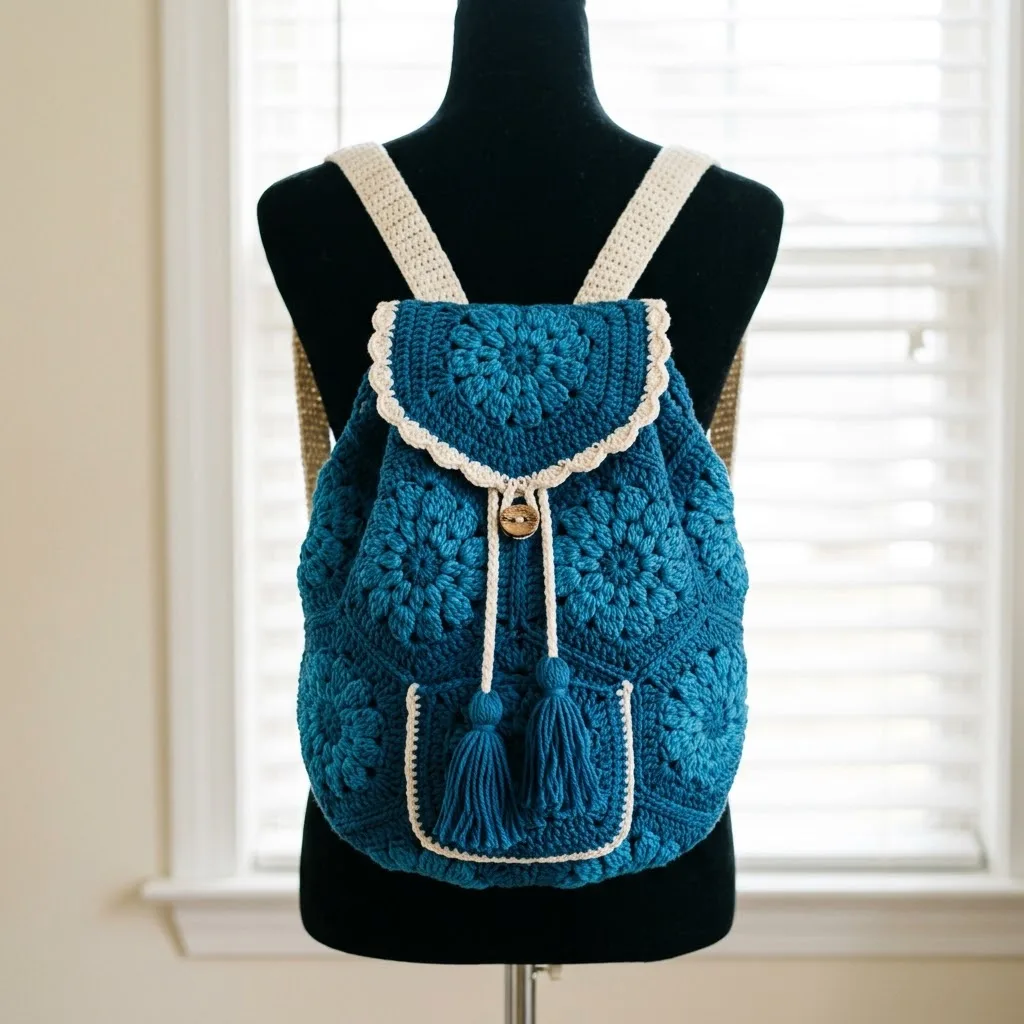
Puff Stitch Granny Square (Make 18)
You’ll need 18 identical squares for the main body of the backpack. Work all squares in the main color (teal).
Round 1: Using MC, create a magic ring. Ch 3 (counts as first dc throughout), work 2 dc into ring, ch 2, (3-dc cluster into ring, ch 2) 3 times. Sl st to top of beginning ch-3 to join. (4 clusters, 4 ch-2 spaces)
Round 2: Sl st into next 2 dc to reach corner ch-2 space. Ch 3, 2 dc in same corner sp, ch 1, work puff st in same corner sp, ch 1, 3 dc in same corner sp. *Ch 1, (3 dc, ch 1, puff st, ch 1, 3 dc) in next corner sp. Repeat from * around. Ch 1, sl st to top of beginning ch-3. (4 corner puff stitches, 8 dc clusters)
Round 3: Ch 3, dc in next 2 dc, *(3 dc, ch 2, 3 dc) in corner puff st for corner increase, dc in next 3 dc, dc in ch-1 sp, dc in next 3 dc.* Repeat from * around, ending with sl st to beginning ch-3. (4 corners, 15 dc per side including corners)
Round 4: Ch 3, dc in each dc around, working (2 dc, ch 2, 2 dc) in each corner ch-2 space. Sl st to beginning ch-3. (19 dc per side including corners)
Round 5: Ch 3, dc in each dc around, working (2 dc, ch 2, 2 dc) in each corner ch-2 space. Sl st to beginning ch-3. Fasten off. (23 dc per side including corners)
Weave in ends on all squares. Block squares to 4 inches by 4 inches for easier assembly.
Joining the Squares
For the Main Body:
Arrange 12 squares in a strip, 3 squares wide by 4 squares tall. This will wrap around to form the sides and front/back of the backpack.
To join, hold two squares with right sides together. Using MC, work sc through both layers along one edge, inserting your hook through corresponding stitches on each square. This creates a neat, slightly raised seam on the inside.
Join all 12 squares into a 3×4 rectangular panel. Then join the short ends together to form a tube.
For the Bottom:
You’ll create an oval base to close the bottom of the bag.
Round 1: Using MC, ch 15. Sc in 2nd ch from hook and in next 12 ch, 3 sc in last ch (this creates a turn at the end). Working along the opposite side of the foundation chain, sc in next 12 ch, 2 sc in last ch. Sl st to first sc. (30 sc)
Round 2: Ch 1, sc in first sc, sc in next 12 sc, 2 sc in each of next 3 sc, sc in next 13 sc, 2 sc in each of next 2 sc. Sl st to first sc. (36 sc)
Round 3: Ch 1, sc in each sc around, increasing 6 stitches evenly around the curved ends. Sl st to first sc. (42 sc)
Continue increasing until the oval base fits snugly into the bottom opening of your square tube. Typically 2 to 3 more rounds.
Pin the base to the tube and whip stitch in place using a yarn needle and MC.
Flap
The flap features a beautiful half-circle design with a puff stitch center and scalloped edge.
Row 1: Using MC, ch 4. Sl st to first ch to form a ring. Ch 3, work 11 dc into ring. Turn. (12 dc, do not join)
Row 2: Ch 3, dc in first dc, 2 dc in each dc across. Turn. (24 dc)
Row 3: Ch 3, dc in first dc, *dc in next dc, 2 dc in next dc.* Repeat from * across. Turn. (36 dc)
Row 4: Ch 3, dc in each dc across. Turn. (36 dc)
Row 5: Ch 3, *dc in next 2 dc, 2 dc in next dc.* Repeat from * across. Turn. (48 dc)
Row 6: Ch 3, dc in each dc across. Fasten off MC. (48 dc)
Scallop Edging:
Join CC at the beginning of the curved edge.
*Sk 1 st, 5 dc in next st, sk 1 st, sl st in next st.* Repeat from * around the curved portion of the flap. Fasten off.
Straps (Make 2)
Using CC, ch 10.
Row 1: Sc in 2nd ch from hook and in each ch across. Turn. (9 sc)
Rows 2 to 90: Ch 1, sc in each sc across. Turn. (9 sc)
Adjust length as needed. Each strap should measure approximately 26 to 30 inches for comfortable wear.
Fasten off and weave in ends.
Front Pocket
Rounds 1 to 5: Work exactly as the main granny square pattern.
Round 6: Using CC, join in any corner. Ch 1, sc in each st around, working 3 sc in each corner ch-2 space. Sl st to first sc. Fasten off.
Tassels (Make 2)
Cut approximately 20 strands of MC, each 8 inches long. Fold the bundle in half. Tie a separate strand tightly around the bundle about half an inch from the fold to create the tassel head. Trim ends evenly.
Assembly
1. Attach the flap: Position the straight edge of the flap along the top back edge of the backpack. Whip stitch securely using MC.
2. Attach the pocket: Center the pocket on the front of the backpack, approximately 2 inches from the bottom. Whip stitch three sides, leaving the top open.
3. Attach tassels: Secure one tassel to each top corner of the pocket.
4. Create drawstring: Using CC, ch 120 or desired length. Sc in 2nd ch from hook and in each ch across. Weave through the stitches around the top opening of the backpack.
5. Add wooden bead: Thread both ends of the drawstring through the wooden bead.
6. Attach button: Sew the wooden button to the front of the backpack, positioned so it aligns with the flap when closed.
7. Create button loop: Using CC, ch 15. Sl st to form a loop. Attach to the underside of the flap tip.
8. Attach straps: Position the bottom of each strap at the lower back corners of the backpack. Whip stitch securely. Attach the top of each strap to the upper back edges, approximately 3 inches apart.
Tips for Success
Blocking matters. Seriously. Wet block your squares before assembly. They’ll be much easier to join when they’re all exactly the same size.
Use stitch markers generously. Mark your corners, mark where pieces should line up. Your future self will thank you.
Try the straps before final attachment. Pin them in place and try the backpack on. Adjust length and position as needed before you commit to sewing.
Consider adding a lining. For extra durability and to prevent small items from poking through, you can sew a fabric lining into the finished backpack.
Customization Ideas
This crochet pattern works beautifully in so many color combinations. Try a sunset palette with coral and gold. Go neutral with beige and brown. Or make it bold with bright pink and white trim.
You could also add a zipper pocket to the inside for valuables, or create an interior divider using simple single crochet fabric.
Thank you so much for choosing this pattern for your next project. I truly hope you love making it as much as I loved designing it. When you finish your backpack, I’d absolutely love to see it! Tag me on Instagram or share a photo in our Facebook group.
If this coastal granny square backpack is calling your name but you’re not quite ready to start today, go ahead and save this pattern to your Pinterest boards so you can find it easily later. And please, leave a comment below when you make yours. I read every single one and they honestly make my day.
You Might Also Like
- Sage Green Tiered Wall Planter Free Crochet Pattern
- Mint Chocolate Daisy Granny Square Blanket Free Crochet Pattern
- Midnight Silver Lace Bucket Bag Free Crochet Pattern
- Wildflower Meadow Crochet Pot Free Crochet Pattern