Cream White Nursery Wall Organizer Free Crochet Pattern
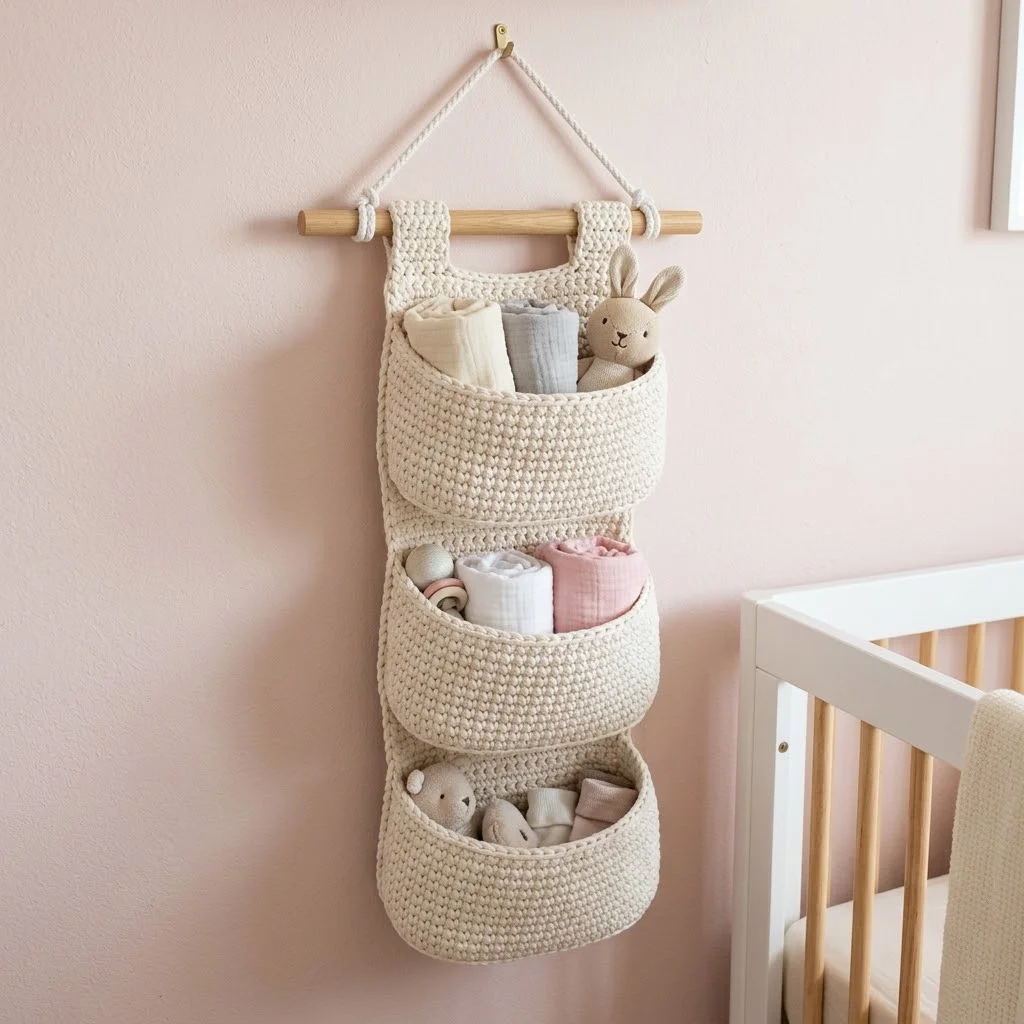
This is a three-pocket wall organizer worked in single crochet with a sturdy cotton yarn. It hangs from a wooden dowel, stores baby essentials beautifully, and uses only basic stitches. If you can crochet a rectangle and a half circle, you can make this.
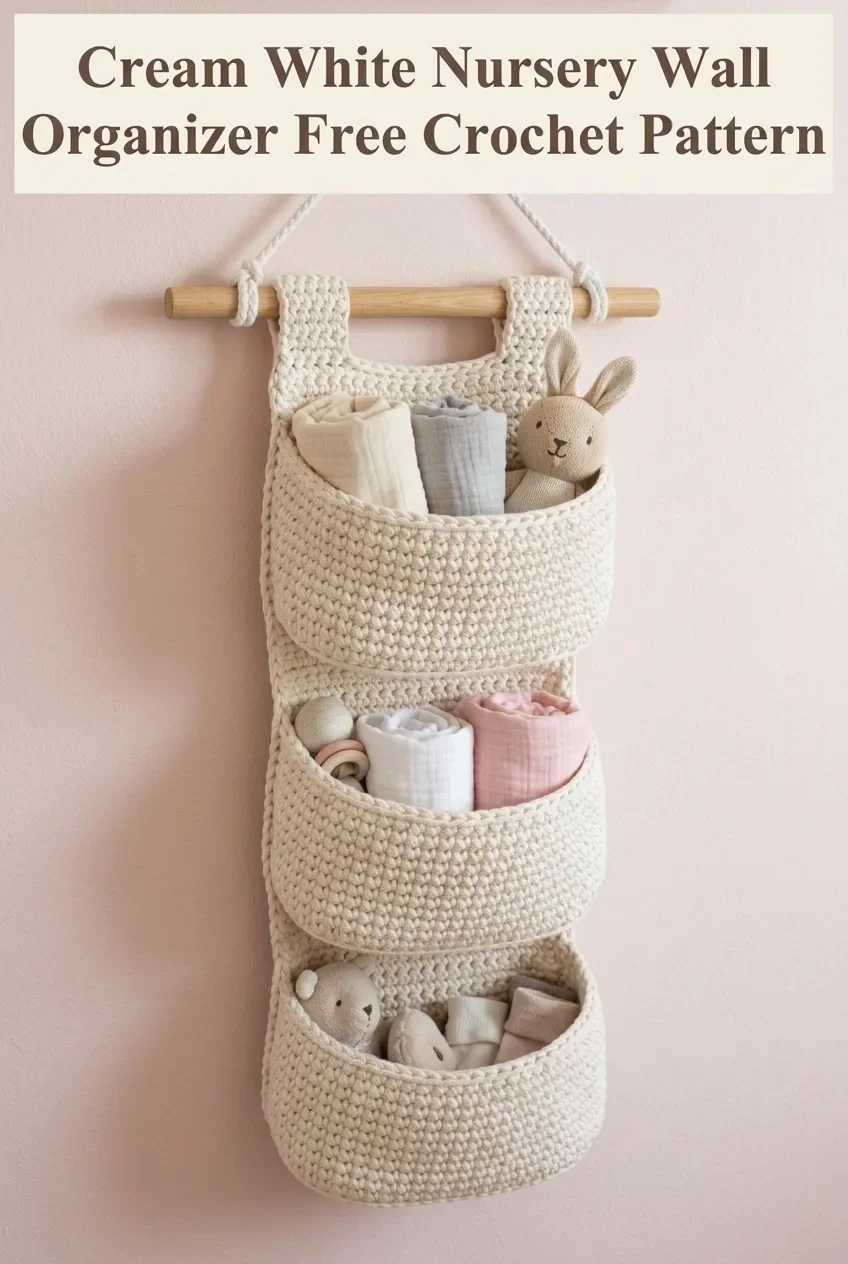
Why You’ll Love This Nursery Wall Organizer Crochet Pattern
I made this wall organizer for my sister’s nursery, and it immediately became the most useful thing hanging on her wall. Burp cloths, tiny socks, stuffed animals, swaddles. Everything has a spot now. No more digging through drawers at 2 AM.
The design is simple on purpose. Three rounded pockets attach to a flat back panel, and the whole thing slides onto a wooden dowel with crocheted tabs. The cream color works in any nursery, but you could easily switch to soft pink, sage green, or dusty blue.
What I love most is how sturdy this turns out. Using a smaller hook than recommended for your yarn creates a tight, dense fabric. The pockets hold their shape even when stuffed full. This is functional decor that actually works.
Skill Level
Confident beginner to intermediate. You need to know how to work single crochet in rows and rounds, increase evenly, and seam pieces together. I walk you through everything step by step.
Finished Dimensions
Back Panel: Approximately 10 inches wide by 28 inches long
Each Pocket: Approximately 10 inches wide by 5 inches deep by 4 inches tall
Hanging Tabs: Approximately 2 inches wide by 4 inches long
Total Hanging Length: Approximately 34 inches from dowel to bottom
Materials Needed
Yarn: Approximately 400 to 450 grams of worsted weight cotton yarn in cream or off-white. I recommend Lily Sugar’n Cream or Bernat Handicrafter Cotton for durability and stitch definition. Cotton holds its shape better than acrylic for this project.
Hook: 5.0 mm (US H/8) crochet hook. Going down a hook size from the yarn recommendation creates the dense fabric you need.
Wooden Dowel: One wooden dowel, 12 inches long and approximately 3/4 inch diameter. You can find these at any craft store.
Hanging Cord: Approximately 24 inches of cotton rope or macramé cord for hanging.
Other Supplies:
Gauge
16 stitches and 18 rows = 4 inches in single crochet worked flat. Check your gauge before starting. A tighter gauge means sturdier pockets.
Abbreviations Used
Ch = Chain: Wrap yarn over hook, pull through loop on hook. This creates your foundation.
Sc = Single Crochet: Insert hook into stitch, yarn over, pull up a loop (2 loops on hook), yarn over, pull through both loops.
Inc = Increase: Work 2 single crochet stitches into the same stitch. This adds one stitch to your count.
Sl st = Slip Stitch: Insert hook into stitch, yarn over, pull through stitch and loop on hook in one motion. Used for joining rounds.
St(s) = Stitch(es)
Rep = Repeat
Pattern Notes
Read these before you start. They will save you confusion later.
This pattern uses US crochet terminology.
The back panel is worked flat in rows. The pockets are worked in joined rounds, starting from an oval base and building up the sides. The tabs are worked flat and sewn on last.
Turning chain does not count as a stitch throughout this entire pattern. This keeps your edges clean and your stitch count consistent.
When working the pocket sides, you will stop increasing and work even. This creates the straight walls that hold everything in.
I recommend using stitch markers at the beginning of each round for the pockets. It is easy to lose your place when working in a spiral.
Cream White Nursery Wall Organizer Crochet Pattern Instructions
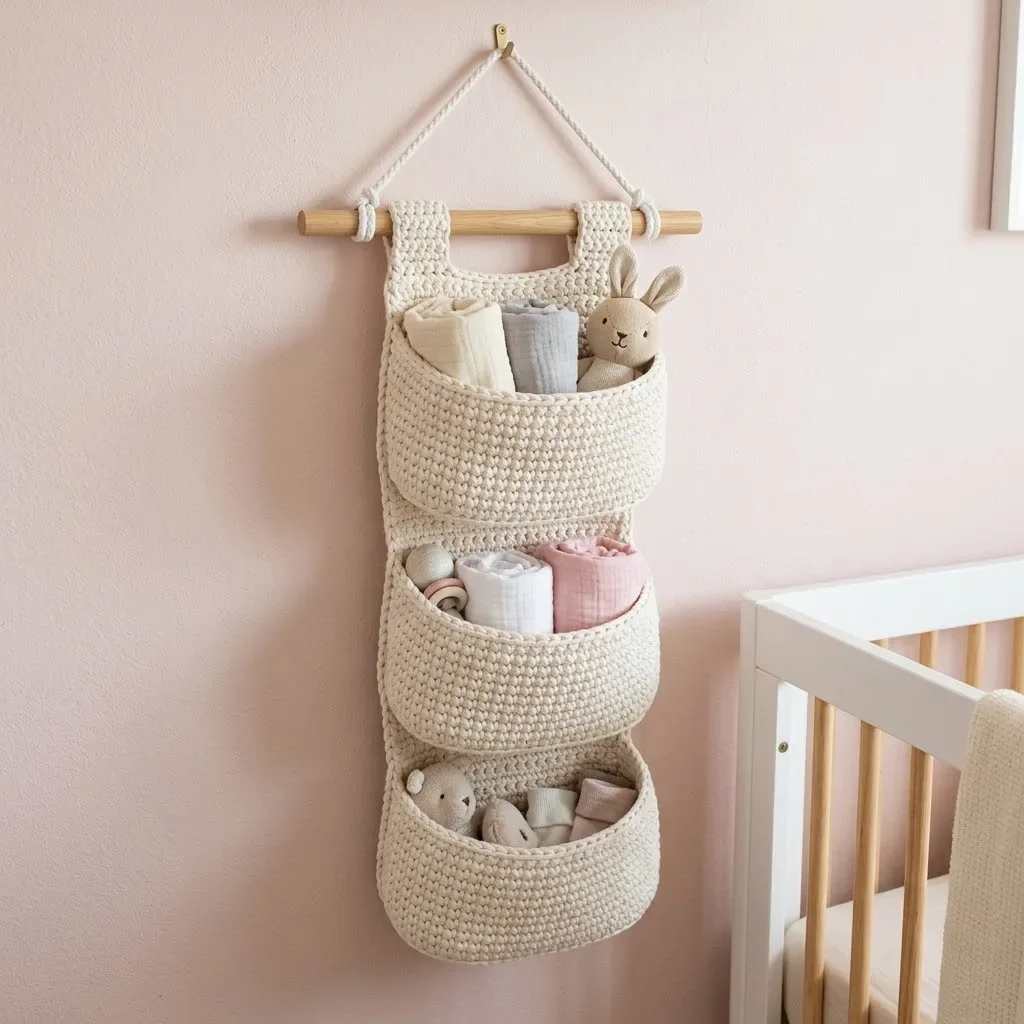
Back Panel
This is the foundation that everything attaches to. Work it flat, back and forth in rows.
Row 1: Ch 41. Sc in 2nd ch from hook and in each ch across. (40 sts)
Row 2: Ch 1, turn. Sc in each st across. (40 sts)
Rows 3 through 112: Rep Row 2. (40 sts each row)
You should have a rectangle approximately 10 inches wide and 28 inches long. If yours is shorter, add more rows until you reach the length.
Fasten off and weave in ends.
Tip for beginners: Count your stitches every 10 rows or so. If you are accidentally increasing or decreasing, catching it early is much easier than frogging later.
Pockets (Make 3)
Each pocket starts with an oval base, then you work up the sides. The base creates the depth, and the sides create the height.
Pocket Base (Oval)
Round 1: Ch 26. Sc in 2nd ch from hook, sc in next 23 ch, 3 sc in last ch. Working along the opposite side of the foundation chain, sc in next 23 sts, 2 sc in last st. Join with sl st to first sc. (52 sts)
Round 2: Ch 1. Sc in first st, sc in next 23 sts, 2 sc in each of next 3 sts, sc in next 24 sts, 2 sc in each of next 2 sts. Join with sl st. (58 sts)
Round 3: Ch 1. Sc in first 25 sts, (sc, inc) 3 times, sc in next 25 sts, (sc, inc) 2 times. Join with sl st. (64 sts)
Round 4: Ch 1. Sc in first 26 sts, (2 sc, inc) 3 times, sc in next 26 sts, (2 sc, inc) 2 times. Join with sl st. (70 sts)
Your oval should measure approximately 10 inches long and 4 to 5 inches wide.
Pocket Sides
Now you build up the walls. No more increasing from here.
Round 5: Ch 1. Working in back loops only this round, sc in each st around. Join with sl st. (70 sts)
Working in the back loop only creates a visible ridge that defines the base from the sides. It also helps the pocket stand up properly.
Rounds 6 through 16: Ch 1. Sc in both loops of each st around. Join with sl st. (70 sts each round)
Round 17 (Top Edge): Ch 1. Sc in each st around. Join with sl st. Fasten off. (70 sts)
Your pocket should be approximately 4 inches tall from base to top edge.
Make 2 more pockets following the same instructions.
Troubleshooting: If your pockets are floppy, your gauge may be too loose. Try going down another hook size, or consider lightly starching the finished piece.
Hanging Tabs (Make 2)
These wrap around the wooden dowel and attach to the top of the back panel.
Row 1: Ch 9. Sc in 2nd ch from hook and in each ch across. (8 sts)
Rows 2 through 16: Ch 1, turn. Sc in each st across. (8 sts)
Fasten off, leaving a long tail for sewing.
Your tabs should measure approximately 2 inches wide and 4 inches long.
Assembly
This is where your organizer comes together. Take your time with the seaming. Neat stitches here make the finished piece look polished.
Attaching the Tabs
Fold each tab in half lengthwise, creating a loop large enough for your dowel to slide through. Position the tabs approximately 2 inches from each side edge of the back panel, at the very top.
Using your tapestry needle and matching yarn, whip stitch both ends of each tab securely to the back of the panel. Reinforce these stitches. The tabs bear all the weight when hanging.
Positioning the Pockets
Lay your back panel flat with the right side facing up. Place your three pockets evenly spaced along the length.
Top Pocket: Position the top edge approximately 3 inches below the tabs.
Middle Pocket: Position approximately 3 inches below the bottom of the top pocket.
Bottom Pocket: Position approximately 3 inches below the middle pocket, leaving a few inches at the very bottom.
Pin or use stitch markers to hold the pockets in place before sewing.
Sewing the Pockets
Using your tapestry needle and a long length of yarn, whip stitch around the back half of each pocket base to attach it to the back panel. You are sewing through the back panel and the bottom edge of the pocket simultaneously.
Important: Only sew the back portion of each pocket to the panel. The front curves outward to create the pocket opening. Sew approximately halfway around each oval, following the curve.
When you reach the sides where the pocket curves toward you, stop sewing. This leaves the front of the pocket open and functional.
Secure your stitches well and weave in all ends.
Adding the Dowel and Hanging Cord
Slide your wooden dowel through both tab loops.
Cut your cotton rope or macramé cord to approximately 24 inches. Tie each end securely to the ends of the dowel, creating a triangle shape for hanging.
Adjust the cord length based on where you want to hang your organizer. A longer cord means it hangs lower from the hook.
Customization Ideas
Different Colors: Make each pocket a different pastel shade for a rainbow effect. Or use two colors, alternating rows on the back panel for subtle stripes.
Larger Pockets: Add more rounds to the pocket sides for deeper storage. Each additional round adds roughly a quarter inch of height.
Fewer Pockets: Make only two pockets for a shorter organizer, perfect for smaller wall spaces.
Decorative Edging: Add a round of reverse single crochet (also called crab stitch) around the top of each pocket for a twisted rope look.
Labels: Crochet small rectangles and embroider words like “socks” or “toys” to attach to the front of each pocket.
Care Instructions
Spot clean when possible by wiping with a damp cloth.
Hand wash in cool water with mild detergent if needed. Gently squeeze out excess water. Do not wring or twist.
Lay flat to dry on a towel, reshaping the pockets while damp. Cotton may shrink slightly if machine washed or dried with heat.
Do not bleach. Even cream cotton can yellow with bleach exposure.
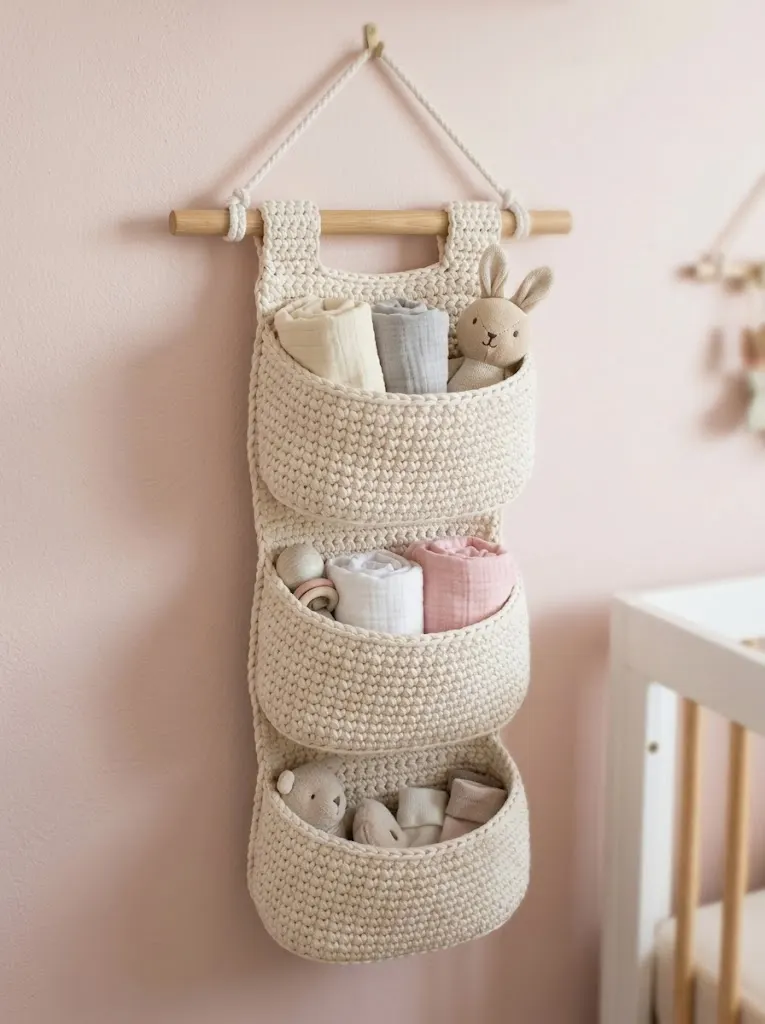
Final Thoughts on This Nursery Wall Organizer Crochet Pattern
This crochet tutorial walks you through creating something genuinely useful. Not just cute, but functional. Every parent I have gifted this to has raved about how much easier it makes grabbing essentials during diaper changes or middle of the night feedings.
The step by step instructions are designed for crocheters who want a clear path from start to finish. No guessing, no vague suggestions. Just straightforward directions that get you to a beautiful finished piece.
If you are making this as a baby shower gift, consider adding a few small items in the pockets. A pair of booties, a teething ring, or a soft washcloth. It shows extra thought and makes the gift feel complete.
Thank you so much for choosing this pattern. I really hope you love making it as much as I loved designing it. If you finish your wall organizer, I would absolutely love to see it. Tag me on Instagram or share a photo in my Facebook group. Seeing your makes is genuinely the best part of my day.
If this pattern is calling your name but you are not quite ready to start yet, pin it to your favorite Pinterest board so you can find it easily later. And please drop a comment below if you make one. I love hearing how your projects turn out and which colors you chose.
You Might Also Like
- Dusty Rose Floral Lace Bucket Bag Free Crochet Pattern
- Galaxy Purple Chameleon Amigurumi Free Crochet Pattern
- Lavender Dream Bow Crochet Vest Free Crochet Pattern
- Lavender Purple Dreamy Peplum Crochet Top Pattern