Pastel Rainbow Kitty Tote Bag Free Crochet Pattern
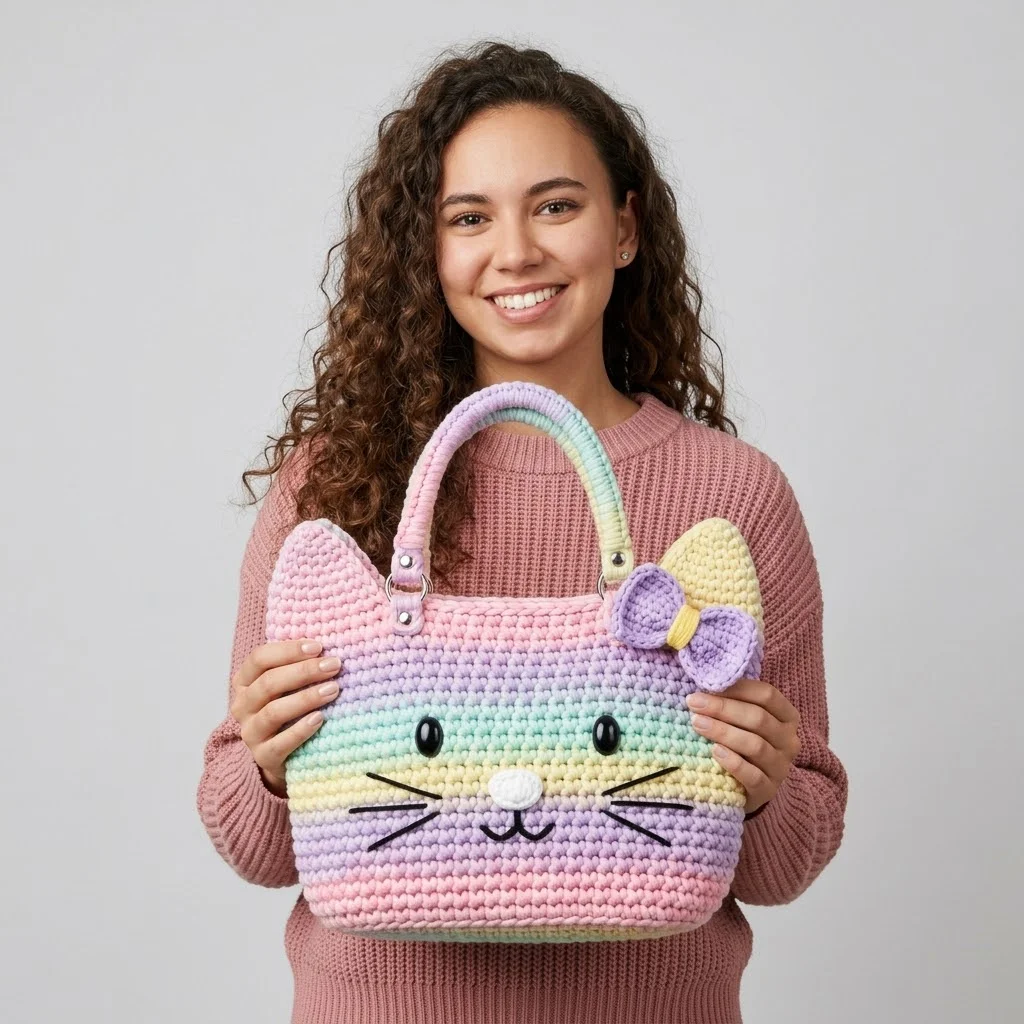
Last summer, my niece announced that she needed a bag “as cute as a kitty but also rainbow because rainbows are the best.” She said this with such conviction that I immediately grabbed my hook and started sketching. Three prototypes and one very happy seven-year-old later, this pastel rainbow kitty tote bag was born. She carries it everywhere now. To the library, to grandma’s house, to the grocery store where she insists on holding her own snacks. If you have a little one in your life who would flip over a bag with ears, whiskers, and a bow, this is the project for you.
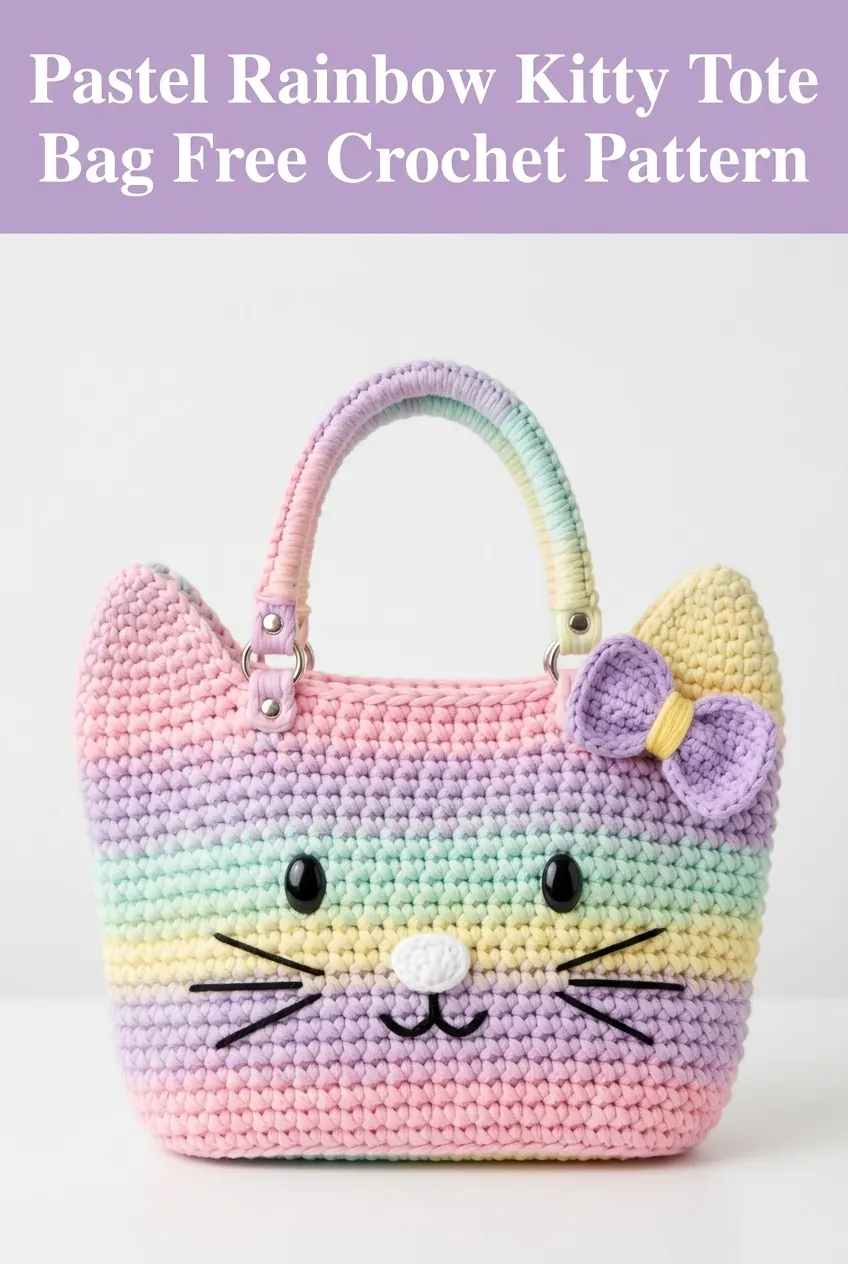
Why This Crochet Pattern Works
This pastel rainbow kitty tote bag combines everything kids love. Soft colors, an adorable cat face, and a functional bag they can actually use. But here’s what makes it work for you as the maker. The construction is straightforward. You’re working in continuous rounds with single crochet, which means minimal counting and no complicated stitch patterns to memorize.
The rainbow gradient effect looks impressive, but it’s achieved simply by changing yarn colors every few rounds. No fancy colorwork techniques required. The face details are added after the bag is complete, so you have full control over placement. If the whiskers look a little wonky on your first try, just pull them out and reposition.
Skill level: Confident beginner to intermediate. If you can single crochet in the round and change colors, you can make this bag.
Materials You’ll Need
Yarn:
– Light pink (approximately 80 yards)
– Soft mint or aqua (approximately 60 yards)
– Pale yellow (approximately 60 yards)
– Light lavender (approximately 80 yards)
– White (small amount for nose, approximately 10 yards)
– Black (small amount for whiskers, approximately 5 yards)
Cotton yarn works best for this project because it holds its shape well and creates a sturdy fabric perfect for a bag. I recommend a yarn like Lily Sugar’n Cream or similar mercerized cotton.
Hook:
Notions:
Gauge
14 single crochet stitches and 16 rows = 4 inches in single crochet worked in continuous rounds.
Gauge matters here because it affects the final bag size. Too loose and your bag will be floppy. Too tight and it won’t hold much. Take five minutes to check your gauge. Your future self will thank you.
Finished Dimensions
Approximately 10 inches wide by 8 inches tall (not including ears or handle).
Abbreviations and Stitch Definitions
Ch = Chain. Wrap yarn over hook and pull through the loop on your hook. This creates a foundation stitch.
Sc = Single crochet. Insert hook into stitch, yarn over and pull up a loop (two loops on hook), yarn over and pull through both loops.
Inc = Increase. Work two single crochet stitches into the same stitch. This adds one stitch to your count.
Dec = Decrease. Insert hook into first stitch and pull up a loop, insert hook into next stitch and pull up a loop (three loops on hook), yarn over and pull through all three loops. This removes one stitch from your count.
Sl st = Slip stitch. Insert hook into stitch, yarn over and pull through both the stitch and the loop on your hook in one motion.
St(s) = Stitch(es)
Crochet Pattern Instructions
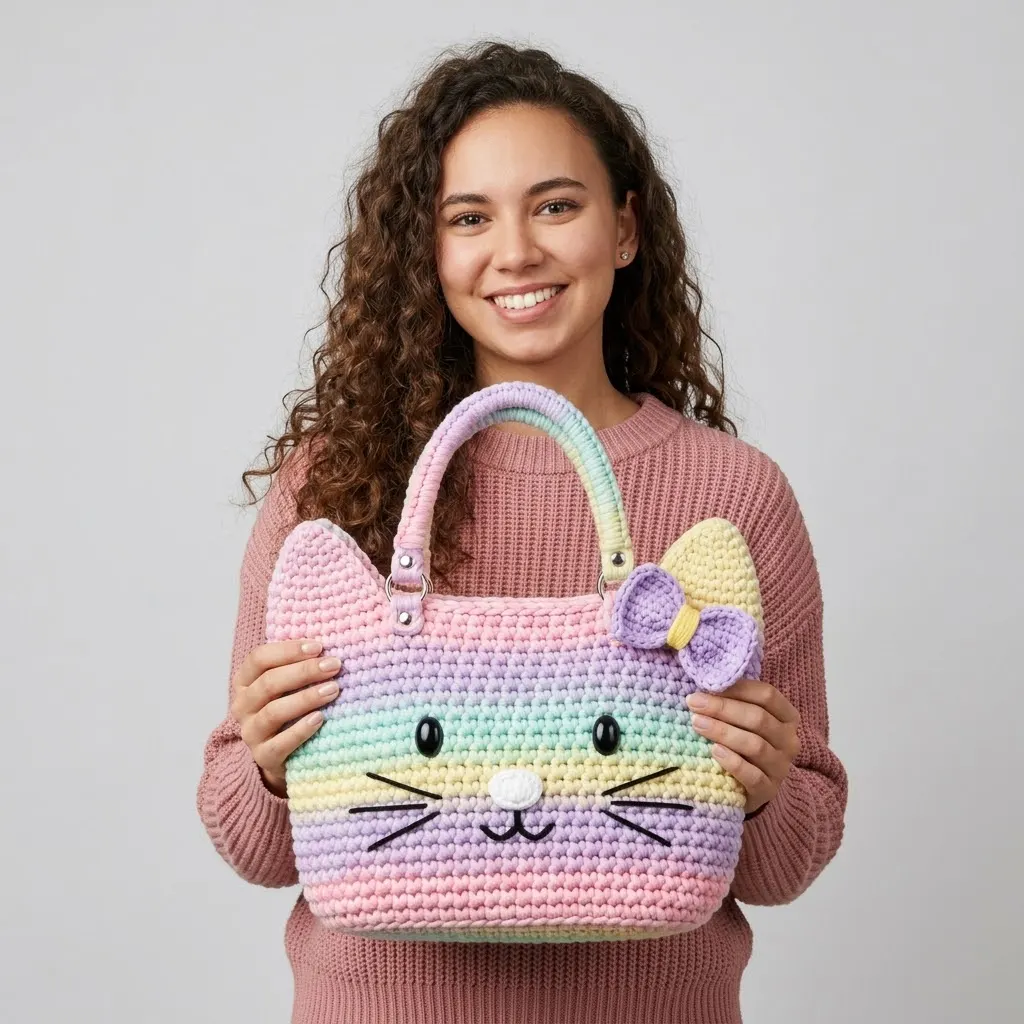
Bag Body (Make 2 Panels)
You’ll create two identical flat panels, then join them together. This gives you a clean finish on both sides of the bag.
Starting with lavender yarn:
Row 1: Ch 29. Sc in second ch from hook and in each ch across. Turn. (28 sts)
Rows 2-8: Ch 1 (does not count as a stitch here and throughout), sc in each st across. Turn. (28 sts)
Change to pale yellow:
Rows 9-14: Ch 1, sc in each st across. Turn. (28 sts)
Change to soft mint:
Rows 15-20: Ch 1, sc in each st across. Turn. (28 sts)
Change to light pink:
Rows 21-28: Ch 1, sc in each st across. Turn. (28 sts)
Fasten off and weave in ends. Make a second panel identical to this one.
Don’t stress about your color changes being perfectly neat on the edges. These will be hidden when you join the panels together.
Joining the Panels
Hold both panels together with wrong sides facing each other. Using lavender yarn and starting at the bottom corner, single crochet through both layers along the bottom edge and up both sides. Leave the top edge open.
Work approximately 3 sc per 2 rows along the sides to keep the edge flat. Join with a slip stitch. Fasten off.
Top Edging
With lavender, join yarn at one side seam. Sc evenly around the entire top opening. Join with sl st. Fasten off. This creates a finished edge and strengthens the opening.
Cat Ears (Make 2)
The ears use light pink yarn throughout.
Round 1: Create a magic ring. Work 4 sc into the ring. Do not join. Place a stitch marker in the first stitch of each round. (4 sts)
Round 2: Inc in each st around. (8 sts)
Round 3: *Sc 1, inc* repeat around. (12 sts)
Round 4: *Sc 2, inc* repeat around. (16 sts)
Round 5: *Sc 3, inc* repeat around. (20 sts)
Round 6: *Sc 4, inc* repeat around. (24 sts)
Round 7: Sc in each st around. (24 sts)
Sl st to join. Fasten off, leaving a long tail for sewing.
The ears should form a triangular shape naturally. Flatten them slightly before attaching to emphasize the pointed cat ear look.
Bow (Large Bow with Center Wrap)
Main Bow Loop (Make 2):
Using pale yellow yarn:
Row 1: Ch 12. Sc in second ch from hook and in each ch across. Turn. (11 sts)
Rows 2-8: Ch 1, sc in each st across. Turn. (11 sts)
Fasten off, leaving a tail. Fold each rectangle in half lengthwise and whip stitch the short ends together to create a loop.
Center Wrap:
Using lavender yarn:
Row 1: Ch 6. Sc in second ch from hook and in each ch across. Turn. (5 sts)
Rows 2-6: Ch 1, sc in each st across. Turn. (5 sts)
Fasten off with a long tail.
Assembling the Bow:
Stack both yellow loops together. Pinch them in the center to create the bow shape. Wrap the lavender rectangle around the center and stitch it securely in the back. The bow should measure approximately 3 inches wide.
Handle
The handle is worked around a sturdy core. You can use rope, plastic tubing, or a thick chain as the base.
Using your rainbow colors in rotation (start with lavender, then yellow, mint, pink), wrap yarn tightly around approximately 12 inches of cord or rope. Secure each color change with a small knot hidden underneath.
Alternatively, crochet a simple chain of approximately 80 stitches, then single crochet back along the chain to create a sturdy strap. Change colors every 20 stitches to maintain the rainbow effect.
Attach D-rings or swivel clips to each end of the handle for easy attachment to the bag.
Nose
Using white yarn:
Round 1: Create a magic ring. Work 6 sc into the ring. (6 sts)
Round 2: Inc in each st around. (12 sts)
Sl st to join. Fasten off with a long tail.
Assembly and Face Details
Positioning the Eyes:
Place safety eyes on the front panel of the bag, approximately 3 inches down from the top edge and 2.5 inches apart. Push the posts through the fabric and secure with the washers on the inside.
If you’re making this for a very young child, consider embroidering the eyes instead of using safety eyes. Simply stitch black circles using satin stitch for a safer alternative.
Attaching the Nose:
Center the white nose below and between the eyes, approximately 1.5 inches down. Whip stitch in place using the yarn tail.
Creating the Whiskers:
Cut three strands of black yarn, each approximately 6 inches long. Thread your yarn needle and create three horizontal lines on each side of the nose using a simple running stitch or backstitch. Trim the ends to your desired whisker length, approximately 2 inches.
Attaching the Ears:
Position the ears at the top corners of the bag, angled slightly outward. Pin in place first to check your placement. Using the long tail, whip stitch securely around the base of each ear.
Attaching the Bow:
Stitch the bow to the right side of the bag (from the wearer’s perspective), just below and to the side of the right ear.
Attaching the Handle:
Secure the handle hardware to the top edge of the bag, positioning the attachment points approximately 2 inches in from each side seam.
Helpful Tips for Success
Color placement matters. The face details show up best against the lighter colors in the middle of the bag. Position your eyes and nose in the mint or yellow section for maximum visibility.
Block your panels. Before joining, wet block both panels and let them dry flat. This evens out your stitches and makes the final bag look much more polished.
Reinforce the handle attachment. Little hands can be rough on bags. Stitch around the D-ring attachment points several times, or add a small fabric reinforcement on the inside.
Consider adding a lining. A simple fabric lining prevents small items from poking through the crochet fabric and adds durability. Cut two rectangles of coordinating fabric slightly smaller than your panels, sew them together, and hand stitch to the inside of the bag.
Customization Ideas
This pastel rainbow kitty tote bag pattern is wonderfully adaptable. Try these variations:
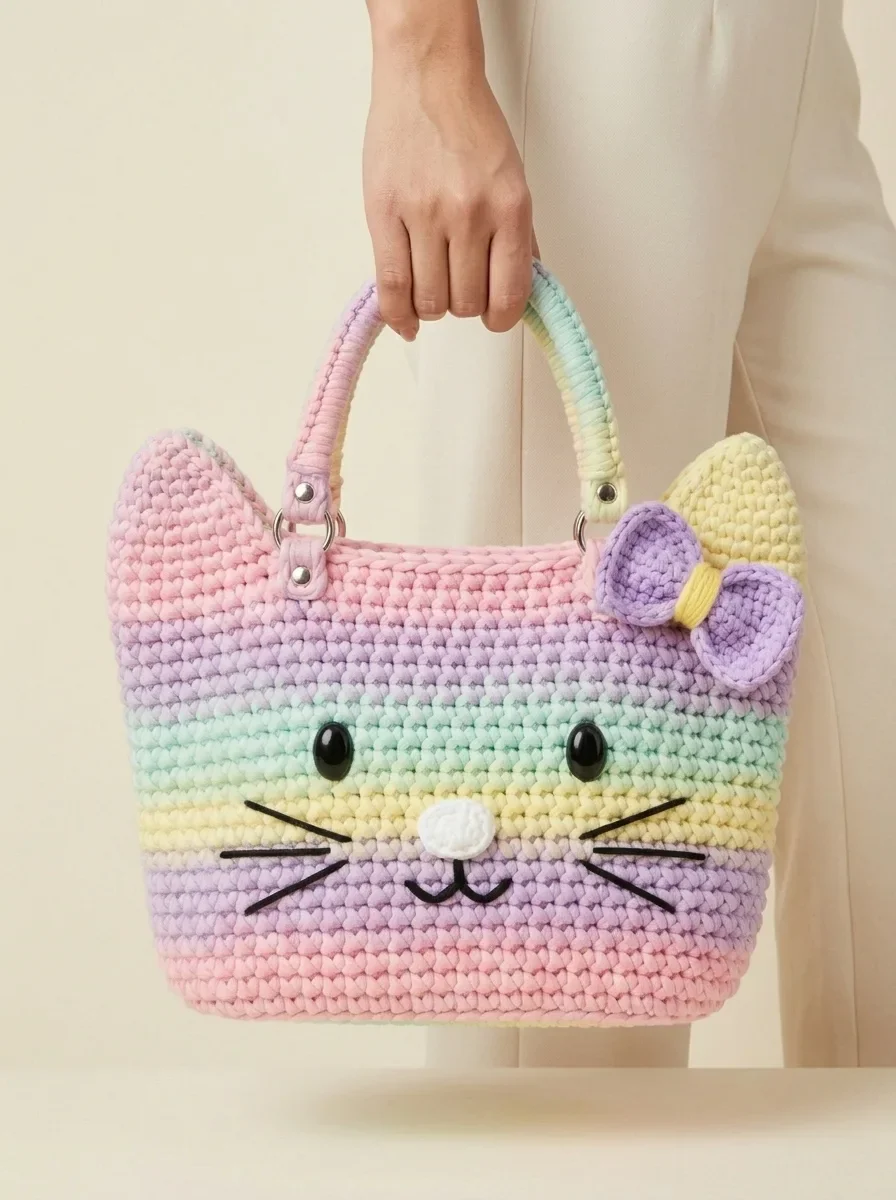
Care Instructions
For cotton yarn bags, hand washing is best. Soak in cool water with a gentle detergent, squeeze out excess water (don’t wring), and lay flat to dry. Reshape the ears and bow while damp.
I really hope you love making this pastel rainbow kitty tote bag as much as I enjoyed designing it. The look on a child’s face when they see something made just for them is absolutely priceless. Thank you so much for choosing this pattern for your next project. I’d love to see your finished bags, so please tag me on Instagram or share your photos in my Facebook group. Seeing your creations honestly makes my whole week.
If this pattern brightened your day, go ahead and save it to your Pinterest boards so you can find it easily when you’re ready to start. And please drop a comment below if you make one. I’d love to hear which color combination you chose or who the lucky recipient will be!
You Might Also Like
- Dusty Rose Floral Crochet Summer Boots Free Pattern
- Pink Valentine Highland Cow Amigurumi Free Crochet Pattern
- Coral Sunset Crochet Summer Boots Free Pattern
- Ocean Blue Ombre Crochet Platform Wedge Sandals Pattern