Sage Green Tiered Wall Planter Free Crochet Pattern
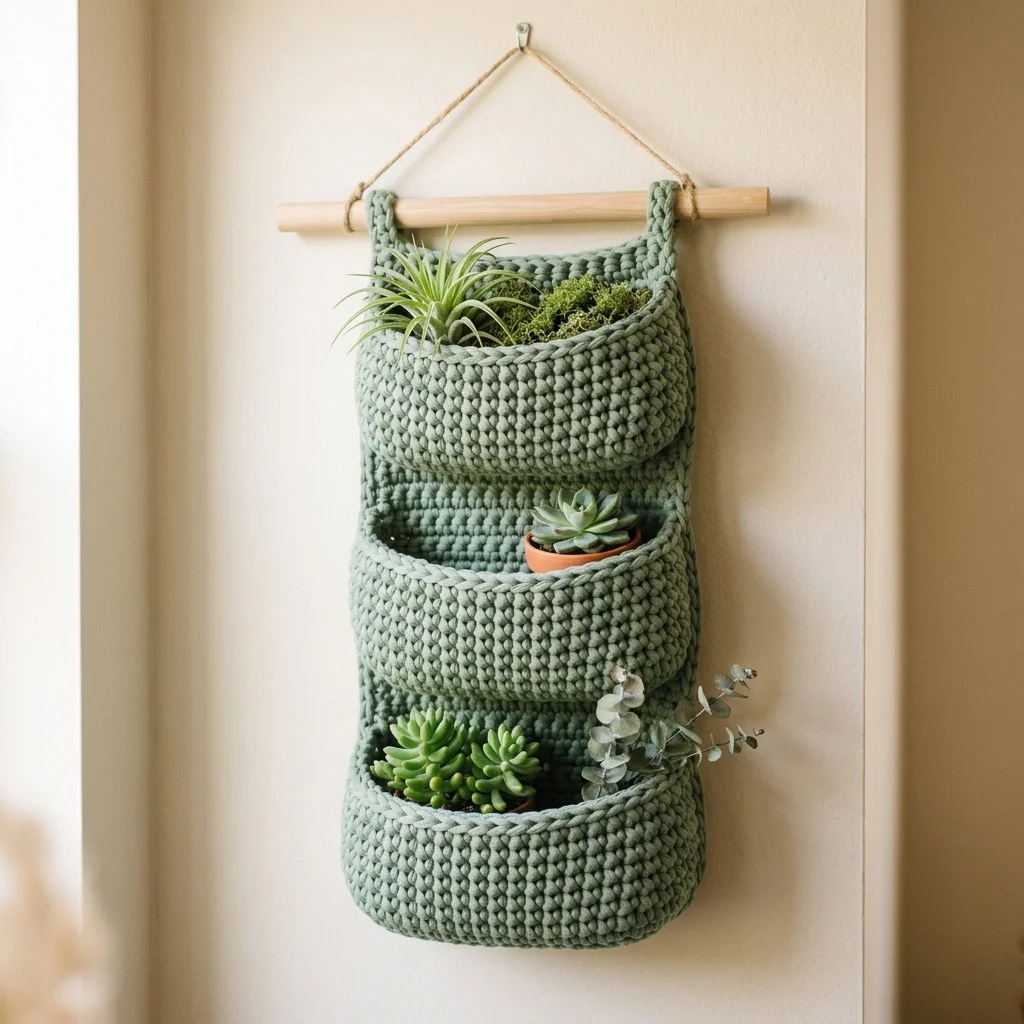
Go grab that chunky cotton yarn you’ve been saving for something special. This is the project that deserves it. The sage green tiered wall planter uses a straightforward single crochet construction, but the clever three-pocket design gives you real visual impact without complicated techniques. I’ll be honest with you. If you’ve never worked with t-shirt yarn or cotton cord before, this is an excellent first project. The thick material makes your stitches easy to see and count, and the structure practically builds itself once you understand the pocket shaping.
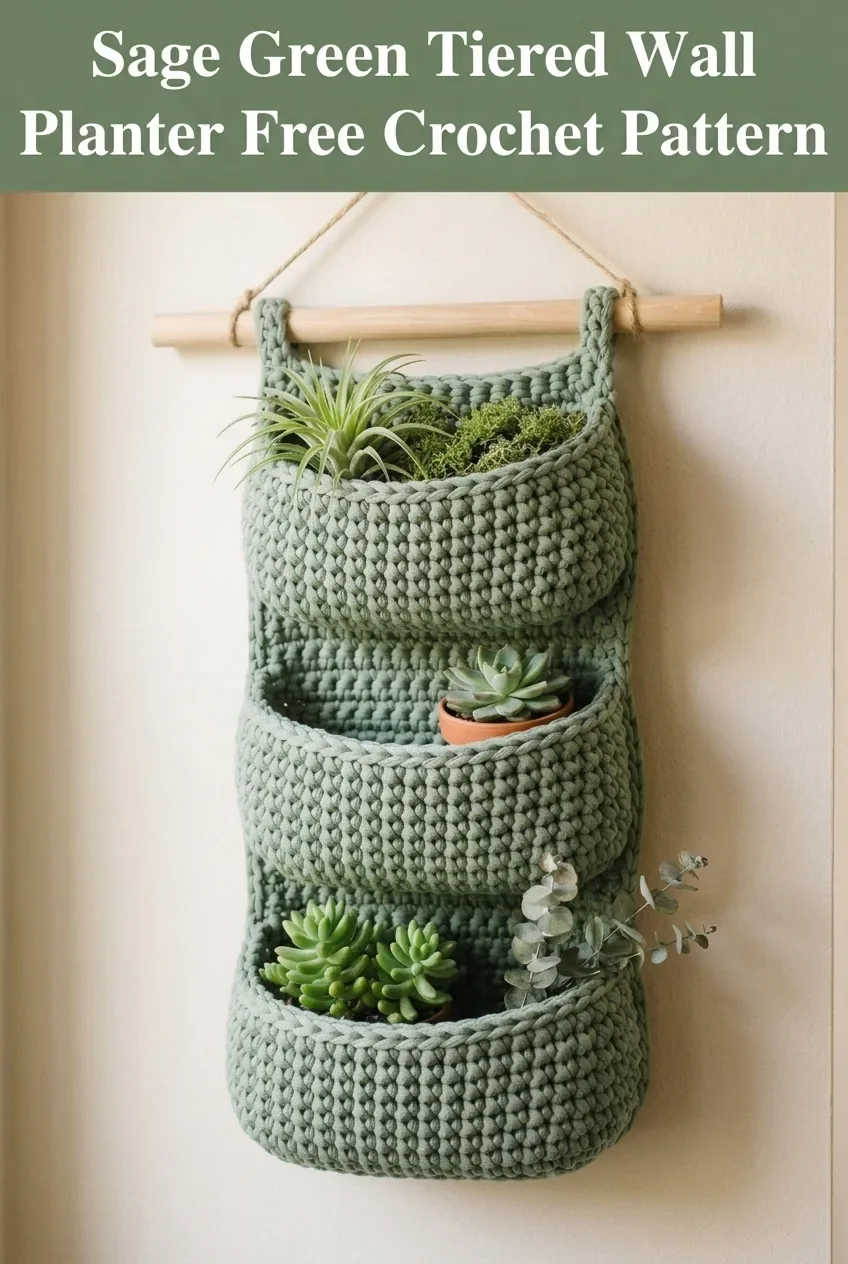
This wall planter works up faster than you might expect. Each pocket is essentially a half-cylinder attached to a flat backing panel, and you’ll connect them as you go. No fussy seaming at the end. The whole piece hangs from a simple wooden dowel threaded through crocheted loops at the top. Perfect for displaying small succulents, air plants, or even craft supplies in your studio.
Why This Tiered Wall Planter Pattern Works So Well
The beauty of this crochet wall organizer lies in its simplicity. You’re working almost entirely in single crochet (sc), which creates a dense, sturdy fabric that holds its shape beautifully. The tight stitch definition you see in the finished piece comes from using a hook slightly smaller than recommended for your yarn weight. This isn’t a mistake. It’s intentional.
When you’re creating something meant to hold weight, whether that’s potted plants or bathroom essentials, you need structure. A looser gauge would cause the pockets to sag and stretch over time. Nobody wants droopy plant holders.
The tiered design also distributes weight evenly down the backing panel. Each pocket sits flush against the wall, and the graduated sizing from bottom to top creates pleasing proportions. The smallest pocket at the bottom, medium in the middle, and largest at the top. This arrangement works both visually and practically.
Materials You’ll Need for This Crochet Wall Planter
Yarn:
Hook:
Notions:
Gauge:
Skill Level and Techniques
This pattern is rated easy to intermediate. You should feel comfortable with:
If you’ve made a simple basket or bag before, you’re absolutely ready for this project. The construction might look complex in the finished photo, but I promise you’ll understand the logic once we break it down step by step.
Understanding the Construction
Before we dive into the pattern, let me explain how this tiered planter comes together. This will save you confusion later.
The Backing Panel: This is a flat rectangular piece that forms the spine of the entire organizer. Everything attaches to this.
The Pockets: Each pocket is worked separately as a half-cylinder. Think of it like making the front half of a small basket. The flat back edge of each pocket gets slip stitched directly onto the backing panel as you work.
The Hanging Loops: Two small loops at the top of the backing panel wrap around your wooden dowel.
Assembly: You’ll work the backing panel first, then add each pocket from bottom to top. The dowel slides through the loops last.
Abbreviations and Stitch Glossary
Before we begin, let’s define every stitch and term you’ll encounter:
The Pattern Instructions
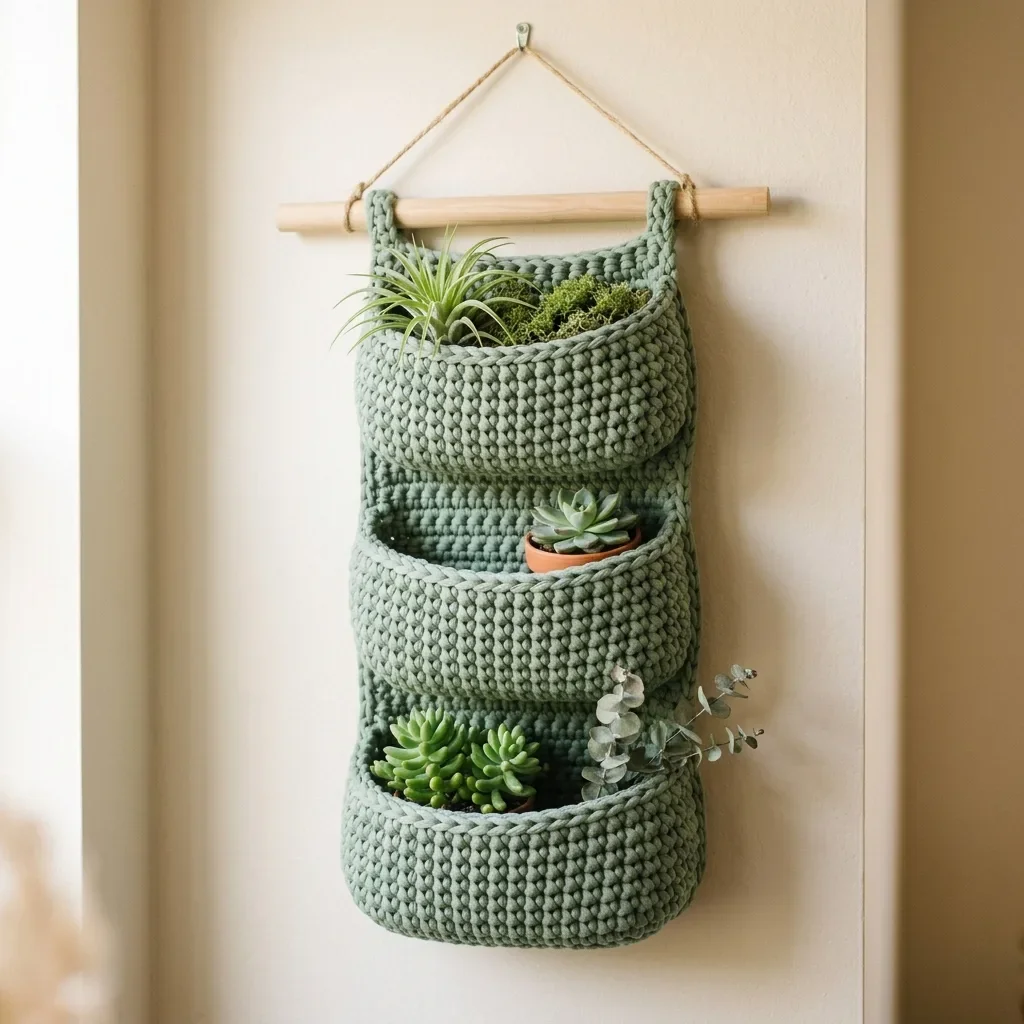
Part 1: Backing Panel
The backing panel forms the foundation for your entire wall planter. Take your time here to ensure straight edges.
Ch 13.
Row 1: Sc in 2nd ch from hook and in each ch across. (12 sc)
Rows 2-60: Ch 1, turn. Sc in each st across. (12 sc)
Your backing panel should measure approximately 5 inches wide by 22 inches long. If it’s significantly different, adjust your hook size.
Do not fasten off. We’ll create the hanging loops next.
Part 2: Hanging Loops
These loops wrap around your wooden dowel. We’re working them directly onto the top edge of the backing panel.
First Loop:
Row 1: Ch 1, turn. Sc in first 3 sts only. (3 sc)
Rows 2-8: Ch 1, turn. Sc in each st across. (3 sc)
Fold this strip over your dowel to check the fit. It should wrap around comfortably with a little ease. Adjust rows if needed.
Sl st the end of this strip to the top corner of your backing panel, creating a loop.
Fasten off.
Second Loop:
Rejoin yarn in the 10th st of the backing panel’s top edge (counting from where you started the first loop).
Row 1: Sc in this st and next 2 sts. (3 sc)
Rows 2-8: Ch 1, turn. Sc in each st across. (3 sc)
Sl st to attach and form the second loop.
Fasten off and weave in ends.
Part 3: Bottom Pocket (Smallest)
This pocket sits at the very bottom of your planter. It’s the smallest of the three.
Position: Count 4 rows up from the bottom edge of your backing panel. This is where you’ll attach the pocket.
Foundation: Ch 16, sl st to form a ring, being careful not to twist.
Round 1: Ch 1, sc in each ch around. (16 sc) Place marker in first st.
Round 2: Sc in each st around. (16 sc)
Round 3: [Sc in next 3 sts, inc in next st] 4 times. (20 sc)
Rounds 4-5: Sc in each st around. (20 sc)
Round 6: [Sc in next 4 sts, inc in next st] 4 times. (24 sc)
Rounds 7-10: Sc in each st around. (24 sc)
Now here’s the important part. On Round 11, you’ll begin attaching this pocket to your backing panel.
Round 11 (Attachment Round): Sc in first 12 sts of the pocket. Now, holding the pocket against the backing panel at the marked position, sl st through both the next pocket st AND the corresponding st on the backing panel. Continue sl st through both layers for 12 sts total.
Rounds 12-14: Continue working around the open portion only (the front half of the pocket), working sc across the front 12 sts, then sl st across the 12 sts attached to the backing.
Fasten off and weave in ends.
Part 4: Middle Pocket (Medium)
Position: Count 20 rows up from the bottom edge of your backing panel.
Foundation: Ch 20, sl st to form a ring.
Round 1: Ch 1, sc in each ch around. (20 sc) Place marker.
Round 2: Sc in each st around. (20 sc)
Round 3: [Sc in next 4 sts, inc in next st] 4 times. (24 sc)
Rounds 4-5: Sc in each st around. (24 sc)
Round 6: [Sc in next 5 sts, inc in next st] 4 times. (28 sc)
Rounds 7-12: Sc in each st around. (28 sc)
Rounds 13-16 (Attachment Rounds): Sc in first 14 sts, sl st through both pocket and backing panel for remaining 14 sts.
Fasten off and weave in ends.
Part 5: Top Pocket (Largest)
Position: Count 38 rows up from the bottom edge of your backing panel.
Foundation: Ch 24, sl st to form a ring.
Round 1: Ch 1, sc in each ch around. (24 sc) Place marker.
Round 2: Sc in each st around. (24 sc)
Round 3: [Sc in next 5 sts, inc in next st] 4 times. (28 sc)
Rounds 4-5: Sc in each st around. (28 sc)
Round 6: [Sc in next 6 sts, inc in next st] 4 times. (32 sc)
Rounds 7-14: Sc in each st around. (32 sc)
Rounds 15-18 (Attachment Rounds): Sc in first 16 sts, sl st through both pocket and backing panel for remaining 16 sts.
Fasten off and weave in ends.
Finishing Your Tiered Wall Planter
Weave in all remaining ends securely. For a project that will hold weight, I recommend weaving through at least 2 inches of stitches and doubling back.
Slide your wooden dowel through both hanging loops. Center it so equal amounts extend on each side.
Cut a 24-inch length of jute twine. Tie each end securely to the dowel, approximately 1 inch from each end. This creates your hanging loop.
Optional: Apply a light spray of fabric stiffener to help the pockets hold their shape, especially if you’re using a stretchier yarn.
Styling and Care Tips
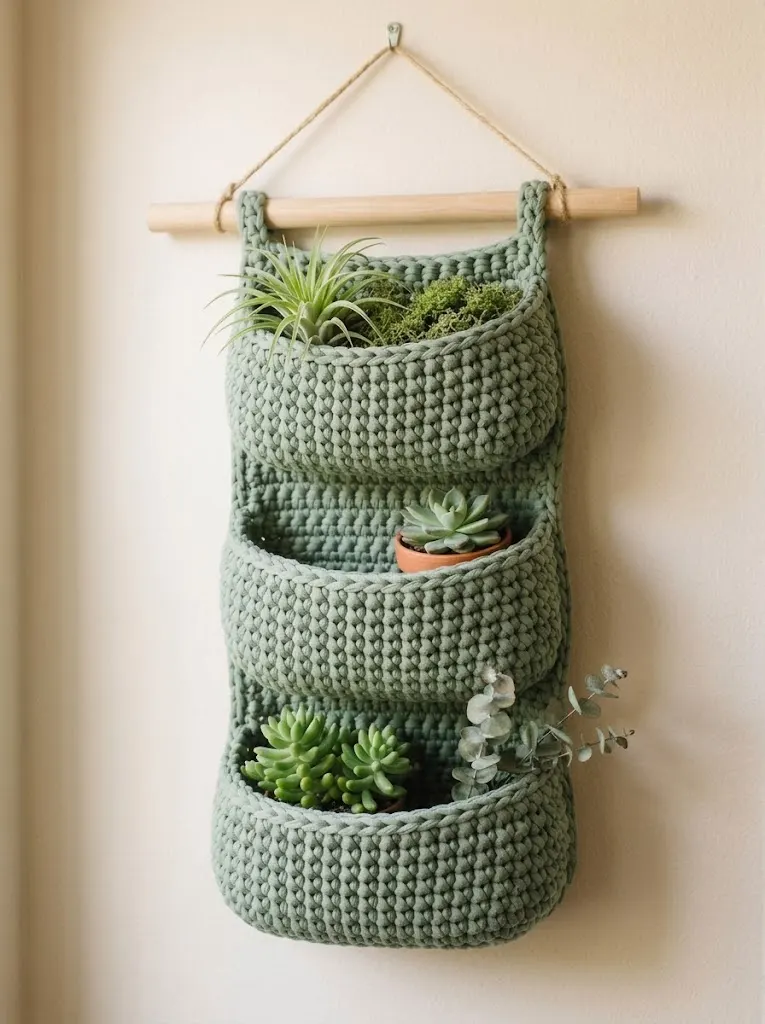
This crochet tiered wall planter looks stunning with small potted succulents, air plants, or preserved moss. If you’re placing live plants inside, use plastic pot liners to protect the cotton yarn from moisture damage.
For bathroom storage, these pockets perfectly fit rolled washcloths, small toiletries, or hair accessories.
To clean, spot wash gently with mild soap and allow to air dry completely before rehanging.
Customization Ideas
Want to make this pattern your own? Here are some easy modifications:
Add more pockets: Simply extend your backing panel and repeat the pocket construction.
Change the colors: Work each pocket in a different shade for an ombre effect.
Add texture: Substitute back loop only single crochet for a ridged texture on the pocket fronts.
Resize for different uses: Adjust your foundation chain and round counts to create larger or smaller pockets.
I really hope you love making this sage green tiered wall planter as much as I enjoyed designing it. It’s one of those projects that looks impressive hanging on your wall, but you’ll know just how simple the construction really was. Thank you for choosing this pattern for your next crochet project.
If this wall planter is calling your name but you’re not quite ready to start today, go ahead and save this pattern to your Pinterest boards so you can find it easily later. And please, I would absolutely love to see your finished planters. Drop a comment below when you make one, or tag me on Instagram. Seeing your creations honestly makes my whole week.
You Might Also Like
- Lavender Heart Granny Square Baby Blanket Free Crochet Pattern
- Terracotta Rust Textured Clutch Bag Free Crochet Pattern
- Dusty Rose Floral Crochet Summer Boots Free Pattern
- Coral Poppy Baby Dress Free Crochet Pattern