Boho Monstera Crochet Plant for Bedroom Shelf Decor
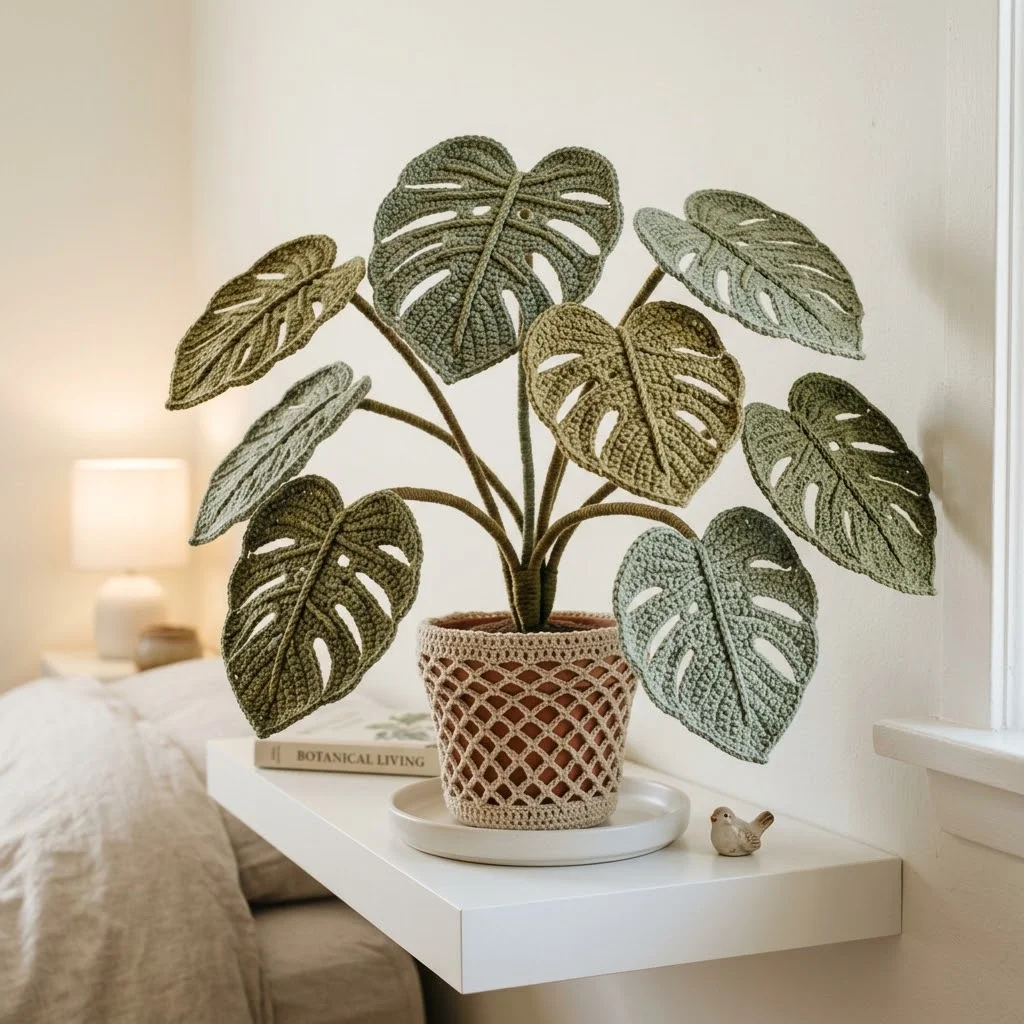
I don’t know about you, but I’ve killed more houseplants than I care to admit. Between inconsistent watering, questionable lighting, and my cat’s determination to chew on anything green, real plants just don’t survive in my home. This crochet monstera plant gives me all the lush, tropical vibes without any of the guilt or maintenance. It sits pretty on my bedroom shelf, never needs water, and looks stunning year-round.
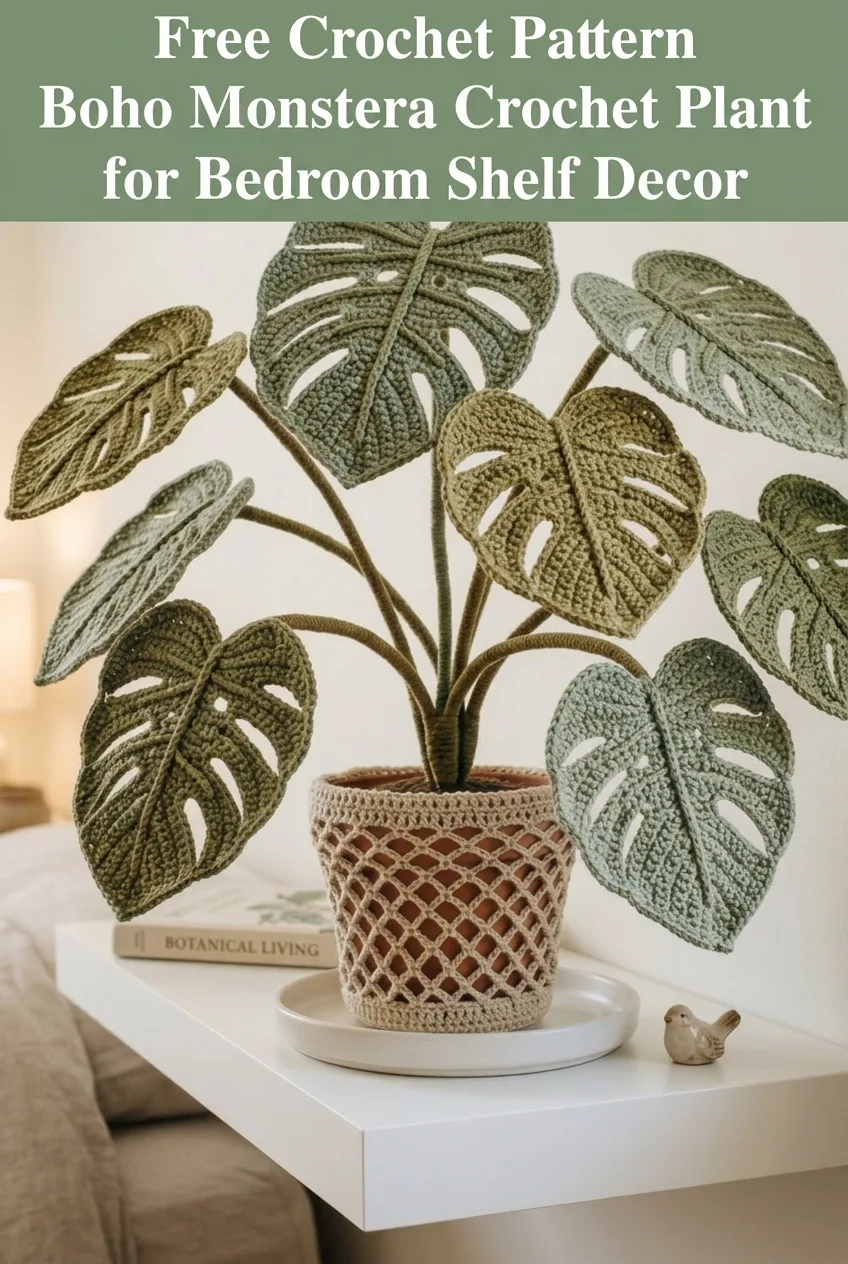
This boho monstera crochet plant has become one of my favorite home decor projects. The iconic split leaves, the natural variation in green tones, and that gorgeous macramé-style pot cover create a piece that looks like it belongs in a design magazine. And the best part? Once you understand the leaf construction, you can make as many or as few leaves as you want to create your perfect plant.
Why You’ll Love This Crochet Monstera Plant Pattern
This crochet monstera pattern hits that sweet spot between impressive and achievable. The leaves look incredibly realistic with their characteristic splits and fenestrations (those are the natural holes in monstera leaves), but each one works up using straightforward stitches you probably already know.
The construction is modular, which means you make each leaf separately, attach them to wire stems, and arrange everything in your decorative pot. This approach makes the project perfect for working on during TV time or in short sessions. No complicated colorwork, no confusing assembly. Just satisfying, repetitive stitchwork that builds into something genuinely beautiful.
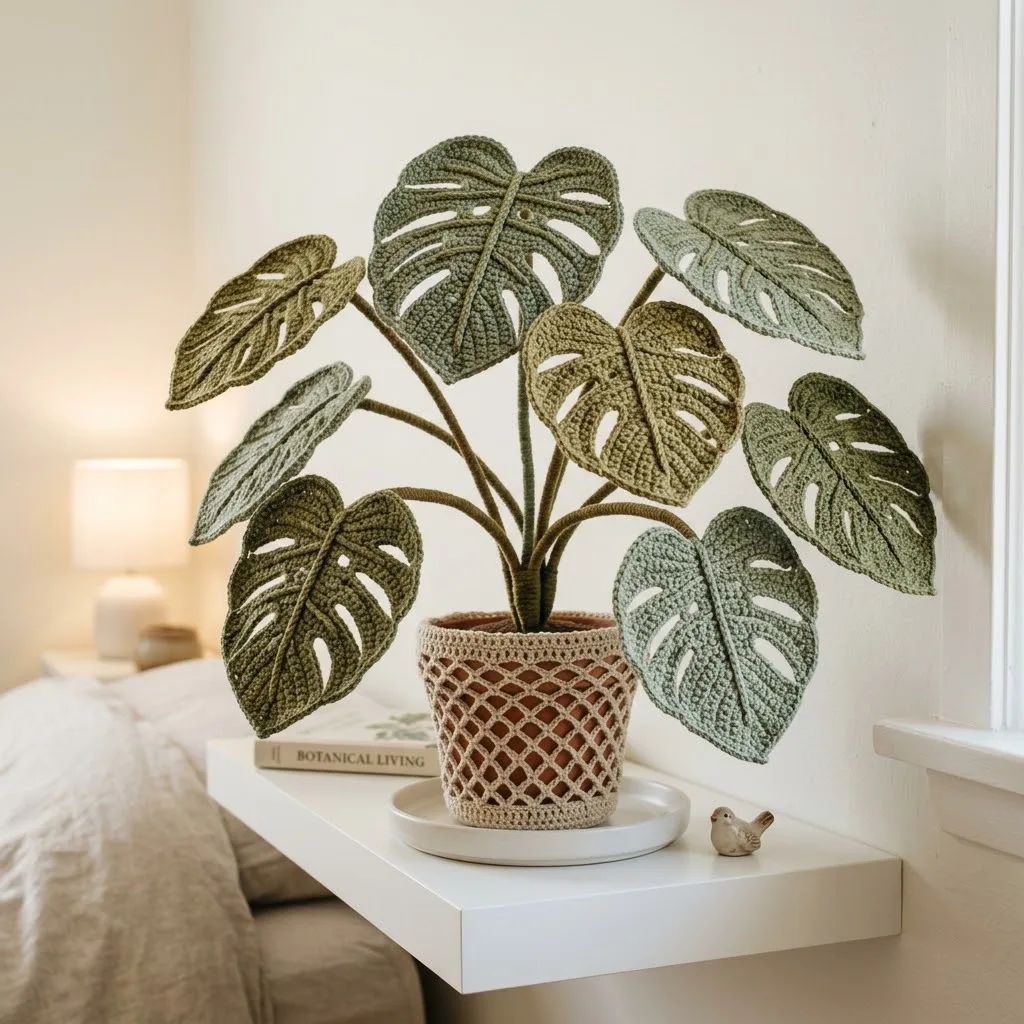
I particularly love how this project uses multiple shades of green. The variation creates depth and realism, making your finished plant look like it’s actually growing rather than sitting static. You’ll see leaves in olive green, sage, and a lighter mint shade working together perfectly.
Skill Level
Intermediate. You should be comfortable with basic crochet stitches and increasing/decreasing. The leaf shaping requires attention to stitch counts, and the fenestrations involve some strategic skipping and chaining. If you’ve made amigurumi or shaped flat pieces before, you’ll handle this beautifully.
Don’t let “intermediate” scare you off if you’re an ambitious beginner. I’ll walk you through every technique step by step.
Materials Needed for Your Crochet Monstera
Yarn
You’ll need worsted weight yarn (weight 4) in three shades of green. Based on the image, I recommend:
A cotton or cotton-blend yarn works wonderfully here. It gives the leaves nice structure and shows stitch definition clearly. I recommend something like Lily Sugar’n Cream, Paintbox Cotton DK held double, or similar.
Hook
4.0mm (G/6) crochet hook for the leaves and pot cover. You want a slightly tight gauge so your leaves hold their shape firmly.
3.5mm (E/4) crochet hook for the stems if you prefer a denser wrap.
Additional Supplies
Abbreviations and Stitch Glossary
Let me define every stitch you’ll need for this monstera crochet tutorial:
ch = chain: Yarn over, pull through the loop on your hook. If I say “ch 4,” you’re making 4 chain stitches in a row.
sl st = slip stitch: Insert hook, yarn over, pull through both the work and the loop on your hook in one motion. This creates almost no height and is used for joining or moving across stitches invisibly.
sc = single crochet: Insert hook, yarn over and pull up a loop (2 loops on hook), yarn over and pull through both loops. This is your shortest working stitch.
hdc = half double crochet: Yarn over, insert hook, yarn over and pull up a loop (3 loops on hook), yarn over and pull through all 3 loops. Slightly taller than single crochet.
dc = double crochet: Yarn over, insert hook, yarn over and pull up a loop (3 loops on hook), yarn over and pull through 2 loops (2 loops remain), yarn over and pull through remaining 2 loops. This creates a taller stitch.
inc = increase: Work 2 stitches into the same stitch. For single crochet, this means 2 sc in one stitch.
dec = decrease: Work 2 stitches together as one. For sc, insert hook in first stitch and pull up a loop, insert hook in second stitch and pull up a loop (3 loops on hook), yarn over and pull through all 3.
sk = skip: Pass over the indicated number of stitches without working into them.
How to Crochet the Monstera Leaves (Step by Step)
Each leaf is worked flat in rows, then edged with a border. The fenestrations (splits) are created by chaining across gaps. Make 8-10 leaves total in your three green shades.
Large Monstera Leaf Pattern
Foundation:
Row 1: Ch 15. Sc in 2nd ch from hook and in each ch across. (14 sts)
Row 2: Ch 1, turn. 2 sc in first st, sc in next 12 sts, 2 sc in last st. (16 sts)
Row 3: Ch 1, turn. Sc in each st across. (16 sts)
Row 4: Ch 1, turn. 2 sc in first st, sc in next 14 sts, 2 sc in last st. (18 sts)
Row 5: Ch 1, turn. Sc in each st across. (18 sts)
Row 6: Ch 1, turn. 2 sc in first st, sc in next 16 sts, 2 sc in last st. (20 sts)
Rows 7-8: Ch 1, turn. Sc in each st across. (20 sts)
Creating the First Fenestration:
Row 9: Ch 1, turn. Sc in first 6 sts, ch 3, sk next 3 sts, sc in next 2 sts, ch 3, sk next 3 sts, sc in last 6 sts. (14 sc + 2 ch-3 spaces)
Row 10: Ch 1, turn. Sc in first 6 sts, 3 sc in ch-3 space, sc in next 2 sts, 3 sc in ch-3 space, sc in last 6 sts. (20 sts)
Rows 11-12: Ch 1, turn. Sc in each st across. (20 sts)
Creating the Second Fenestration:
Row 13: Ch 1, turn. Sc in first 4 sts, ch 4, sk next 4 sts, sc in next 4 sts, ch 4, sk next 4 sts, sc in last 4 sts. (12 sc + 2 ch-4 spaces)
Row 14: Ch 1, turn. Sc in first 4 sts, 4 sc in ch-4 space, sc in next 4 sts, 4 sc in ch-4 space, sc in last 4 sts. (20 sts)
Rows 15-16: Ch 1, turn. Sc in each st across. (20 sts)
Shaping the Leaf Top:
Row 17: Ch 1, turn. Sc dec over first 2 sts, sc in next 16 sts, sc dec over last 2 sts. (18 sts)
Row 18: Ch 1, turn. Sc in each st across. (18 sts)
Row 19: Ch 1, turn. Sc dec, sc in next 14 sts, sc dec. (16 sts)
Row 20: Ch 1, turn. Sc dec, sc in next 12 sts, sc dec. (14 sts)
Row 21: Ch 1, turn. Sc dec, sc in next 10 sts, sc dec. (12 sts)
Row 22: Ch 1, turn. Sc dec, sc in next 8 sts, sc dec. (10 sts)
Row 23: Ch 1, turn. Sc dec, sc in next 6 sts, sc dec. (8 sts)
Row 24: Ch 1, turn. Sc dec, sc in next 4 sts, sc dec. (6 sts)
Row 25: Ch 1, turn. Sc dec, sc in next 2 sts, sc dec. (4 sts)
Row 26: Ch 1, turn. (Sc dec) twice. (2 sts)
Fasten off, leaving a long tail.
Leaf Border
Join yarn at the bottom center of the leaf (where you started your foundation chain).
Working around the entire leaf edge: Sc evenly around, placing 3 sc in each corner point and working sc2tog (decrease) into the inner angles where splits occur. Sl st to join.
This border smooths the edges and gives your leaf that polished, realistic look.
Medium and Small Leaves
For variety, make some leaves smaller by starting with ch 12 (11 sts) and working fewer rows before shaping. Young monstera leaves also have fewer or no fenestrations, so you can skip the split rows entirely for 2-3 of your leaves. This creates that natural variation you see in real plants.
Creating the Central Vein
For extra realism, chain a length equal to your leaf height, then surface slip stitch down the center of each leaf from tip to base. This creates the prominent central vein visible in the photo.
Crochet Stem Pattern
Each leaf needs a sturdy stem. Here’s how to create them:
Cut your floral wire 2-3 inches longer than your desired visible stem length (accounting for the portion that inserts into the foam base).
Wrapping Method:
Using brown yarn and your hook, make a slip knot and place it at the top of the wire near where it will attach to the leaf. Wrap the yarn tightly around the wire, moving downward, keeping wraps snug and close together. When you reach the bottom, tie off securely.
Alternatively, you can crochet a tube: Ch 4, sl st to form ring. Sc 4 in ring. Continue working sc in spiral until tube reaches desired length. Insert wire, then sew leaf base to stem top.
Macramé-Style Pot Cover Pattern
The pot cover in the image features a beautiful openwork lattice design that gives it that boho feel.
Base:
Round 1: Using tan/cream yarn, ch 4, sl st to join. (4 sts)
Round 2: Ch 1, 2 sc in each st around, sl st to join. (8 sts)
Round 3: Ch 1, *sc in next st, 2 sc in next st* around, sl st to join. (12 sts)
Round 4: Ch 1, *sc in next 2 sts, 2 sc in next st* around, sl st to join. (16 sts)
Round 5: Ch 1, *sc in next 3 sts, 2 sc in next st* around, sl st to join. (20 sts)
Continue increasing until base fits bottom of your terracotta pot.
Sides with Lattice:
Round 1 of sides: Ch 1, working in back loops only, sc in each st around, sl st to join.
Round 2: Ch 1, sc in each st around, sl st to join.
Round 3: Ch 1, *sc in next st, ch 3, sk 2 sts* around, sl st to join.
Round 4: Ch 1, *sc in ch-3 space, ch 3* around, sl st to join.
Repeat Round 4 until sides reach desired height. End with 2 rounds of sc in each st for a finished top edge.
Slip your terracotta pot inside. The lattice pattern allows the terracotta color to show through beautifully.
Assembly Instructions
Now comes the fun part, arranging your plant.
1. Prepare your pot: Place floral foam or a polystyrene block inside your terracotta pot. It should fit snugly.
2. Attach leaves to stems: Using your yarn tail, sew the bottom of each leaf securely to its wire stem. The wire should extend about 1 inch up into the leaf for stability.
3. Wrap any exposed wire: Make sure no silver wire shows. Touch up with additional yarn wrapping if needed.
4. Arrange your stems: Push stems into the foam, starting with larger leaves in the back and center. Position medium leaves around the sides. Place smaller leaves toward the front and lower.
5. Vary the angles: Real monstera leaves don’t all point the same direction. Bend your wire stems gently to create natural curves and varied heights.
6. Secure the foam: If desired, cover the top of the foam with preserved moss, fabric scraps, or additional crocheted pieces.
Tips for Success with This Beginner Friendly Crochet Plant
Blocking helps: Lightly steam or wet block your leaves before attaching to stems. This helps them lay flat and look polished.
Wire gauge matters: Too thin and your leaves will droop sadly. The 18-gauge wire holds up well even for larger leaves.
Don’t skip the border: That edge round really makes the leaves look finished rather than homemade.
Mix your greens: Using multiple shades adds so much realism. Real monstera plants have leaves in various stages of maturity, so color variation is actually more accurate.
Styling Your Finished Monstera
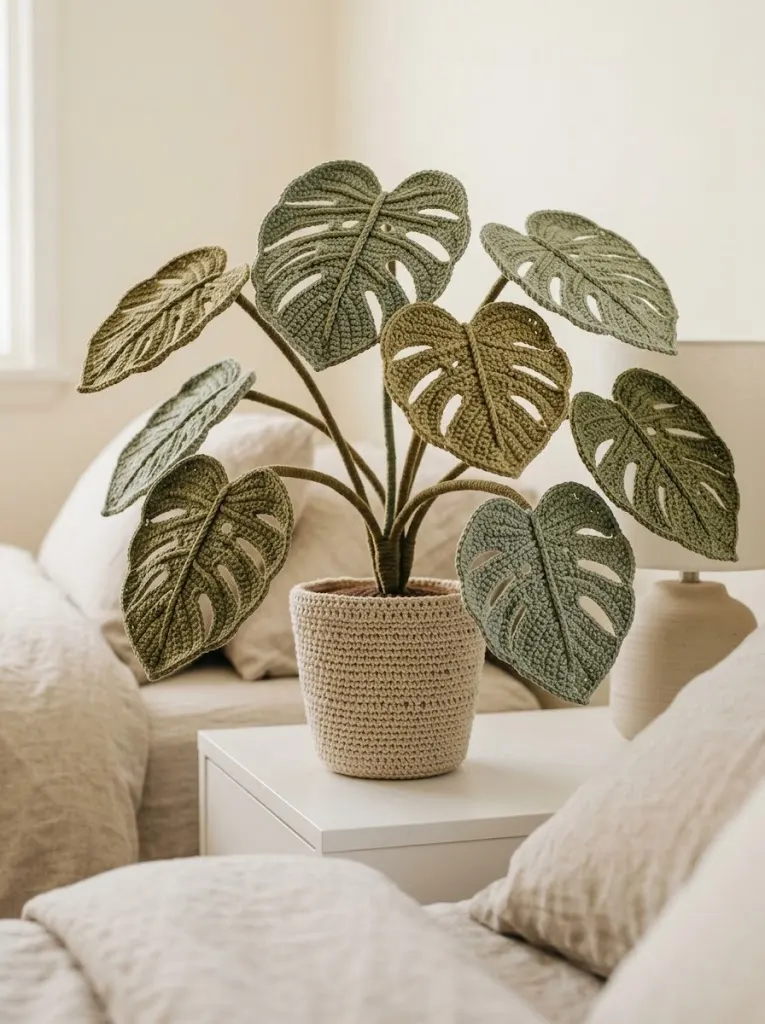
Place your finished crochet monstera plant for bedroom shelf decor where it catches natural light, on a nightstand, floating shelf, or windowsill. The beauty of this project is its versatility. It works in bohemian spaces, modern minimalist rooms, and everything in between.
Group it with books, candles, or small ceramic pieces for a curated shelf moment. Or let it stand alone as a statement piece.
I really hope you enjoy making this boho monstera crochet plant pattern as much as I enjoyed designing it. If you give it a try, I would absolutely love to see your finished plants. Tag me on Instagram or share your photos in my Facebook group. Seeing your versions genuinely makes my whole week.
If this pattern is going on your must-make list, go ahead and pin it to your favorite Pinterest board so you can find it whenever you’re ready to start. And please drop a comment below if you make one. I love hearing which color combinations you choose and where your finished plant ends up living in your home.
You Might Also Like
- Sage Green Romantic Peplum Crochet Top Free Pattern
- Dusty Rose Cable Cuff Slipper Boots Free Crochet Pattern
- Mint Garden Baby Crochet Dress Free Pattern
- Lavender Dream Ankle Socks Free Crochet Pattern