Ocean Wave Candy Bolster Pillow Free Crochet Pattern
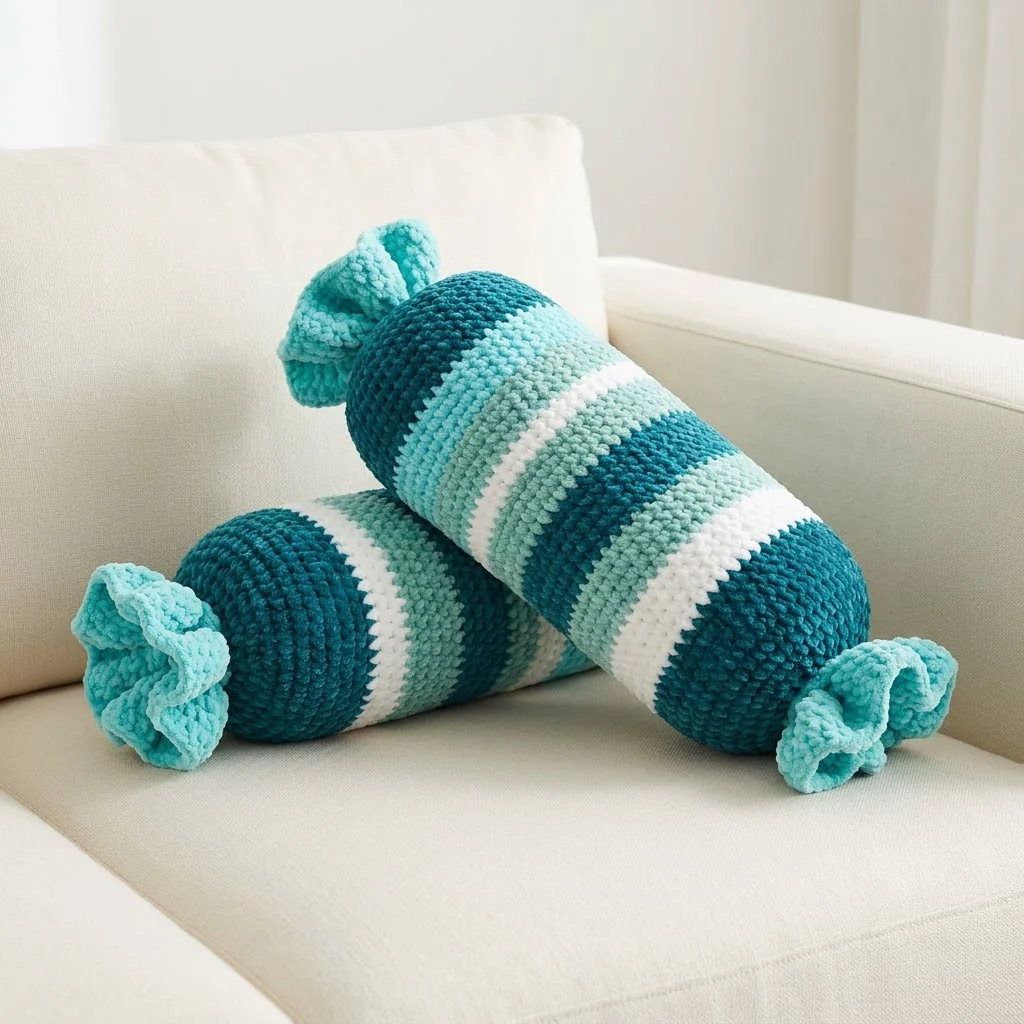
This is a striped bolster pillow with decorative gathered ends. It uses single crochet throughout. You work it flat, seam it into a tube, and cinch the ends for that candy wrapper look. Simple construction, satisfying results.
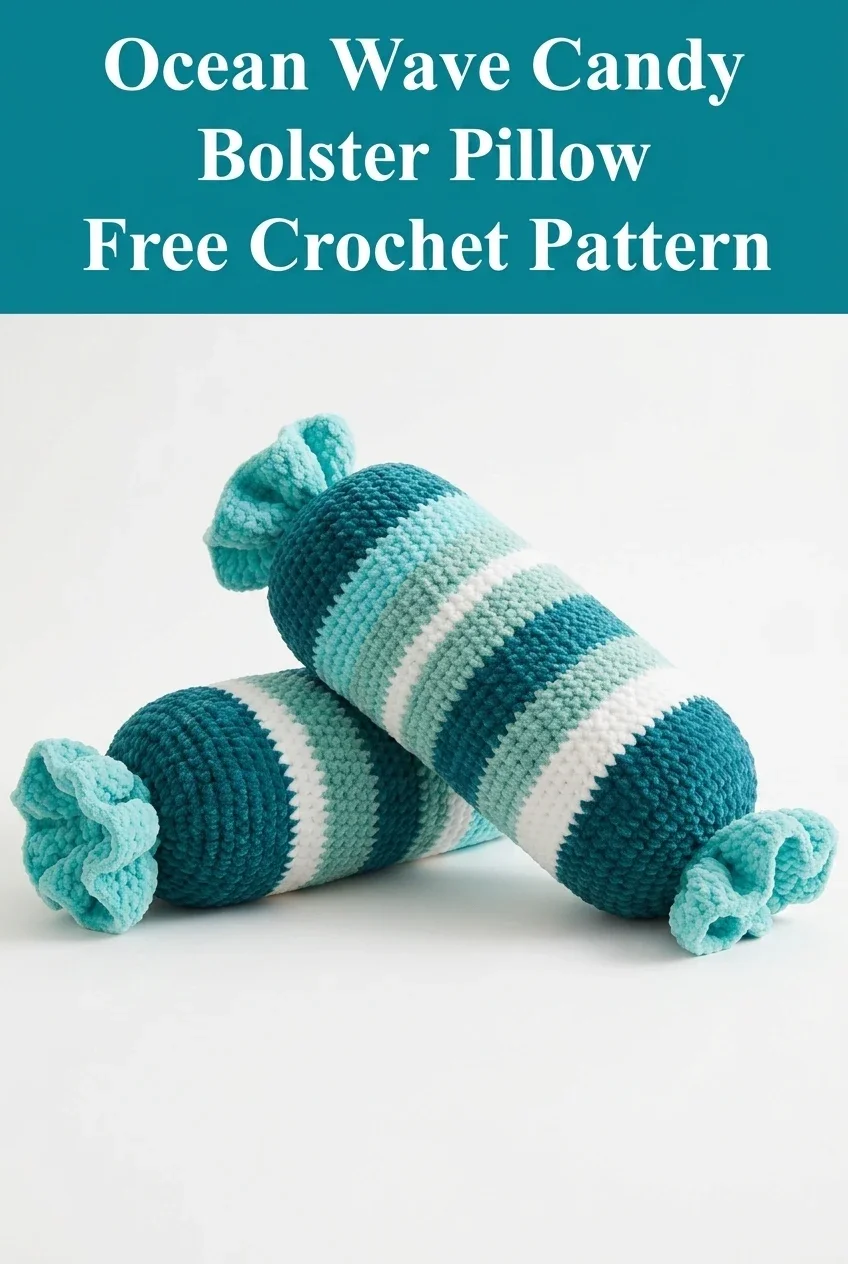
I call this the Ocean Wave Candy Bolster because the teal, aqua, and white stripes remind me of waves rolling onto shore. The gathered ruffle ends give it a playful candy wrapper shape that looks way more complicated than it actually is. If you can single crochet in rows and change colors, you can absolutely make this pillow.
Why You Will Love This Crochet Bolster Pillow Pattern
Bolster pillows add instant style to any couch or bed. They provide neck support while reading and look beautiful as decorative accents. This particular design stands out because of those sweet gathered ends. They create visual interest without requiring any advanced techniques.
The stripe pattern is completely customizable. You can match your existing decor or go bold with contrasting colors. I chose a coastal palette here, but imagine this in sunset oranges, forest greens, or classic neutrals. The possibilities are endless.
This crochet bolster pillow pattern works up faster than you might expect. The body is just a large rectangle worked in rows. No shaping. No complicated stitch patterns. Just relaxing single crochet rows while you watch your favorite show.
Skill Level
Confident Beginner to Intermediate
You should be comfortable with:
If you have never changed colors before, do not worry. I will walk you through it step by step.
Finished Measurements
Approximately 16 inches long by 6 inches in diameter (not including gathered ends)
The ruffle ends add about 2 to 3 inches on each side.
Your final size may vary slightly depending on your tension and the pillow form you use.
Materials Needed
Yarn
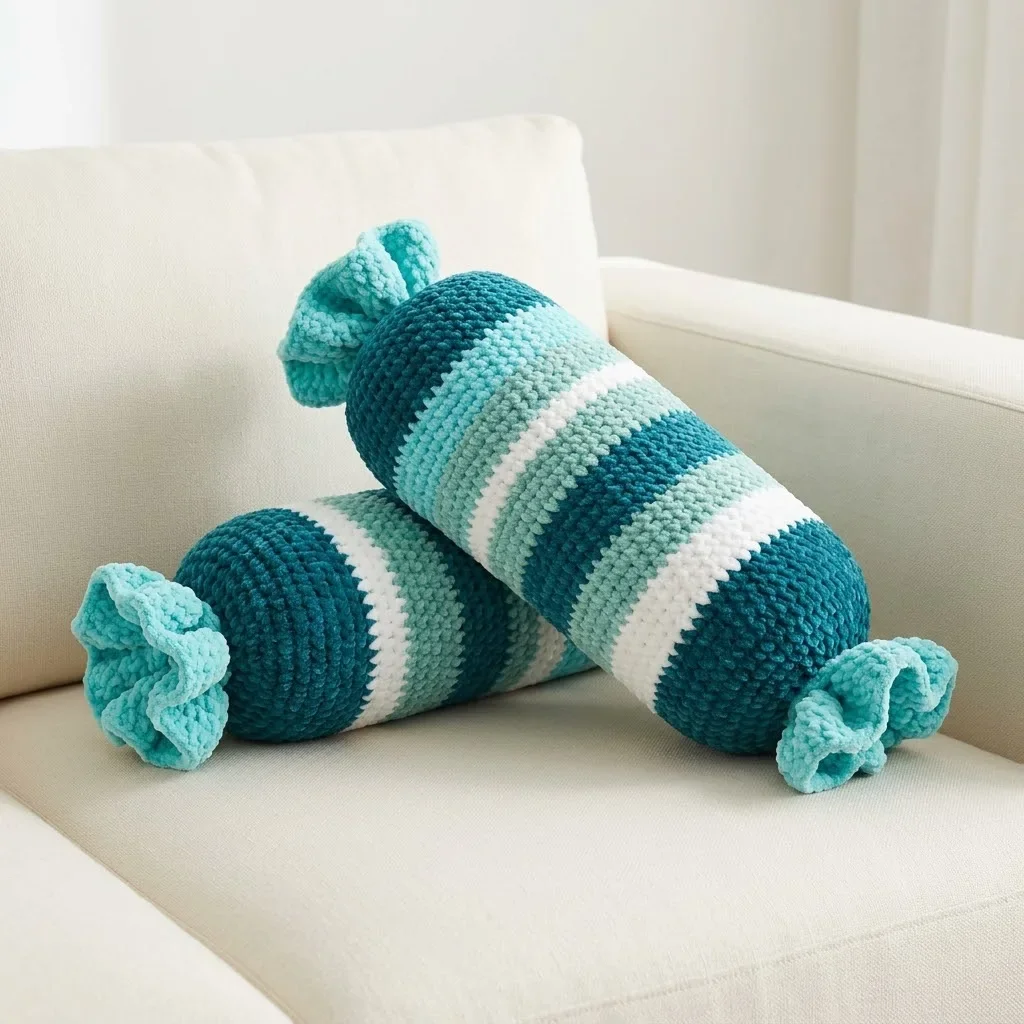
You will need a bulky weight yarn (Category 5) in three or four colors. Based on the image, I used:
A soft acrylic or cotton blend works beautifully for home decor items. Look for something with good stitch definition so your stripes really pop.
Suggested yarns: Bernat Blanket, Lion Brand Thick & Quick, or any comparable bulky weight yarn.
Hook
Size J/10 (6.0mm) crochet hook or size needed to obtain gauge
Notions
Gauge
12 stitches and 14 rows = 4 inches in single crochet
Gauge matters here because it affects whether your cover fits your pillow insert snugly. Too loose and it will look baggy. Too tight and you will struggle to stuff it.
Take a few minutes to make a gauge swatch. Trust me, it is worth the small time investment.
Abbreviations and Stitch Definitions
Let me break down every stitch term you will encounter:
Ch = Chain. Wrap yarn over hook, pull through loop on hook. This creates your foundation.
Sc = Single crochet. Insert hook into stitch, yarn over, pull up a loop (2 loops on hook), yarn over, pull through both loops. This is the only stitch used in the main body.
Sl st = Slip stitch. Insert hook, yarn over, pull through stitch AND loop on hook in one motion. Used for joining.
St(s) = Stitch(es)
Inc = Increase. Work 2 single crochets into the same stitch. This adds one stitch to your count.
Rep = Repeat
Pattern Notes Before You Begin
Color changes: When switching colors, complete the last single crochet of the old color until you have 2 loops on your hook. Then yarn over with the NEW color and pull through both loops. This creates a clean color transition.
Carrying yarn: For stripes that repeat, you can carry the unused yarn loosely up the side rather than cutting it each time. Just be careful not to pull too tight or your edges will pucker.
Turning chains: The chain 1 at the beginning of each row does NOT count as a stitch. Work your first single crochet into the first stitch of the row.
Right side: Both sides of single crochet fabric look similar. Pick one as your right side and stay consistent.
Step by Step Crochet Pattern Instructions
Main Body Panel
The body is worked flat as a rectangle, then seamed into a tube.
With Color A (Deep Teal), ch 49.
Row 1: Sc in 2nd ch from hook and in each ch across, turn. (48 sts)
Row 2: Ch 1, sc in each st across, turn. (48 sts)
Rows 3 through 12: Rep Row 2. (48 sts)
You should now have 12 rows of deep teal.
Change to Color B (Aqua).
Rows 13 through 20: Ch 1, sc in each st across, turn. (48 sts)
You should now have 8 rows of aqua.
Change to Color C (White).
Rows 21 through 26: Ch 1, sc in each st across, turn. (48 sts)
You should now have 6 rows of white.
Change to Color B (Aqua).
Rows 27 through 34: Ch 1, sc in each st across, turn. (48 sts)
Change to Color A (Deep Teal).
Rows 35 through 46: Ch 1, sc in each st across, turn. (48 sts)
Fasten off and weave in ends.
Your completed panel should measure approximately 16 inches wide by 19 inches tall. The width becomes the length of your bolster. The height wraps around the circumference.
Ruffle End Pieces (Make 2)
These gathered circles create the signature candy wrapper look. They are worked in the round from the center out.
With Color D (Light Aqua), make a magic ring.
If you are not comfortable with magic rings, you can chain 4 and slip stitch to join into a ring instead.
Round 1: Ch 1, work 6 sc into ring, sl st to first sc to join. (6 sts)
Round 2: Ch 1, 2 sc in each st around, sl st to first sc to join. (12 sts)
Round 3: Ch 1, *sc in next st, 2 sc in next st* rep around, sl st to join. (18 sts)
Round 4: Ch 1, *sc in next 2 sts, 2 sc in next st* rep around, sl st to join. (24 sts)
Round 5: Ch 1, *sc in next 3 sts, 2 sc in next st* rep around, sl st to join. (30 sts)
Round 6: Ch 1, *sc in next 4 sts, 2 sc in next st* rep around, sl st to join. (36 sts)
Round 7: Ch 1, *sc in next 5 sts, 2 sc in next st* rep around, sl st to join. (42 sts)
Round 8: Ch 1, *sc in next 6 sts, 2 sc in next st* rep around, sl st to join. (48 sts)
Rounds 9 through 14: Ch 1, sc in each st around, sl st to join. (48 sts)
These final rounds without increases create the ruffle that extends beyond the gathered point.
Fasten off, leaving a long tail for gathering.
Make a second ruffle piece identical to the first.
Assembly Instructions
This is where everything comes together. Take your time here.
Forming the Tube
1. Lay your main body panel flat with the right side facing up.
2. Fold the panel in half lengthwise, bringing the two long edges together.
3. Using your tapestry needle and matching yarn, whip stitch or mattress stitch the long edges together. This creates your tube shape.
4. Turn the tube right side out so your seam is on the inside.
Attaching the Ruffle Ends
Here is the part that makes this pillow special.
1. Thread your tapestry needle with the long tail from one ruffle piece.
2. Position the ruffle at one end of the tube, with the right side of the ruffle facing out.
3. Using a whip stitch, sew the edge of the final ruffle round to the edge of the tube opening. Work all the way around, keeping your stitches even.
4. Before closing completely, insert your pillow form or stuff with polyfill. Pack it firmly for a plump bolster.
5. Repeat with the second ruffle on the other end.
Creating the Gathered Candy Wrapper Look
This is the fun part.
1. Cut a piece of yarn approximately 24 inches long in Color D.
2. Thread it through your tapestry needle.
3. Weave the yarn in and out through the stitches where the ruffle meets the main body, going all the way around.
4. Pull both ends of the yarn firmly to cinch the ruffle inward, creating that gathered candy wrapper effect.
5. Tie securely and weave in the ends.
6. Repeat on the other end.
Adjust the gathers so they are even all around. The ruffle should puff out attractively beyond the cinched point.
Customization Ideas for Your Crochet Bolster Pillow
Change the stripe sequence. Try wider stripes, thinner stripes, or a gradient fade from dark to light.
Add texture. Substitute half double crochet or even a simple shell stitch for the single crochet body. Just adjust your stitch count to maintain the same dimensions.
Skip the ruffles. For a more minimal look, you can create simple flat circles and seam them on without the extended ruffle rounds.
Make it longer. Working more rows in the main body creates a longer bolster. Great for king size beds or window seats.
Try different yarn weights. A worsted weight version with a smaller hook creates a denser, more structured pillow.
Troubleshooting Common Issues
My edges are uneven. Count your stitches at the end of every row. You should always have 48 stitches in the main body. Missing stitches at the beginning or end of rows is the most common cause.
My stripes look wobbly. This usually means inconsistent tension. Try to maintain the same tension throughout, especially when picking up a new color.
The pillow form does not fit. Check your gauge. If your fabric is too tight, go up a hook size. If too loose, go down a hook size.
The gathers are uneven. When cinching the ruffle ends, pull slowly and adjust as you go. You can always loosen and redo this step.
Care Instructions
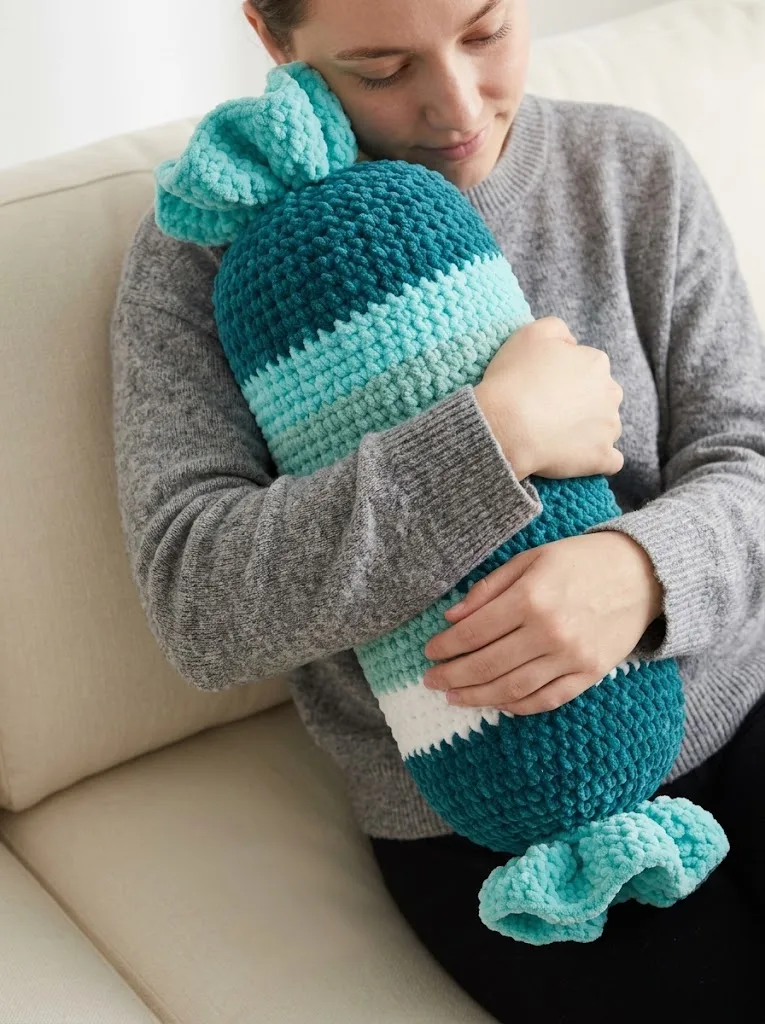
For best results, spot clean your bolster pillow with mild soap and water. If using acrylic yarn and a removable insert, you can machine wash on gentle cycle and lay flat to dry. Avoid the dryer as it may distort the gathered ends.
I hope this Ocean Wave Candy Bolster Pillow brings a little coastal charm to your home. The construction is simpler than it looks, and those gathered candy wrapper ends always get compliments from visitors. Thank you so much for choosing this pattern for your next project.
If you make one, I would absolutely love to see it. Tag me on Instagram or share a photo in my Facebook group. Seeing your finished projects genuinely makes my day.
Save this pattern to your Pinterest boards so you can find it whenever the mood strikes. And if you have any questions or want to share how yours turned out, drop a comment below. I read every single one and always love hearing from you.
You Might Also Like
- Lavender Jellyfish Baby Blanket Free Crochet Pattern
- Coral Sunset Gradient Chain Purse Free Crochet Pattern
- Ocean Blue Mermaid Plush Doll Free Crochet Pattern
- Lavender Heart Granny Square Baby Blanket Free Crochet Pattern