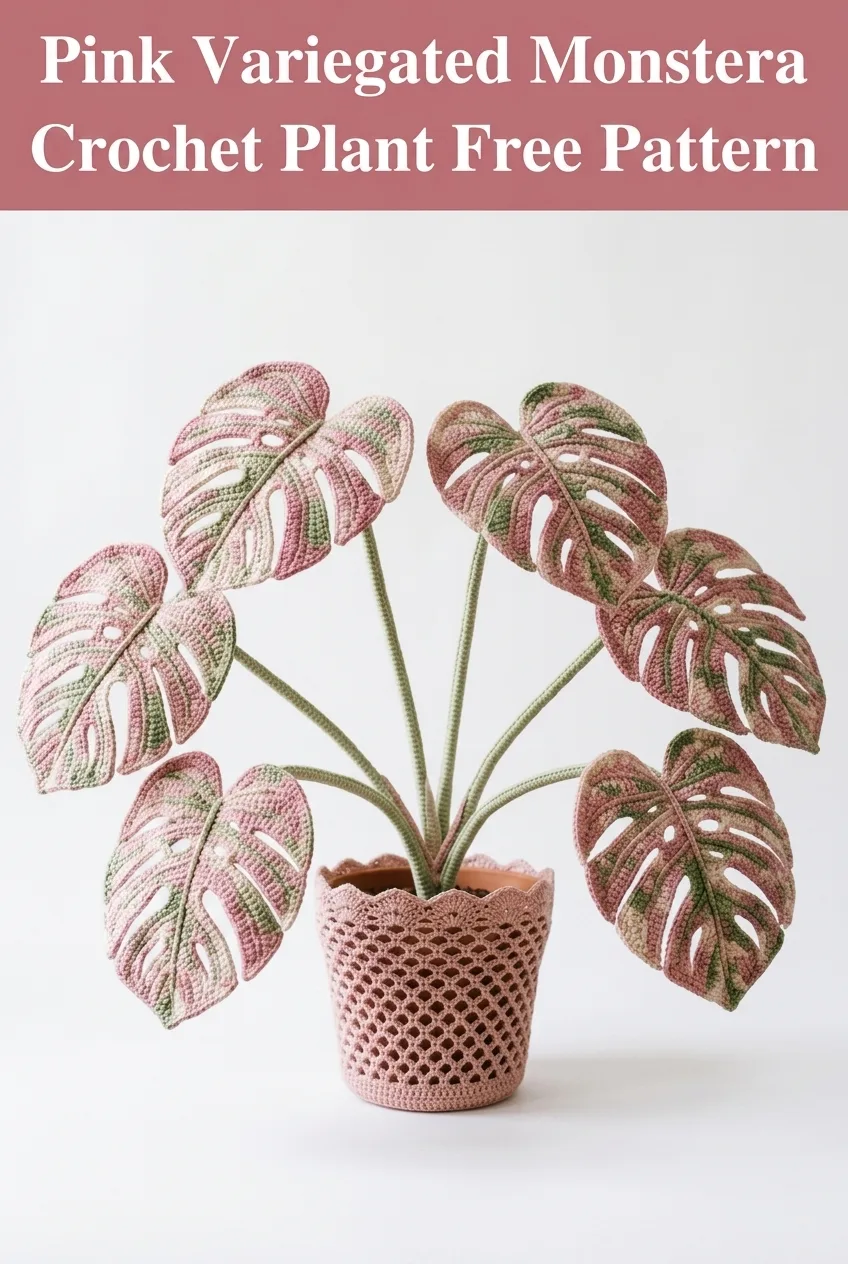
Pink Variegated Monstera Crochet Plant Free Pattern
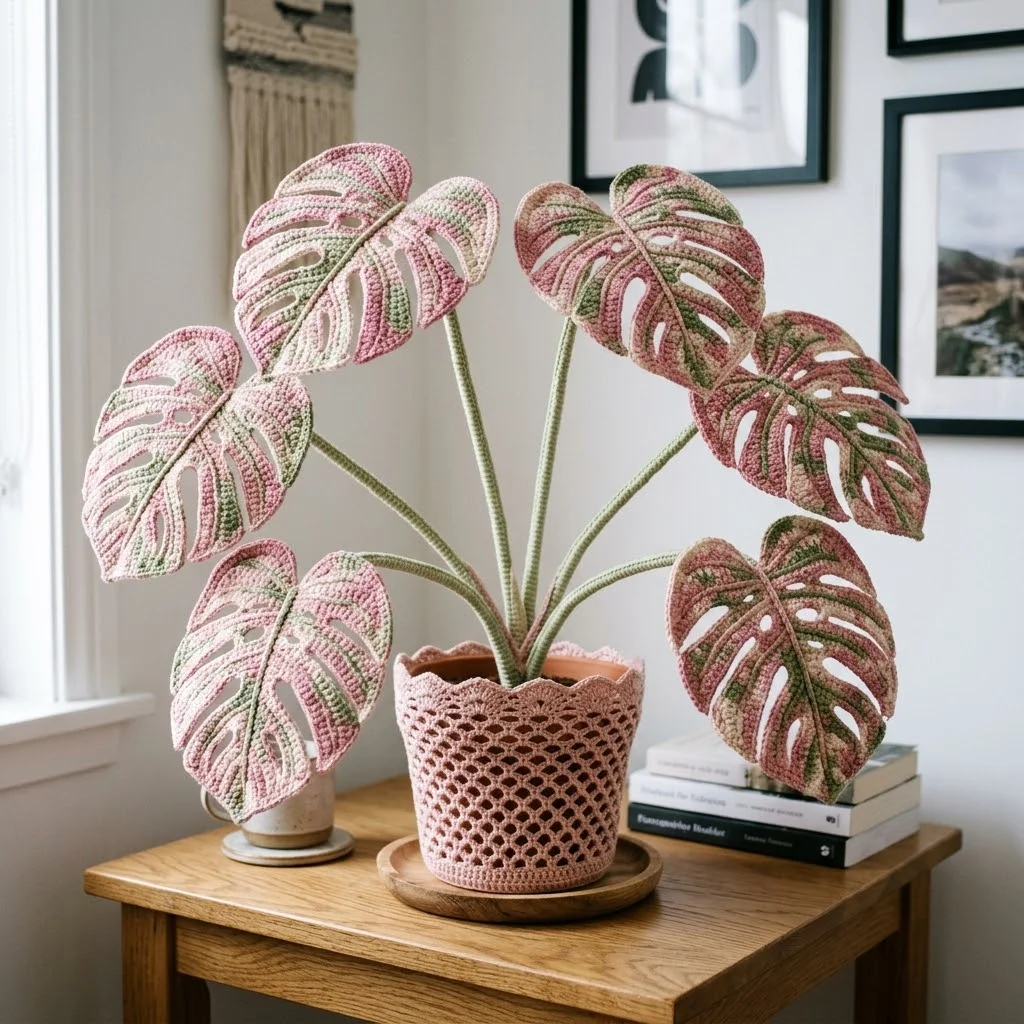
SUPER EASY and absolutely STUNNING! This pink variegated monstera crochet plant is one of those projects that looks incredibly impressive but comes together faster than you’d ever expect. Each leaf takes about an hour once you get the hang of it, and the whole plant makes the most gorgeous gift for plant lovers who can’t keep anything alive. Trust me, I’ve killed my fair share of real monsteras, so crocheting one felt like sweet revenge.
Why You’ll Love This Crochet Monstera Pattern
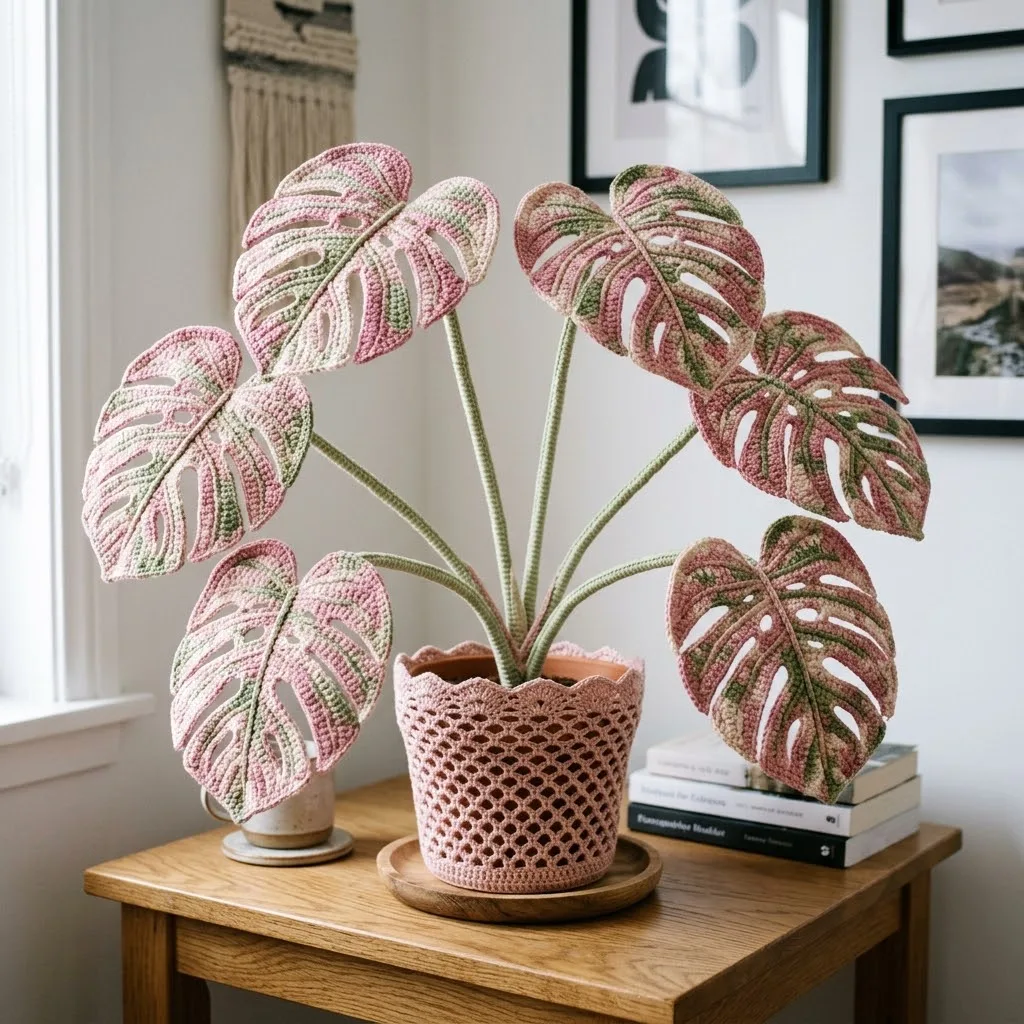
This crochet monstera plant brings all the trendy houseplant vibes without any of the watering, sunlight requirements, or guilt when you forget about it for two weeks. The pink variegation effect comes from working with multiple yarn colors in a striped or color-changing technique that mimics the rare and coveted Pink Princess Monstera.
What makes this pattern special is the combination of simple stitches with a construction method that creates those signature monstera leaf splits, called fenestrations, naturally as you work. You’re not cutting holes after the fact. You’re building them right into each row.
The finished plant sits in a gorgeous lacy crochet pot cover that uses an open mesh stitch pattern. Everything you see, the leaves, the stems, and that beautiful pot cover, is completely handmade.
Skill Level
Intermediate. You should be comfortable with basic stitches and increasing or decreasing. The leaf shaping requires attention to the pattern, but I’ll walk you through every step. If you’ve made amigurumi or any shaped crochet project before, you can absolutely handle this.
Materials Needed for Your Crochet Monstera Plant
Yarn
For the leaves, you’ll need worsted weight yarn (category 4) in three colors:
For the stems, you’ll need:
For the pot cover, you’ll need:
I recommend a cotton or cotton blend yarn for structure. Acrylic works but tends to be floppier. Lion Brand 24/7 Cotton or Paintbox Cotton DK would be perfect choices.
Tools
Gauge
Gauge is not critical for this decorative project. Your leaves may be slightly larger or smaller depending on your tension, which only adds to the natural look.
Abbreviations and Stitch Definitions
Let me define every stitch you’ll need before we begin:
Pattern Notes Before You Begin
This monstera leaf pattern is worked flat in rows, then assembled with wire for structure. You’ll create the fenestrations (those natural holes in monstera leaves) by skipping stitches and chaining over gaps. Don’t worry if this sounds confusing. It will make sense as you work.
Color changes: For the variegated effect, you’ll switch colors randomly throughout the leaf. I changed colors every 2 to 4 rows in an unpredictable pattern. There’s no wrong way to do this. Real variegated plants are beautifully imperfect.
Working with wire: You’ll insert floral wire along the center vein and outer edges after completing each leaf. This gives them that realistic curve and shape.
Crochet Monstera Leaf Pattern
Make 6 to 8 leaves in varying sizes for a full plant.
Small Leaf (Make 2)
Foundation: With Color A, ch 12.
Row 1: Sc in 2nd ch from hook, sc in next 9 ch, 3 sc in last ch. Working along opposite side of foundation chain, sc in next 10 sts. (23 sts)
Row 2: Ch 1, turn. Sc in first 10 sts, 3 sc in next st (center tip), sc in remaining 10 sts. (25 sts)
Row 3: Ch 1, turn. Sc in first 11 sts, 3 sc in center st, sc in remaining 11 sts. (27 sts)
Rows 4 to 6: Continue increasing at center tip each row, adding 2 sts per row. Change to Color B or C randomly. (33 sts after Row 6)
Row 7 (First Fenestration Row): Ch 1, turn. Sc in first 8 sts, ch 3, sk 3 sts, sc in next 4 sts, 3 sc in center, sc in next 4 sts, ch 3, sk 3 sts, sc in remaining 8 sts. (33 sts plus 2 chain spaces)
Row 8: Ch 1, turn. Sc in each st and 3 sc in each ch-3 space across, with 3 sc in center tip. (37 sts)
Rows 9 to 12: Continue in sc, changing colors as desired, increasing at center tip each row. (45 sts after Row 12)
Border Round: Do not turn. Work 1 round of sc evenly around entire leaf edge, working 3 sc at the tip and 2 sc at each curve. Sl st to first sc to join. Fasten off.
Medium Leaf (Make 2 to 3)
Work same as Small Leaf through Row 6.
Row 7 (First Fenestration Row): Ch 1, turn. Sc in first 6 sts, ch 4, sk 4 sts, sc in next 3 sts, ch 4, sk 4 sts, sc in next 4 sts, 3 sc in center, sc in next 4 sts, ch 4, sk 4 sts, sc in next 3 sts, ch 4, sk 4 sts, sc in remaining 6 sts.
Row 8: Sc in each st, work 4 sc in each ch-4 space, 3 sc in center tip.
Rows 9 to 16: Continue increasing at center and adding fenestration rows at Rows 11 and 14. Change colors throughout for variegation effect. Final stitch count approximately 55 to 60 sts.
Border Round: Work sc evenly around entire leaf. Sl st to join. Fasten off.
Large Leaf (Make 2 to 3)
Work same foundation and initial rows as Medium Leaf.
Continue for 20 rows total, creating 3 to 4 fenestration rows spaced every 3 to 4 rows. Increase fenestration size as leaf grows by using ch 5 or ch 6 spaces in later rows.
Add a split at the bottom of the leaf by working Row 18 in two separate sections:
Row 18a: Sc in first 12 sts only. Ch 1, turn.
Row 18b: Rejoin yarn 12 sts from opposite end. Sc in remaining 12 sts.
Work 2 more rows on each section separately, then work Border Round around entire leaf including the split. This creates the deep lobes characteristic of mature monstera leaves.
Crochet Leaf Stem Pattern
Make one stem per leaf.
The stems are worked in continuous rounds around floral wire.
Setup: Cut floral wire 8 to 12 inches long depending on desired stem length. Bend a tiny loop at one end to prevent poking through.
Round 1: With Color D, make a magic ring. Work 6 sc into ring. Do not join. Work in continuous spiral. (6 sts)
Rounds 2 to 30 (or desired length): Sc in each st around, inserting wire through center as you work. The wire should be completely encased by crochet.
Joining to leaf: Flatten final round. Sl st closed. Leave long tail for sewing to leaf base.
Crochet Pot Cover Pattern
This lacy pot cover uses an open mesh stitch that creates that gorgeous honeycomb effect visible in the image.
Gauge check: This should fit snugly around a 5-inch pot. Adjust hook size if needed.
Foundation: With Color E and 5.0mm hook, ch 4. Sl st to first ch to form ring.
Round 1: Ch 3 (counts as dc), 11 dc in ring. Sl st to top of ch-3 to join. (12 dc)
Round 2: Ch 3, dc in same st, 2 dc in each st around. Sl st to join. (24 dc)
Round 3: Ch 3, dc in same st, dc in next st. *2 dc in next st, dc in next st.* Repeat around. Sl st to join. (36 dc)
Round 4: Ch 3, dc in next 2 sts, 2 dc in next st. *Dc in next 3 sts, 2 dc in next st.* Repeat around. Sl st to join. (45 dc)
Rounds 5 to 6: Continue increasing every 4th or 5th stitch until base fits pot bottom. Approximately 54 to 60 sts.
Mesh Section (Sides):
Round 7: Ch 5, sk 2 sts, dc in next st. *Ch 2, sk 2 sts, dc in next st.* Repeat around. Sl st to 3rd ch of ch-5 to join.
Rounds 8 to 14: Ch 5, dc in next dc. *Ch 2, dc in next dc.* Repeat around. Sl st to join.
The mesh naturally creates that beautiful honeycomb pattern as you work straight up without increasing.
Scallop Edge:
Round 15: *Sc in dc, 5 dc in ch-2 sp, sc in next dc, sl st in ch-2 sp.* Repeat around. Fasten off.
Weave in all ends. Place over terra cotta pot.
Finishing and Assembly
Preparing the leaves:
1. Cut floral wire slightly longer than each leaf’s center vein.
2. Using tapestry needle and matching yarn, stitch wire along the back of each leaf from base to tip.
3. Cut a second piece of wire for larger leaves to reinforce the outer edge.
4. Wrap exposed wire ends with floral tape.
Shaping:
Gently bend each leaf into a natural curved shape. Monstera leaves curve backward slightly and the lobes angle downward. Look at reference photos of real pink variegated monsteras for inspiration.
Assembling the plant:
1. Place floral foam tightly inside your terra cotta pot.
2. Insert stems into foam, starting with larger leaves in the back and center.
3. Add medium leaves around the sides.
4. Place smaller leaves toward the front and edges.
5. Adjust angles until you’re happy with the arrangement.
6. Cover foam with moss, fabric scraps, or additional yarn if desired.
7. Slip the crochet pot cover over the assembled pot.
Tips for the Best Results
Color placement matters. Study photos of real variegated monsteras. The pink and cream sections often appear in patches or streaks, not evenly distributed. Embrace randomness.
Block your leaves if they’re curling. Wet blocking with pins helps flatten and shape them before adding wire.
Stiffen if needed. A light spray of fabric stiffener can help leaves hold their shape, especially in humid climates.
Make extra leaves. Having options lets you choose the best ones for your final arrangement.
Customization Ideas
This crochet monstera pattern is incredibly versatile. Try these variations:
Why Crochet Plants Make Amazing Gifts
A handmade crochet plant like this pink variegated monstera is the perfect gift for:
It’s also completely pet safe. No worrying about toxic houseplants around curious cats or dogs.
Final Thoughts on This Crochet Monstera Plant Pattern
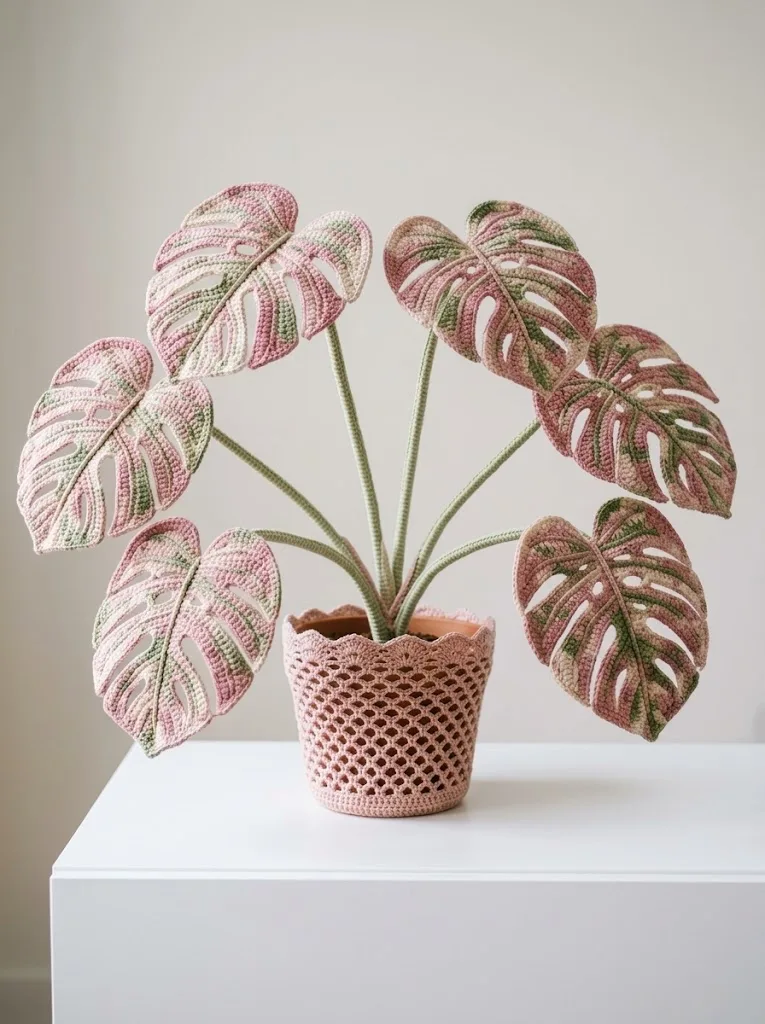
This pink variegated monstera crochet plant pattern combines simple stitches with clever construction to create something truly special. The step by step instructions walk you through every row, every fenestration, and every finishing detail. Whether you’re making this for yourself or as a gift, you’ll end up with a stunning piece of handmade home decor that never needs watering.
Take your time with the color changes. That’s where the magic of variegation happens. And don’t stress about perfection. Real plants aren’t symmetrical either.
I absolutely love seeing your finished projects! Tag me on Instagram or share in our Facebook group so I can admire your beautiful handmade monsteras. Every single one turns out unique, and that’s exactly how it should be.
If this pattern made you smile or inspired your next project, save it to your Pinterest boards so you can find it later. And please drop a comment below if you make one. I’d love to hear which color combination you chose and how it turned out!
You Might Also Like
- Coral Sunset Crochet Summer Boots Free Pattern
- Stormy Gray Neutral Granny Square Blanket Free Crochet Pattern
- Lavender Butterfly Baby Dress Free Crochet Pattern
- Berry Purple Magenta Crochet Platform Wedge Sandals Pattern