Lavender Crochet Sandals in Modern Bedroom Free Pattern
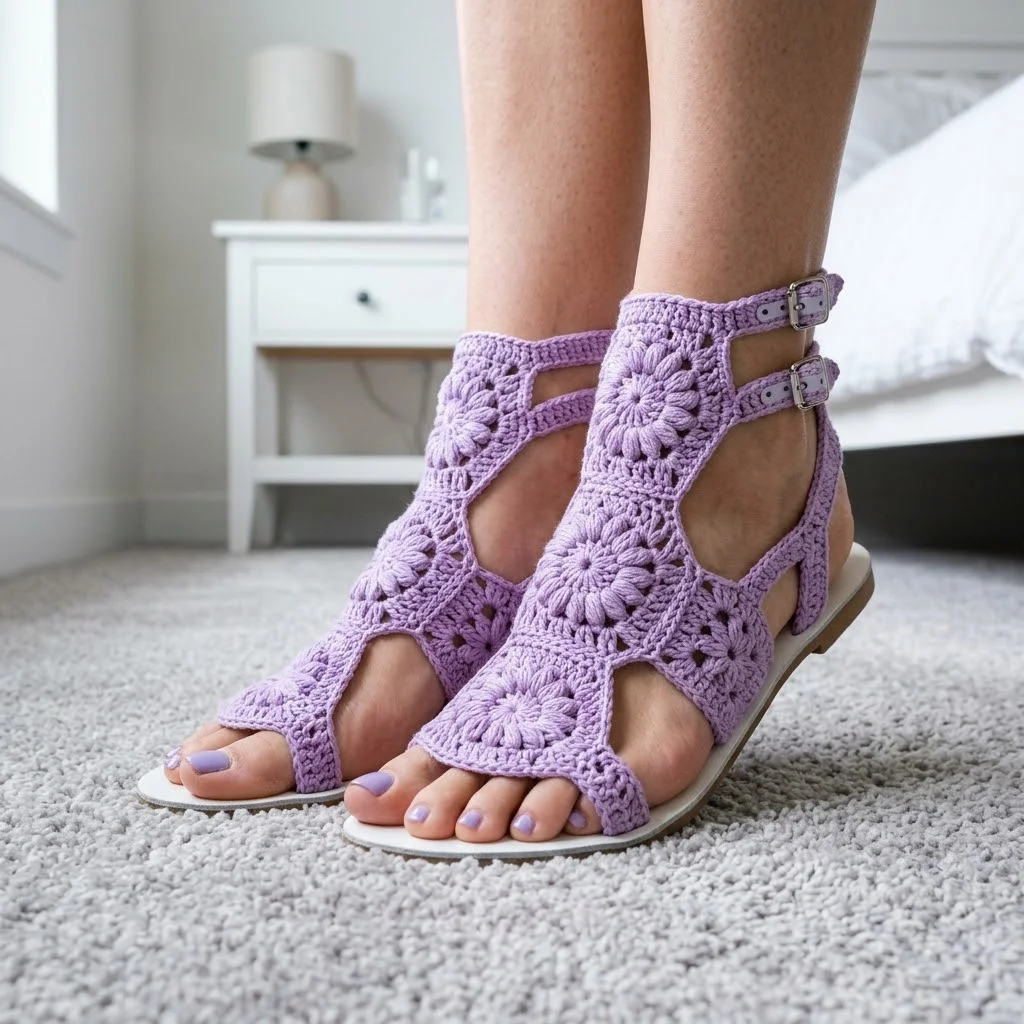
I’ve been looking for the perfect summer sandal pattern that combines boho charm with actual wearability, and this design is my absolute favourite find. These lavender crochet sandals use gorgeous puff stitch hexagon motifs joined together to create a gladiator-style upper that sits on a ready-made sandal sole. The construction is clever, the look is stunning, and I rounded up all the details you need to make your own pair.
Why You’ll Love This Crochet Sandals Pattern
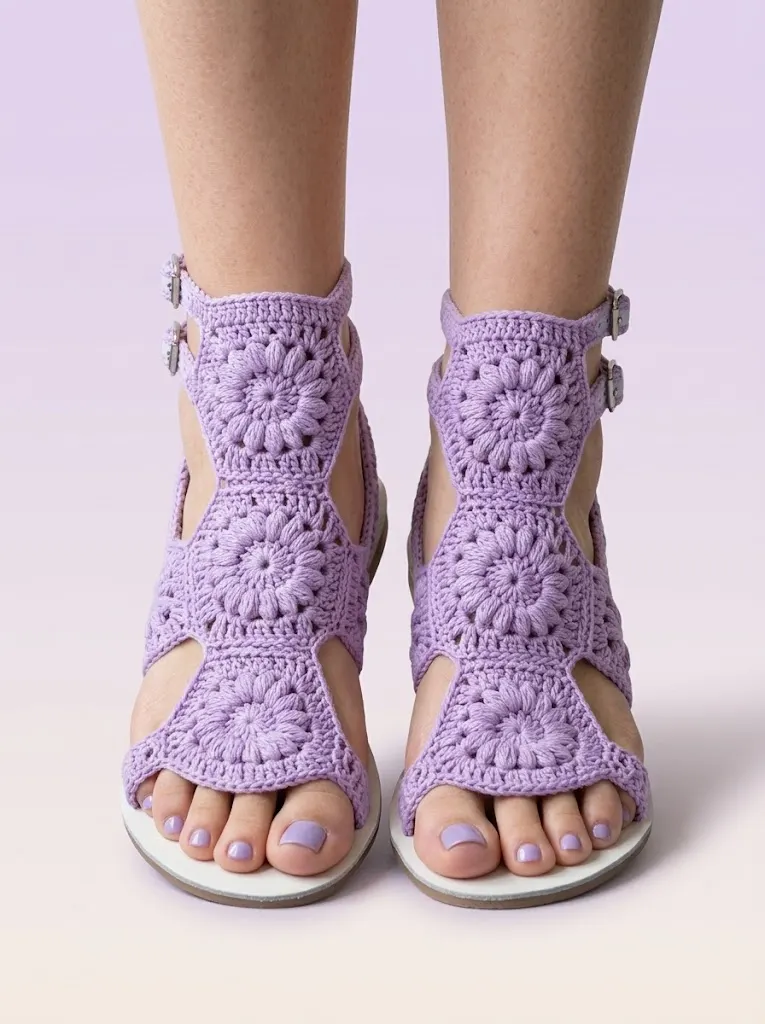
These aren’t your basic crochet flip flops. The hexagonal motif design creates visual interest while the open cutout sections keep your feet cool in warm weather. The puff stitch centers give each hexagon a flower-like appearance that catches the light beautifully.
What makes this crochet sandal tutorial special is the modular construction. You’ll create individual hexagon motifs, then join them strategically to form the sandal upper. This means you can work on motifs anywhere, anytime, and assembly happens at the end.
The gladiator-style silhouette with double ankle straps adds a trendy touch that elevates these from craft project to actual fashion piece. Pair them with sundresses, cropped jeans, or your favourite summer skirt.
Skill Level
Intermediate. You should be comfortable with basic stitches and have made at least one project that required joining motifs. The hexagons themselves are beginner-friendly, but the construction and assembly require some spatial thinking.
If you’ve never made puff stitches before, don’t panic. I’ll walk you through them step by step, and they become second nature after the first hexagon.
Materials Needed
Yarn:
Hook:
Notions:
Gauge:
One completed hexagon measures approximately 2 inches across (point to point). Gauge matters here because the motifs need to fit together properly around your foot.
Abbreviations and Stitch Definitions
Let me explain every stitch you’ll need before we begin.
Ch = Chain. Wrap yarn over hook, pull through loop on hook. This creates the foundation for most crochet work.
Sl st = Slip stitch. Insert hook, yarn over, pull through both loops at once. Used for joining and moving across stitches invisibly.
Sc = Single crochet. Insert hook, yarn over and pull up a loop (2 loops on hook), yarn over and pull through both loops.
Hdc = Half double crochet. Yarn over, insert hook, yarn over and pull up a loop (3 loops on hook), yarn over and pull through all 3 loops.
Dc = Double crochet. Yarn over, insert hook, yarn over and pull up a loop (3 loops on hook), yarn over and pull through 2 loops, yarn over and pull through remaining 2 loops.
Puff st = Puff stitch. This creates the raised, puffy flower centers. To make one: *yarn over, insert hook, yarn over and pull up a loop* 3 times in the same stitch (7 loops on hook), yarn over and pull through all 7 loops. Chain 1 to close.
Magic ring = Adjustable starting loop. Wrap yarn around finger twice, insert hook and pull up a loop, chain to secure. Work stitches into the ring, then pull tail to close the center tight.
The Hexagon Motif Pattern
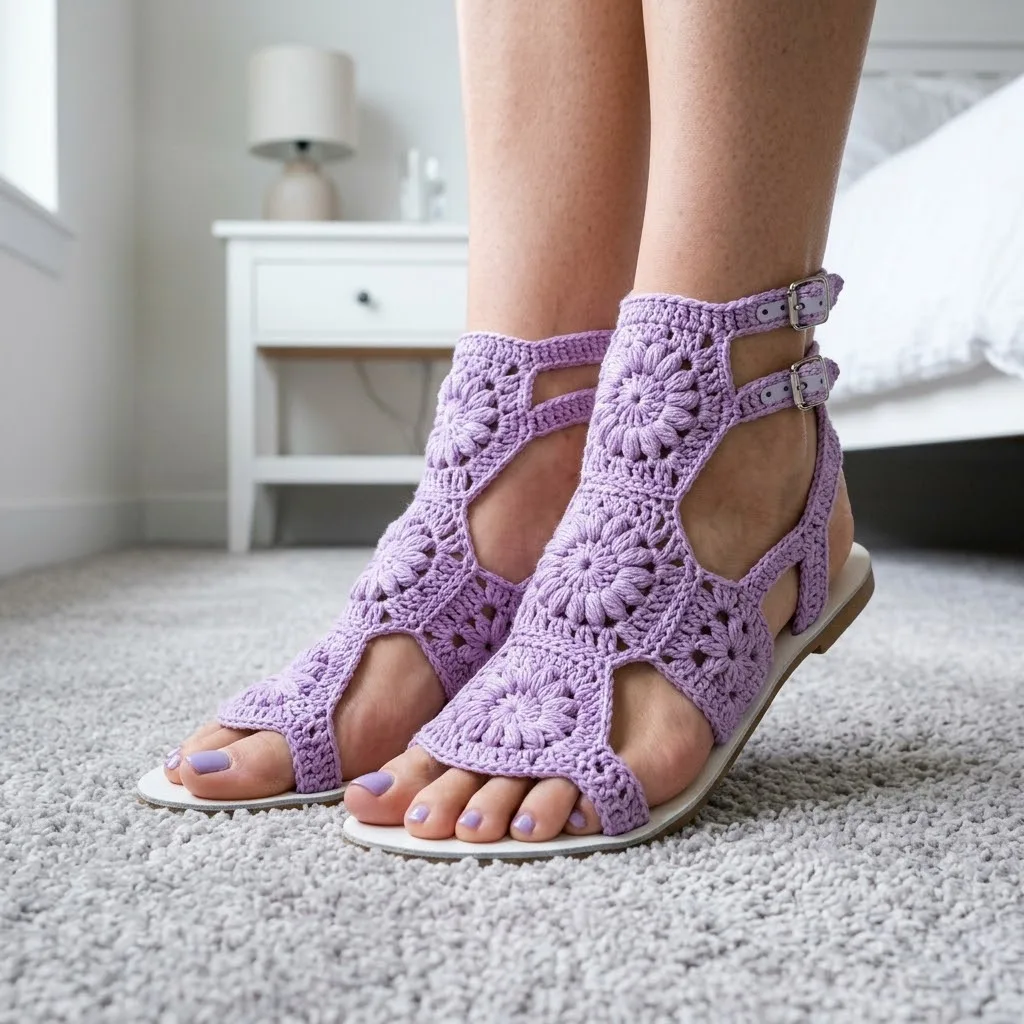
Each sandal uses approximately 9 hexagons depending on your foot size and desired coverage. Make all motifs first, then join them together.
Round 1 (Center)
Create a magic ring.
Ch 2 (counts as first hdc throughout).
Work 11 hdc into the ring. (12 hdc total including starting chain)
Pull magic ring closed.
Sl st to top of starting ch 2 to join.
Round 2 (Puff Stitch Round)
Ch 2.
Work 1 puff st in same stitch.
*Ch 1, skip next st, work 1 puff st in next st.* Repeat from * around. (6 puff stitches total)
Ch 1, sl st to first puff st to join.
This round creates the signature flower-like center. Your puff stitches should look plump and rounded. If they’re flat, try pulling up longer loops.
Round 3 (Creating the Hexagon Shape)
This round transforms your circle into a hexagon.
Ch 3 (counts as first dc).
Work 2 dc in same ch-1 space.
*In next ch-1 space work: 3 dc, ch 2, 3 dc (this creates a corner).* Repeat from * 5 more times.
In starting space work: 3 dc, ch 2.
Sl st to top of starting ch 3 to join. (6 corners total, 36 dc total)
Round 4 (Border Round)
Ch 1.
Sc in each dc around, working 3 sc in each ch-2 corner space.
Sl st to first sc to join. Fasten off. (54 sc total)
Weave in your ends as you go. Trust me, dealing with 18+ yarn tails at the end is not fun.
Repeat to make 18 hexagons total (9 per sandal). You may need 1 or 2 extra depending on your foot size.
Sizing Adjustments
The pattern as written fits approximately a women’s US size 7 to 8.
For smaller feet (US 5 to 6):
For larger feet (US 9 to 11):
Assembly Instructions
This is where the magic happens. Lay out your hexagons to visualize the design before joining anything.
Layout Pattern for Each Sandal
Toe section: 2 hexagons joined side by side
Midfoot section: 3 hexagons in a staggered row
Ankle section: 4 hexagons forming the gladiator upper
Joining Method
I recommend the single crochet join for durability.
1. Hold two hexagons with wrong sides together.
2. Insert hook through both layers at a corner.
3. Working through both hexagons, sc along the shared edge.
4. Join approximately 6 to 8 sc along each shared side.
The join should be firm but not puckered. If your join pulls, loosen your tension slightly.
Assembly Order
Start with the toe section. Join 2 hexagons along one edge.
Build outward, adding the midfoot hexagons in a staggered pattern. Each midfoot hexagon should connect to the toe section and to adjacent midfoot hexagons.
Add ankle hexagons last, creating the height on either side of the foot.
Leave strategic openings for the ankle straps and for the natural curves around the heel.
Creating the Ankle Straps
Make 2 per sandal (4 total).
Ch 50 (or desired length to wrap around ankle plus 3 inches for buckle attachment).
Row 1: Sc in 2nd ch from hook and in each ch across. (49 sc)
Row 2: Ch 1, turn. Sc in each sc across. (49 sc)
Fasten off, leaving a long tail for sewing.
Adding Buckles
Fold one end of strap through buckle bar.
Using matching thread and a sharp needle, whipstitch the folded section securely.
Create 3 to 4 evenly spaced holes on the opposite end by carefully separating stitches with a yarn needle. These become your adjustment holes.
Attaching to Sandal Soles
Position your joined crochet upper on the sandal sole. The toe section should sit at the front, with the ankle section rising up on both sides.
Method 1: If your soles have pre-punched holes:
Using yarn and your crochet hook, pull loops through the holes and sl st or sc directly into the sole edge.
Method 2: For smooth flip flop soles:
Use a leather punch or awl to create holes around the sole edge. Whipstitch the crochet upper to the sole using sturdy thread or the same yarn.
Attach ankle straps to the sides of the ankle section, positioning them where they’ll wrap comfortably.
Finishing Touches
Weave in all remaining ends securely. For footwear, I weave ends back and forth multiple times to prevent loosening with wear.
Optional: Apply a thin coat of fabric glue to the underside of the sole attachment for extra durability.
Steam block the hexagons lightly if any are misshapen. Avoid pressing directly on puff stitches.
Care Instructions
Hand wash in cool water with mild soap. Lay flat to dry.
The crochet upper can be spot cleaned for minor dirt.
Avoid machine washing, as it may damage the sole attachment.
Tips for Success
Tension consistency matters. All your hexagons should be the same size. Make a test hexagon first and check your gauge.
Block before joining. Even a quick steam helps hexagons lay flat and join evenly.
Try on as you go. After joining the toe and midfoot sections, hold the piece against your foot to check fit before adding ankle hexagons.
Reinforce high-stress areas. Add extra stitches where the toe section meets the sole and where straps attach.
Customization Ideas
Color variations: Make each hexagon a different shade for an ombre effect. Or alternate two colors in a checkerboard pattern.
Embellishments: Add small buttons or beads to the puff stitch centers. Attach tiny tassels to the ankle straps.
Height adjustments: Add or remove ankle hexagons to create a shorter sandal or a taller gladiator boot style.
Sole options: Use espadrille soles for a wedge version, or attach to sturdy outdoor flip flops for beach wear.
I really hope you enjoy making these crochet sandals as much as I enjoyed designing this pattern. If you want to find this again later, save it to your Pinterest boards so it’s ready when you are. And please leave a comment below if you make a pair. I would absolutely love to see which colors you choose!
You Might Also Like
- Teal Ocean Wave Crochet Robe Free Pattern
- Sage Green Summer Tote with Cream Tassels Free Crochet Pattern
- Sunset Ombre Seashell Clutch Free Crochet Pattern
- Coral Sunset Gradient Chain Purse Free Crochet Pattern