Dusty Rose Ribbed Ankle Socks Free Crochet Pattern
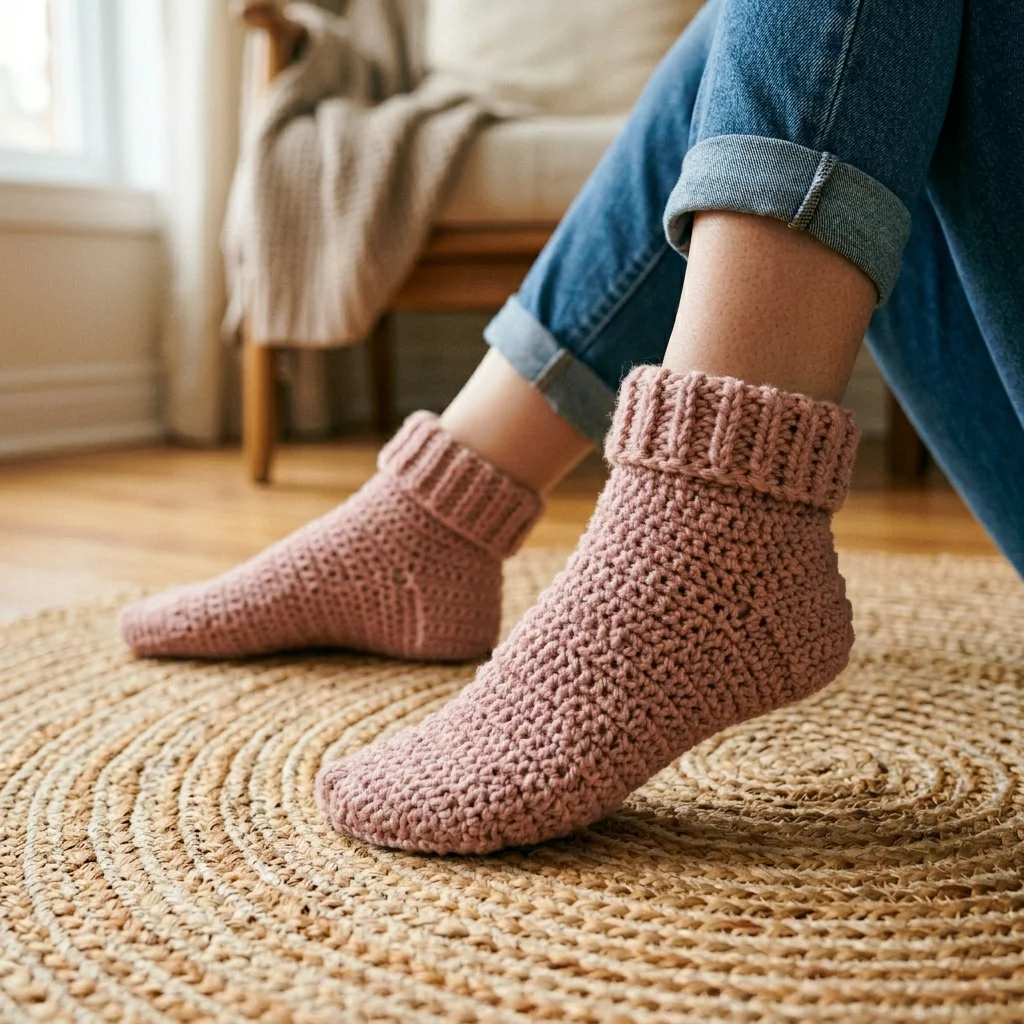
I don’t know about you, but I’ve always been a little intimidated by crocheting socks. They seem so complicated with all that shaping and fitting. But these cozy ankle socks? All the warm, snuggly comfort with none of the fuss. The ribbed cuff gives them that classic sock look, and the construction is way simpler than you’d expect.
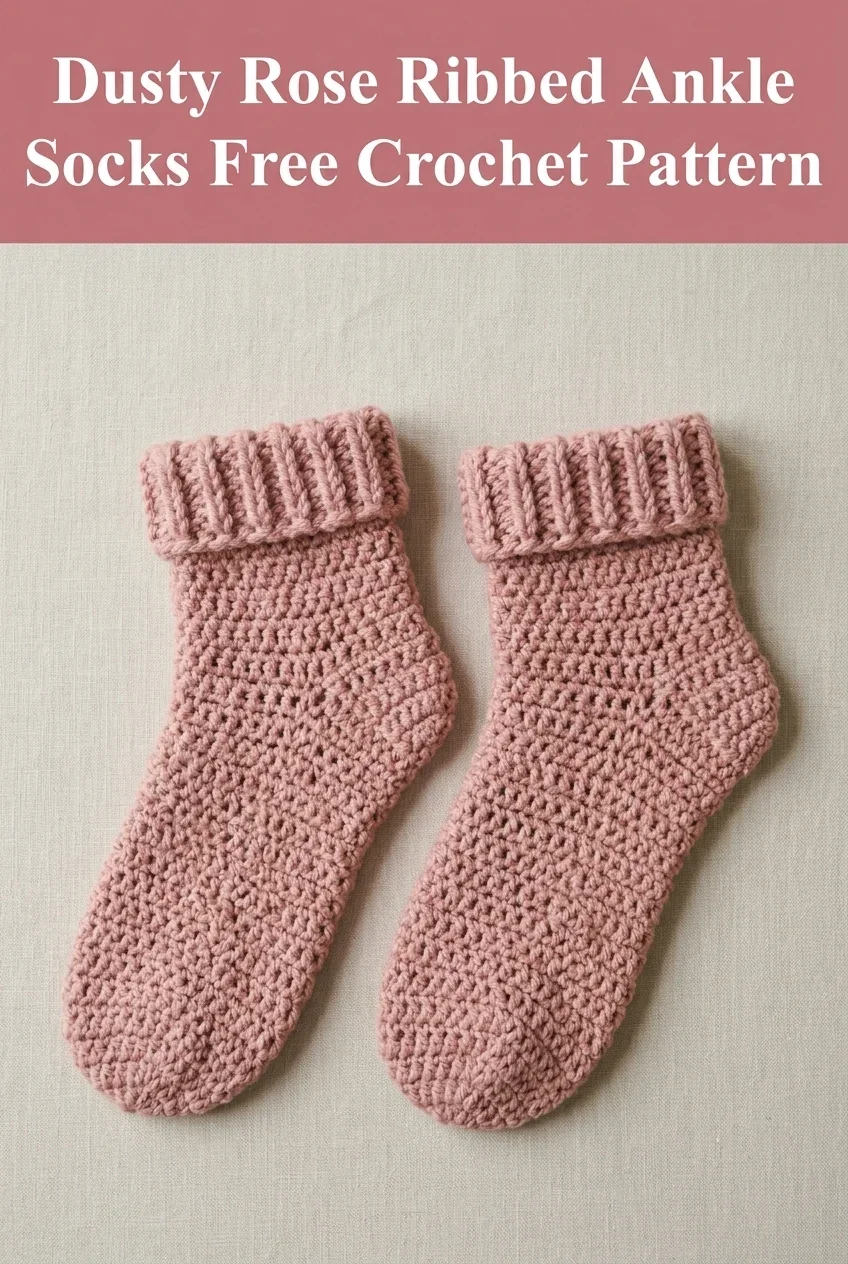
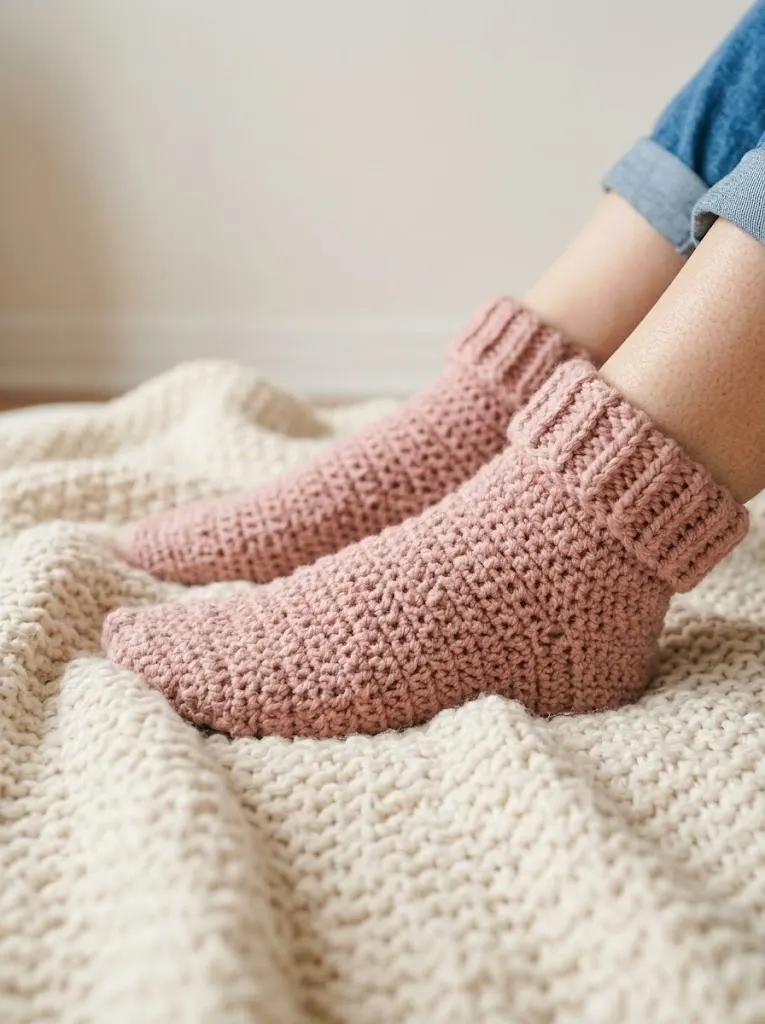
These dusty rose beauties have become my go-to house socks. They’re thick enough to keep your feet toasty on cold floors but not so bulky that they feel clunky. And that folded ribbed cuff? It adds just the right amount of stretch to keep them from sliding down.
Why You’ll Love This Crochet Sock Pattern
This crochet tutorial breaks down sock construction into manageable pieces. Instead of working in one continuous spiral that can get confusing, you’ll create distinct sections: the toe, the foot, the heel, and the cuff. Each part builds on the last, so you always know exactly where you are in the pattern.
The ribbed cuff is worked separately and then attached, which means you can customize the height easily. Want taller socks? Just add more rows to your cuff. Prefer a shorter ankle sock? Work fewer rows. You’re in control.
These socks work up relatively quickly for a wearable project. Expect to spend about 4 to 6 hours per sock once you get the hang of the construction. That makes them perfect for a weekend project or a thoughtful handmade gift.
Materials Needed for Your Crochet Socks
Yarn:
Hook:
Notions:
Gauge:
14 stitches and 16 rows = 4 inches in single crochet
*Always check your gauge. Socks need to fit properly, so this step matters more than usual.*
Skill Level
This pattern is intermediate level. You should be comfortable with basic crochet stitches and working in the round. If you’ve never crocheted in the round before, I recommend practicing on a simple hat or coaster first.
That said, if you’re an adventurous beginner who reads patterns carefully and doesn’t mind a learning curve, you can absolutely tackle this project. I’ll walk you through each step.
Stitch Abbreviations and Definitions
Before we dive into the step by step instructions, let’s go over the stitches you’ll need to know:
ch = chain: Yarn over, pull through the loop on your hook. This creates the foundation for most crochet projects.
sl st = slip stitch: Insert hook into stitch, yarn over, pull through both the stitch and the loop on your hook in one motion. Used for joining rounds and creating nearly invisible seams.
sc = single crochet: Insert hook into stitch, yarn over and pull up a loop (2 loops on hook), yarn over and pull through both loops. This is the main stitch for the sock body.
sc2tog = single crochet two together: A decrease stitch. Insert hook into first stitch, yarn over and pull up a loop, insert hook into next stitch, yarn over and pull up a loop (3 loops on hook), yarn over and pull through all 3 loops. This turns 2 stitches into 1.
BLO = back loop only: Instead of inserting your hook under both loops of the stitch, insert it under only the back loop. This creates the ribbed texture in the cuff.
FLO = front loop only: Insert your hook under only the front loop of the stitch. Used occasionally for shaping.
Size Information
This pattern is written for women’s size medium (US shoe size 7 to 8, approximately 9 to 9.5 inch foot length).
To adjust for smaller sizes: Work 2 fewer rounds on the foot section and reduce the starting chain for the cuff by 2 stitches.
To adjust for larger sizes: Work 2 to 4 additional rounds on the foot section and increase the starting chain for the cuff by 2 to 4 stitches.
The beauty of crocheted socks is that they have natural stretch. This pattern fits a range of sizes comfortably.
How to Crochet the Toe Section
We’ll start at the toe and work our way up. This construction method lets you try on the sock as you go, which is incredibly helpful for getting the right fit.
Round 1: Create a magic ring. Ch 1 (does not count as a stitch throughout), work 6 sc into the ring. Pull ring closed. Sl st to first sc to join. (6 sts)
*Don’t know the magic ring? You can substitute by chaining 2 and working 6 sc into the second chain from the hook.*
Round 2: Ch 1, work 2 sc in each st around. Sl st to join. (12 sts)
Round 3: Ch 1, *sc in next st, 2 sc in next st* repeat around. Sl st to join. (18 sts)
Round 4: Ch 1, *sc in next 2 sts, 2 sc in next st* repeat around. Sl st to join. (24 sts)
Round 5: Ch 1, *sc in next 3 sts, 2 sc in next st* repeat around. Sl st to join. (30 sts)
Round 6: Ch 1, *sc in next 4 sts, 2 sc in next st* repeat around. Sl st to join. (36 sts)
You should now have a flat circle that covers your toes comfortably. If it seems too small, add another increase round following the same pattern.
How to Crochet the Foot Section
Now we’ll stop increasing and work straight rounds to create the tube that covers your foot.
Rounds 7 through 24: Ch 1, sc in each st around. Sl st to join. (36 sts)
That’s 18 rounds of straight single crochet. This section should reach from your toes to just before your heel. Try the sock on periodically to check the fit. You want it to end right where your foot starts to curve up toward your ankle.
Pro tip: Place a stitch marker at the beginning of your round. This helps you keep track of where each round starts, especially since the stitches can start to blend together visually.
How to Crochet the Heel
The heel is where things get interesting. Don’t worry, I’ll walk you through it step by step. We’re going to work back and forth in rows to create a heel flap, then shape the heel turn.

Heel Flap
Row 1: Ch 1, sc in next 18 sts. Turn. Leave remaining 18 sts unworked for now. (18 sts)
Rows 2 through 12: Ch 1, sc in each st across. Turn. (18 sts)
You now have a rectangular flap. This will become the back of your heel.
Heel Turn
This is the shaping that creates the cup of the heel. Read through these instructions once before you start.
Row 1: Ch 1, sc in first 11 sts, sc2tog, sc in next st. Turn. Leave remaining sts unworked. (13 sts worked)
Row 2: Ch 1, skip first st, sc in next 6 sts, sc2tog, sc in next st. Turn. (8 sts worked)
Row 3: Ch 1, skip first st, sc in next 4 sts, sc2tog, sc in next st. Turn. (6 sts worked)
Row 4: Ch 1, skip first st, sc in next 2 sts, sc2tog, sc in next st. Turn. (4 sts worked)
Row 5: Ch 1, sc in each st across. Do not turn. (4 sts)
Joining the Heel
Now we’ll pick up stitches along the sides of the heel flap and rejoin the round.
Working along the side of the heel flap, work 10 sc evenly spaced down to the held stitches. Sc in each of the 18 held stitches across the top of the foot. Work 10 sc evenly spaced up the other side of the heel flap. Sc in each of the 4 heel stitches. Sl st to join. (42 sts)
Gusset Decreases
We have too many stitches now. These decrease rounds will shape the sock to fit your ankle.
Round 1: Ch 1, sc in first 2 sts, sc2tog, sc in next 14 sts, sc2tog, sc in next 18 sts, sc2tog, sc in next 2 sts. Sl st to join. (39 sts)
Round 2: Ch 1, sc in each st around. Sl st to join. (39 sts)
Round 3: Ch 1, sc in first 2 sts, sc2tog, sc in next 12 sts, sc2tog, sc in next 17 sts, sc2tog, sc in next st. Sl st to join. (36 sts)
Round 4: Ch 1, sc in each st around. Sl st to join. (36 sts)
How to Crochet the Ankle Section
Almost there! This section connects the heel to the cuff.
Rounds 1 through 8: Ch 1, sc in each st around. Sl st to join. (36 sts)
Fasten off and weave in ends.
How to Crochet the Ribbed Cuff
The cuff is worked separately and then attached. This creates that beautiful stretchy ribbed texture you see in the photos.
Switch to your smaller hook (4.5 mm).
Foundation: Ch 12.
Row 1: Sc in second ch from hook and in each ch across. Turn. (11 sts)
Rows 2 through 36: Ch 1, sc in BLO of each st across. Turn. (11 sts)
Working in the back loop only creates those lovely vertical ribs. Keep your tension consistent for the best results.
After Row 36, do not fasten off. Fold the ribbed piece so the short ends meet. Sl st the two short ends together to form a tube.
Attaching the Cuff
With the cuff still on your hook, hold it against the top edge of the sock with wrong sides together. Working through both layers, sl st evenly around to attach the cuff to the sock.
Fold the cuff down for that classic folded look, or leave it unfolded for a taller sock.
Finishing Your Crochet Socks
Weave in all remaining ends securely. For socks, I recommend weaving ends back and forth a few extra times since they’ll experience more wear and washing than most projects.
Block your socks by soaking them in lukewarm water for 15 minutes, then laying flat to dry. This evens out your stitches and helps the socks hold their shape.
Care Instructions
These socks are best washed on a gentle cycle in cold water or hand washed. Lay flat to dry to maintain their shape. Avoid the dryer, as heat can cause cotton and cotton blend yarns to shrink.
Pattern Notes and Tips
Yarn choice matters. A yarn with some nylon or elastic content will give you better stretch and durability. Pure cotton works but won’t have as much give.
Try them on as you go. Seriously. This is the best way to ensure a good fit, especially if you’re between sizes.
Make both socks at once if you tend to struggle with second sock syndrome. Work one round on the first sock, then one round on the second. It takes longer per session but guarantees you’ll finish the pair.
Add grip to the soles by applying puffy fabric paint in dots or lines to the bottom of your finished socks. This prevents slipping on hard floors.
I hope you love making these cozy ribbed ankle socks as much as I loved designing them. They’re the perfect project for chilly evenings when you want something practical and satisfying to work on. Thank you so much for choosing this pattern.
If you make these socks, I would absolutely love to see them! Tag me on Instagram or share your finished project on Facebook. Seeing your creations truly makes my day.
If this pattern has you excited to grab your hook and yarn, go ahead and save it to your Pinterest boards so you can find it whenever you’re ready to start. And if you do make a pair, please drop a comment below. I love hearing how projects turn out and seeing what colors you choose!
You Might Also Like
- Cinderella Blue Baby Dress Set Free Crochet Pattern
- Coral Sunset Gradient Chain Purse Free Crochet Pattern
- Midnight Silver Lace Bucket Bag Free Crochet Pattern
- Coral Sunset Ruffled Baby Romper Free Crochet Pattern