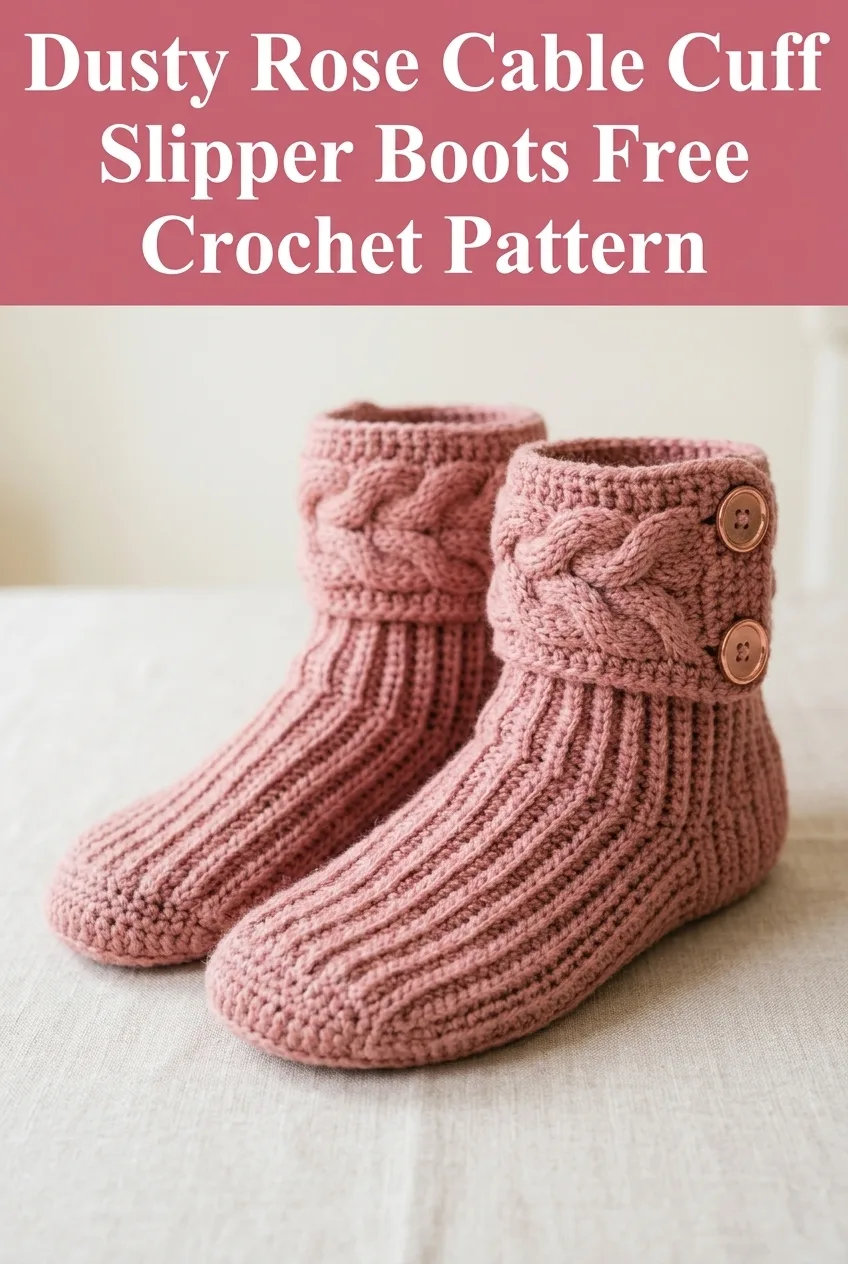
Dusty Rose Cable Cuff Slipper Boots Free Crochet Pattern
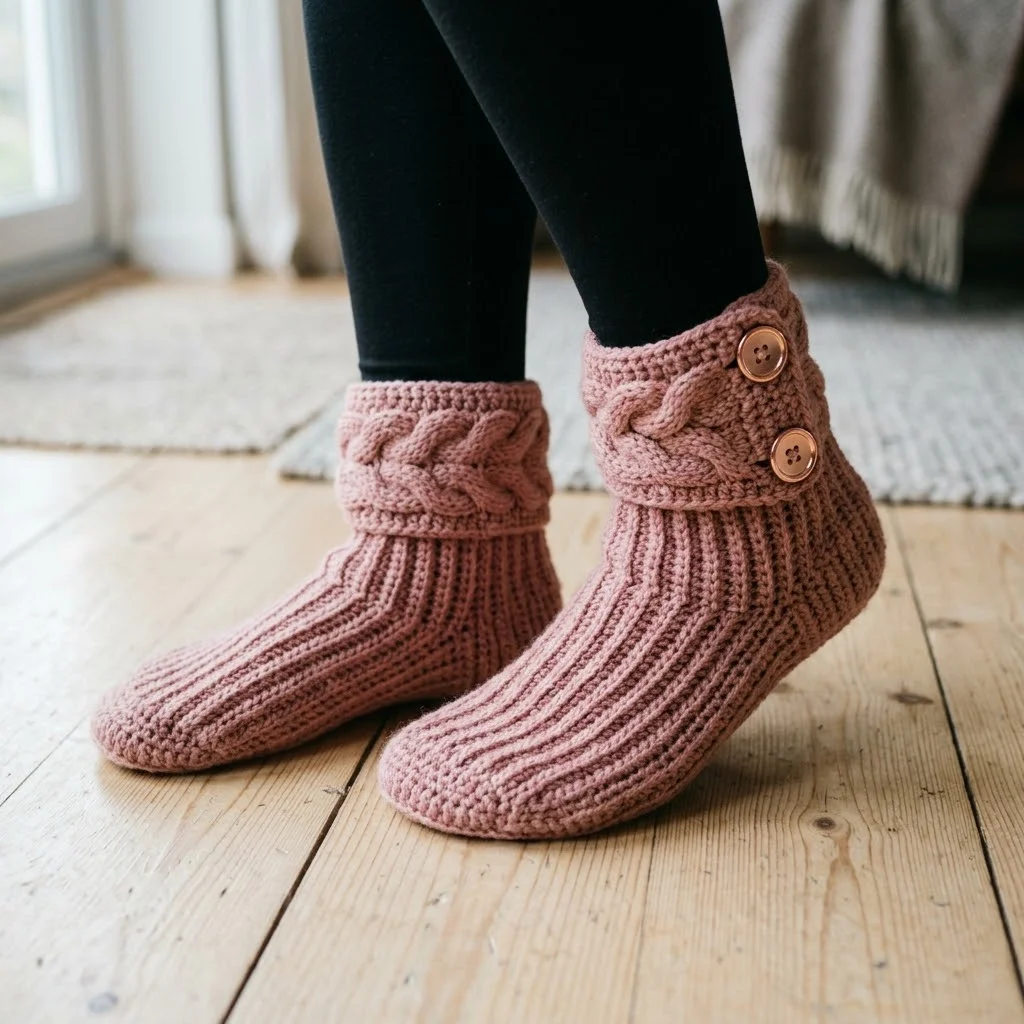
OKAY, these slipper boots are SUPER impressive looking but genuinely one of the most satisfying projects you can whip up in a weekend! I am talking cozy ribbed texture, a gorgeous braided cable cuff, and those adorable button accents that make them look like you spent weeks on them. Spoiler alert: you absolutely did not. These work up SO fast once you get the rhythm going, and they make the most incredible handmade gift. Whether you are treating yourself to the coziest feet of your life or making a pair for someone special, this crochet tutorial is going to become your new favorite go-to pattern.
Why You Will Love This Crochet Pattern
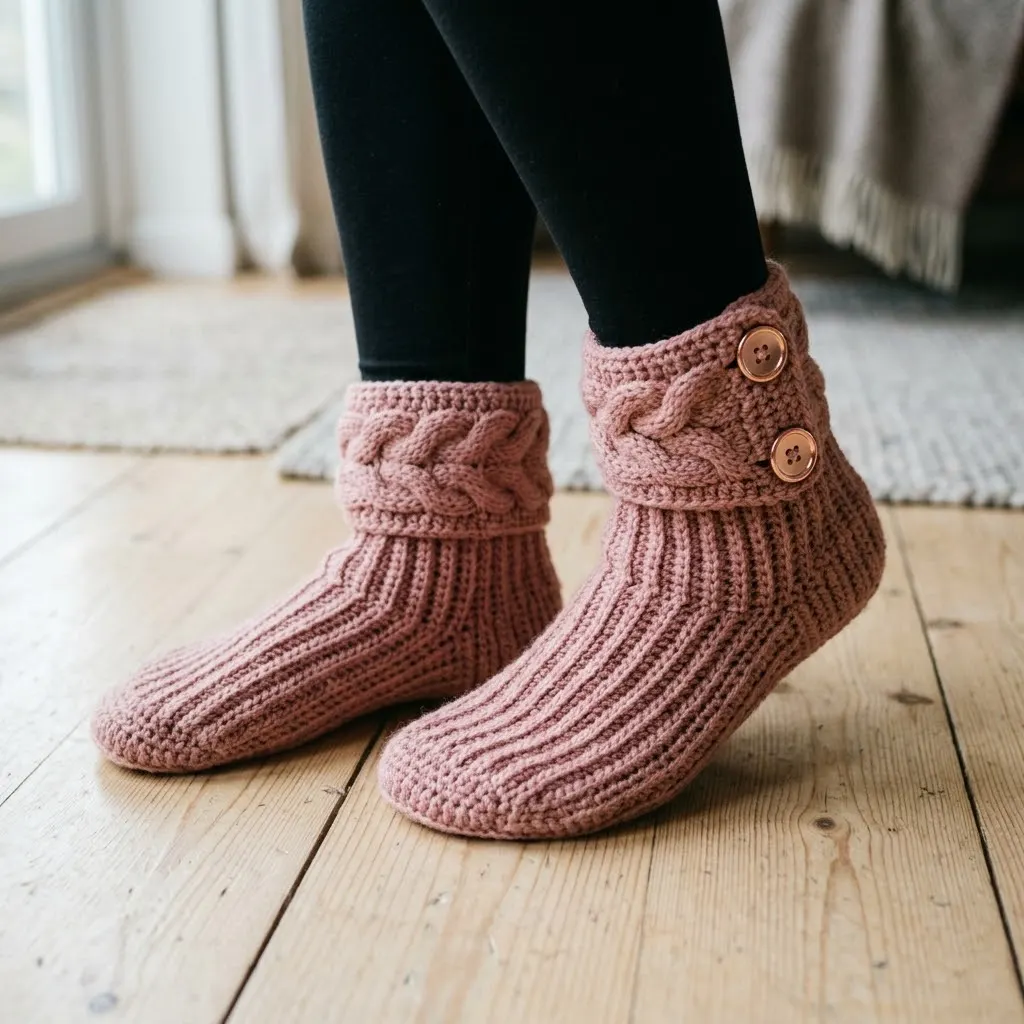
Let me tell you what makes these slipper boots so special. The main body uses a simple ribbed stitch that creates that beautiful knit-look texture you see running vertically from toe to ankle. Then the cuff? That is where the magic happens. A braided cable detail wraps around the top, secured with two wooden buttons that are both functional and decorative.
The construction is smarter than it looks. You will work the sole and foot first, then build up the ankle section, and finally attach a separate cable band. Breaking it into pieces makes the whole project feel manageable rather than overwhelming.
These boots hit that sweet spot of looking complicated while actually being totally doable for an intermediate crocheter. If you have made basic slippers before and want to level up, this is your project.
Materials You Will Need
Before you start, gather everything so you can crochet uninterrupted. Trust me, there is nothing worse than stopping mid-project to hunt for a tapestry needle.
Yarn:
Hook:
Notions:
Gauge:
Skill Level and Techniques
This pattern is rated intermediate. You should be comfortable with basic stitches and reading pattern instructions before starting.
Techniques used:
If you have never done post stitches before, do not panic. I will walk you through them step by step, and they are easier than they sound once your hook finds the right spot.
Stitch Abbreviations and Definitions
Let me break down every stitch you will use. No confusion, no guessing.
Ch = Chain. Wrap yarn over hook, pull through loop on hook. This creates your foundation.
Sl st = Slip stitch. Insert hook, yarn over, pull through both loops at once. Used for joining and moving across stitches.
Sc = Single crochet. Insert hook, yarn over, pull up a loop (2 loops on hook), yarn over, pull through both loops. The shortest basic stitch.
Hdc = Half double crochet. Yarn over, insert hook, yarn over, pull up a loop (3 loops on hook), yarn over, pull through all 3 loops. Creates a medium-height stitch with nice drape.
Dc = Double crochet. Yarn over, insert hook, yarn over, pull up a loop, yarn over, pull through 2 loops, yarn over, pull through remaining 2 loops. Taller stitch used in the cable section.
BLO = Back loop only. Instead of inserting your hook under both loops at the top of a stitch, insert it under only the back loop (the one farthest from you). This creates the ribbed texture.
FPdc = Front post double crochet. Yarn over, insert hook from front to back around the post (vertical part) of the stitch below, yarn over, pull up a loop, complete as a regular dc. The stitch will pop forward.
BPdc = Back post double crochet. Yarn over, insert hook from back to front around the post of the stitch below, yarn over, pull up a loop, complete as a regular dc. The stitch will recede backward.
Sc2tog = Single crochet 2 together (decrease). Insert hook in first stitch, yarn over, pull up a loop, insert hook in next stitch, yarn over, pull up a loop (3 loops on hook), yarn over, pull through all 3 loops. Turns 2 stitches into 1.
Size Information
This pattern is written for Women’s Medium (US shoe size 7-8). Finished foot length is approximately 9.5 inches. Ankle height is approximately 5 inches, and the cuff adds another 2.5 inches.
To adjust size:
Step by Step Crochet Pattern
Ready to make some seriously cozy slipper boots? Let us do this. You will make 2 boots total, so read through once, then repeat for the second boot.
Part One: The Sole
The sole is worked flat in rows, then you will work around the edges to build up the foot.
Row 1: Ch 32. Sc in 2nd ch from hook and in each ch across. (31 sc)
Row 2: Ch 1, turn. Sc in BLO of each st across. (31 sc)
Rows 3-8: Repeat Row 2. (31 sc)
At this point, you have a rectangular sole base. Now we shape it.
Row 9 (Heel shaping): Ch 1, turn. Sc2tog, sc in BLO across to last 2 sts, sc2tog. (29 sc)
Row 10: Ch 1, turn. Sc in BLO of each st across. (29 sc)
Rows 11-12: Repeat Rows 9-10. (27 sc after Row 11)
Fasten off and weave in the end. Your sole should have a slight taper at one end for the heel.
Part Two: The Foot and Ankle
Now we work in joined rounds to build the boot upward. This is where that gorgeous ribbing really starts to show.
Setting up: With right side of sole facing you, join yarn at the center back heel. You will work around the entire perimeter of the sole.
Round 1: Ch 1. Work 60 sc evenly around the entire sole edge, placing 1 sc in each row end along the sides and 1 sc in each stitch along the toe and heel. Sl st to first sc to join. Place marker. (60 sc)
Do not stress about getting exactly 60 stitches. Anywhere from 58 to 62 works. Just keep it even.
Round 2: Ch 2 (does not count as a stitch here). Hdc in BLO of each st around. Sl st to first hdc to join. (60 hdc)
Rounds 3-8: Repeat Round 2. (60 hdc)
You should see vertical ribbing forming beautifully. Keep your tension even for the cleanest look.
Part Three: Toe Shaping
Time to shape the toe. This is worked in rows, turning back and forth across the front section only.
Identify your toe section: Place markers at stitches 15 and 45 (counting from center back). The 30 stitches between these markers are your toe area.
Row 1 (Toe): Starting at marker, ch 2. Hdc in BLO of next 28 sts, hdc2tog. Turn. Leave remaining sts unworked. (29 hdc)
Row 2: Ch 2, skip first st (counts as decrease), hdc in BLO of each st to last 2 sts, hdc2tog. Turn. (27 hdc)
Rows 3-6: Repeat Row 2, decreasing at each end. (19 hdc after Row 6)
Row 7: Ch 2. Hdc in BLO of each st across. Do not turn. (19 hdc)
Part Four: Ankle Section
Now rejoin to work the full round again, incorporating your shaped toe.
Continuing Round: Work sc evenly across the side of the toe shaping (approximately 6 sc), sc across the heel section stitches you left unworked earlier, sc evenly up the other side of toe shaping. Sl st to join. (approximately 50-52 sts)
Ankle Rounds 1-12: Ch 2. Hdc in BLO of each st around. Sl st to join. (50-52 hdc)
Your boot should now reach mid-ankle height. The ribbing runs continuously, creating that lovely stretchy texture that hugs the foot.
Fasten off and weave in ends.
Part Five: The Cable Cuff Band
This is worked separately and attached at the end. The cable is a simple 6-stitch braid that looks intricate but follows a predictable repeat.
Foundation: Ch 14.
Row 1 (Wrong side): Dc in 4th ch from hook and in each ch across. Turn. (12 dc, counting turning ch as 1 dc)
Row 2 (Right side): Ch 3. Skip first st. BPdc around next 2 sts, FPdc around next 6 sts (this is your cable section), BPdc around next 2 sts, dc in top of turning ch. Turn. (12 sts)
Row 3: Ch 3. Skip first st. FPdc around next 2 sts, BPdc around next 6 sts, FPdc around next 2 sts, dc in turning ch. Turn. (12 sts)
Row 4 (Cable cross row): Ch 3. Skip first st. BPdc around next 2 sts. Now for the cable cross: skip next 3 sts, FPdc around the following 3 sts, then working in front of those stitches you just made, FPdc around the 3 skipped sts. BPdc around next 2 sts, dc in turning ch. Turn. (12 sts)
The cable cross sounds complicated, but basically you are working the second set of 3 stitches first, then going back and working the first set in front of them. This creates the twist.
Row 5: Repeat Row 3.
Row 6: Repeat Row 2.
Row 7: Repeat Row 3.
Row 8: Repeat Row 4 (cable cross).
Continue this 8-row repeat until the band measures approximately 10 inches or wraps comfortably around the top of your boot with a 1-inch overlap.
Fasten off, leaving a long tail for seaming.
Part Six: Assembly and Finishing
Almost there! This is where your boots come together.
Attaching the cuff:
1. Wrap the cable band around the top of the boot ankle, overlapping ends by about 1 inch at the outer ankle area.
2. Using your tapestry needle and yarn tail, whip stitch the bottom edge of the cable band to the top round of the ankle section. Work from the inside so stitches do not show.
3. Sew the overlapped ends together securely.
Adding buttons:
1. Position two buttons on the outside of each boot where the cable band overlaps.
2. Sew buttons through all layers using matching thread or yarn.
3. The buttons are decorative but also help secure the overlap.
Final touches:
Tips for Success
Tension matters here. The ribbing should be stretchy but not loose and floppy. If your gauge is off, go up or down a hook size.
Practice the cable cross on a swatch first. Once you do it twice, it will click and feel natural.
Use stitch markers generously. Mark your cable section, mark your rounds, mark anything that helps you keep track.
Try on as you go. Everyone’s feet are different. Add or remove rounds in the ankle section for the perfect fit.
Yarn Substitution Ideas
While worsted weight works beautifully, you can experiment with other options.
For warmer boots: Try a chunky weight yarn with a larger hook. Reduce stitch counts by about 20 percent.
For lighter house slippers: Use a DK weight yarn with a smaller hook. Increase stitch counts slightly.
Best fiber choices: Wool blends provide warmth and memory. Acrylic works great for easy care. Cotton is not recommended as it lacks elasticity.
Caring for Your Slipper Boots
These beauties deserve gentle treatment.
If you used superwash wool or acrylic, machine washing on gentle cycle inside a mesh bag works too.
Make These Your Own
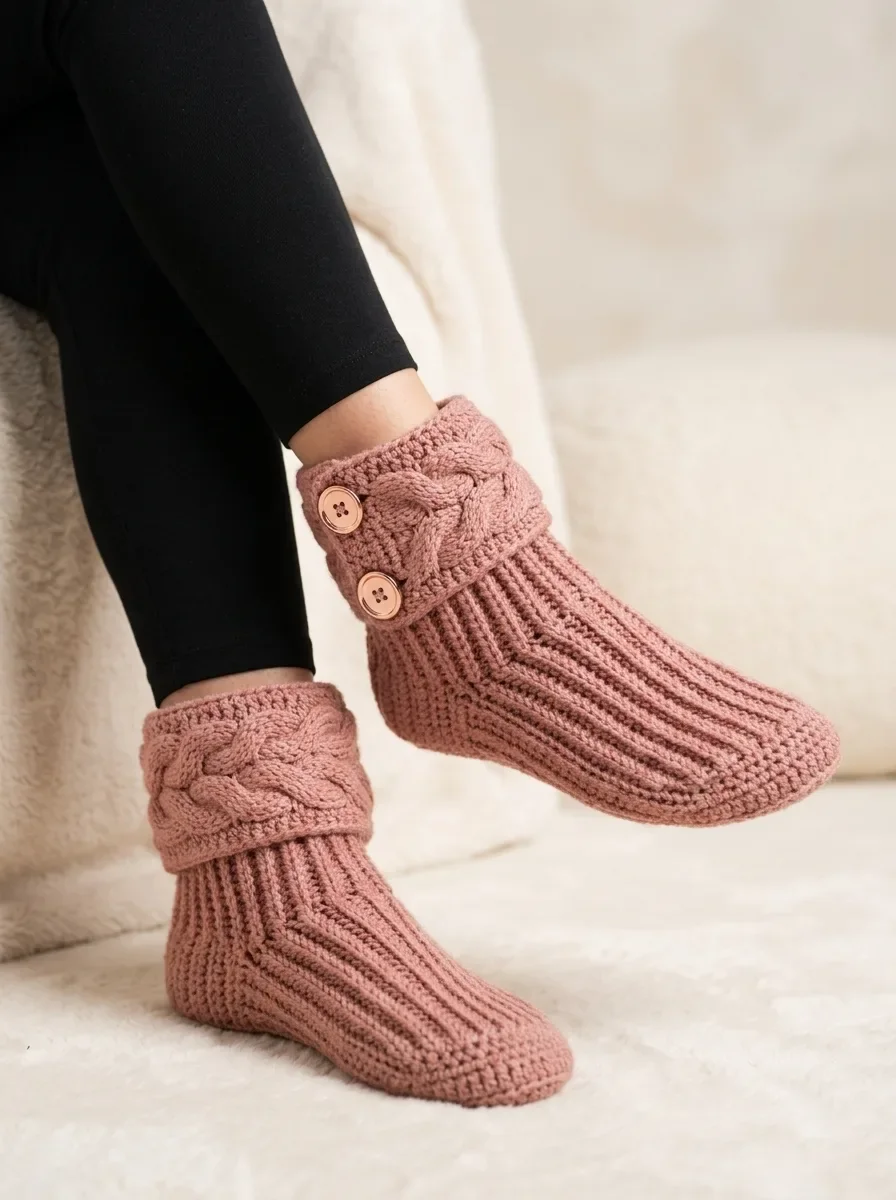
This pattern is endlessly customizable. Try a contrasting color for the cable cuff. Add pom poms. Use different buttons. Skip the buttons entirely and add a crocheted flower. These slipper boots are the perfect canvas for your creativity.
You could also add non-slip sole grips to the bottom if you have slippery floors. Just apply fabric paint dots or purchase stick-on sole pads from the craft store.
I really hope you love making these cozy slipper boots as much as I loved designing them. They are the kind of project that feels like a warm hug for your feet, and honestly, everyone who sees them is going to ask you to make a pair for them too!
If this pattern helped you create something cozy, I would absolutely love to see your finished boots! Tag me on Instagram or share your photos on Facebook. And please save this dusty rose cable cuff slipper boots pattern to your Pinterest boards so you can find it whenever the crocheting mood strikes. Drop a comment below if you make them. I read every single one, and your photos make my whole day!
You Might Also Like
- Dusty Rose Mesh Crochet Sneaker Boots Free Pattern
- Terracotta Desert Shell Purse Free Crochet Pattern
- Lavender Butterfly Baby Dress Free Crochet Pattern
- Pastel Rainbow Unicorn Granny Square Blanket Free Pattern