Charcoal Gray Modern Lace Maxi Skirt Free Crochet Pattern
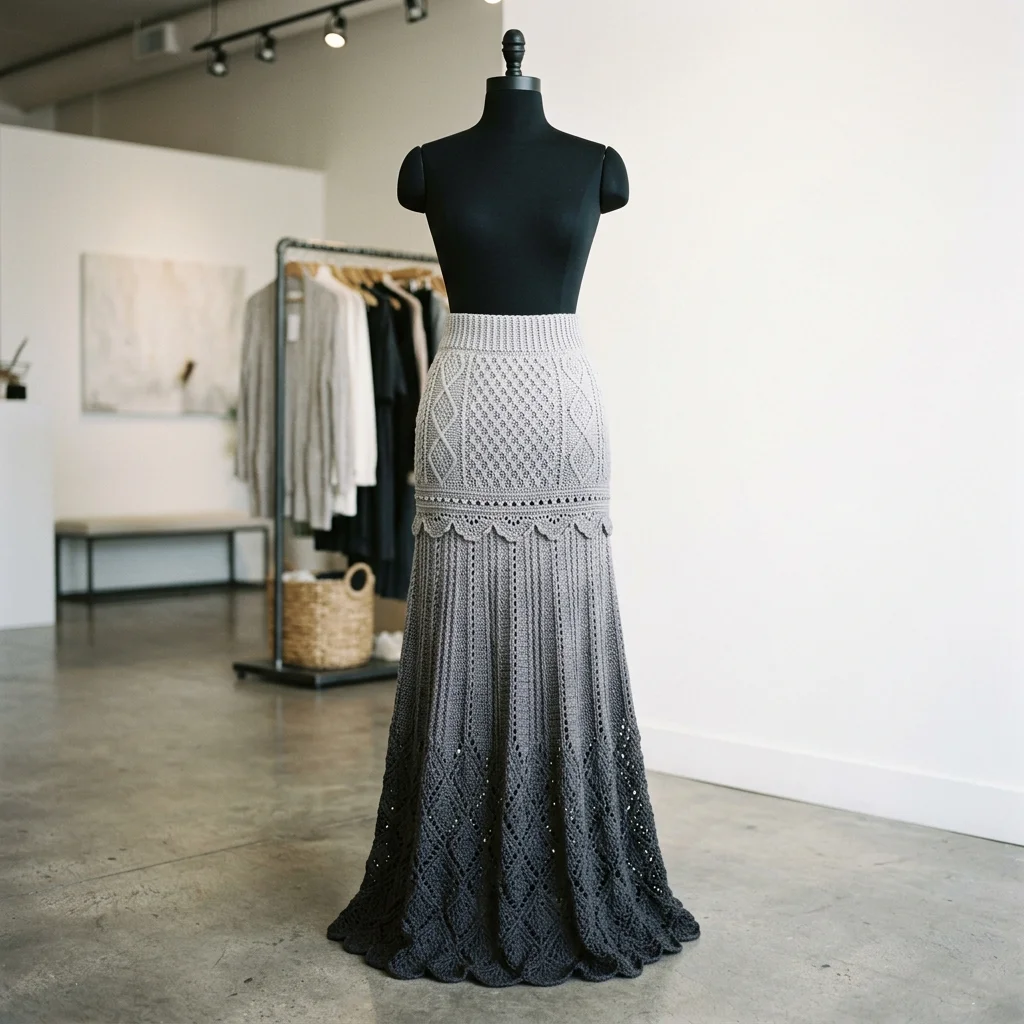
I have been dreaming about designing a show-stopping crochet skirt for months now. I wanted something that felt elegant and modern, with enough texture to keep the project interesting but not so complicated that you need a degree in advanced crochet to finish it. My goals were ambitious: a flattering fitted waistband, gorgeous diamond lace panels, an ombre effect that transitions beautifully from light to dark, and a dramatic floor-length silhouette that moves like a dream. I am SO pleased with how this turned out! This charcoal gray modern lace maxi skirt crochet pattern is honestly one of my proudest designs, and I cannot wait to walk you through every single step.
About This Crochet Maxi Skirt Pattern
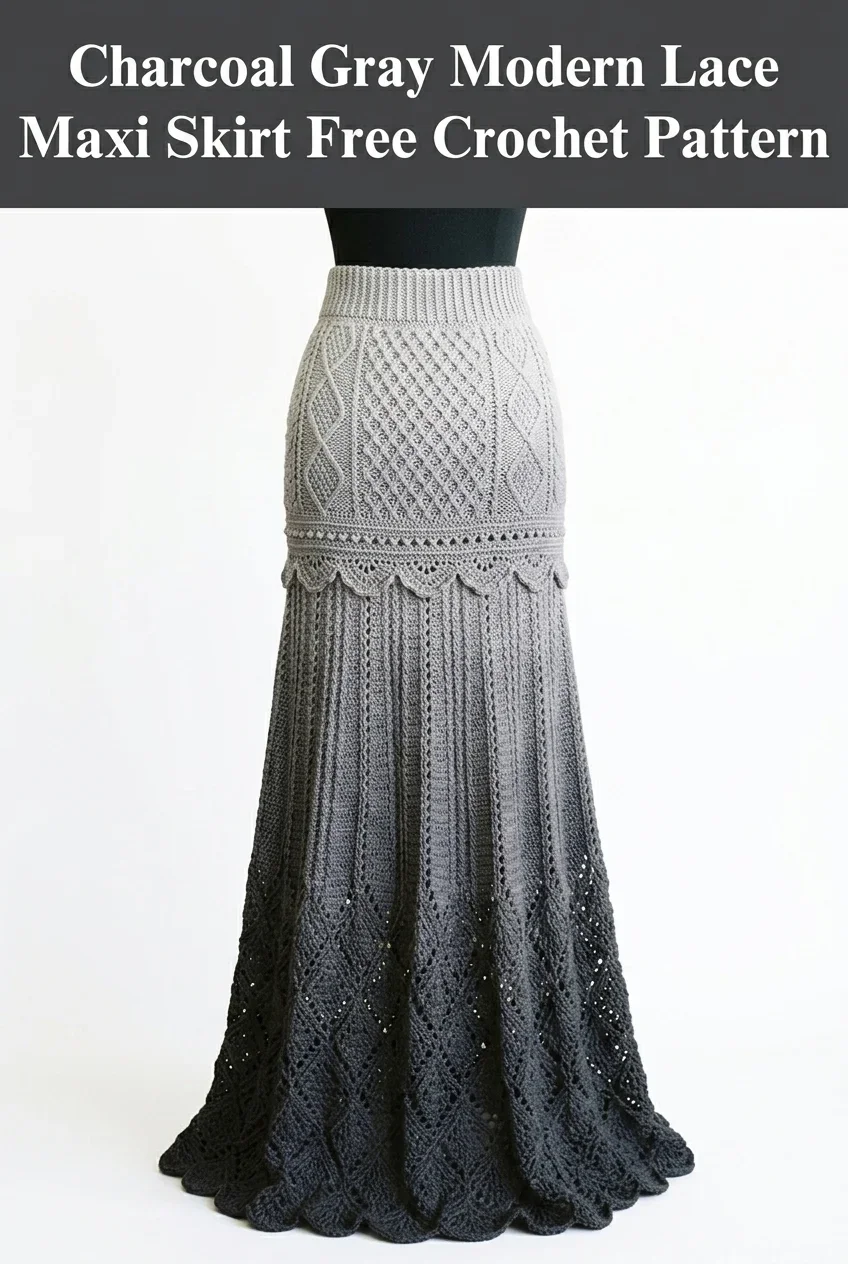
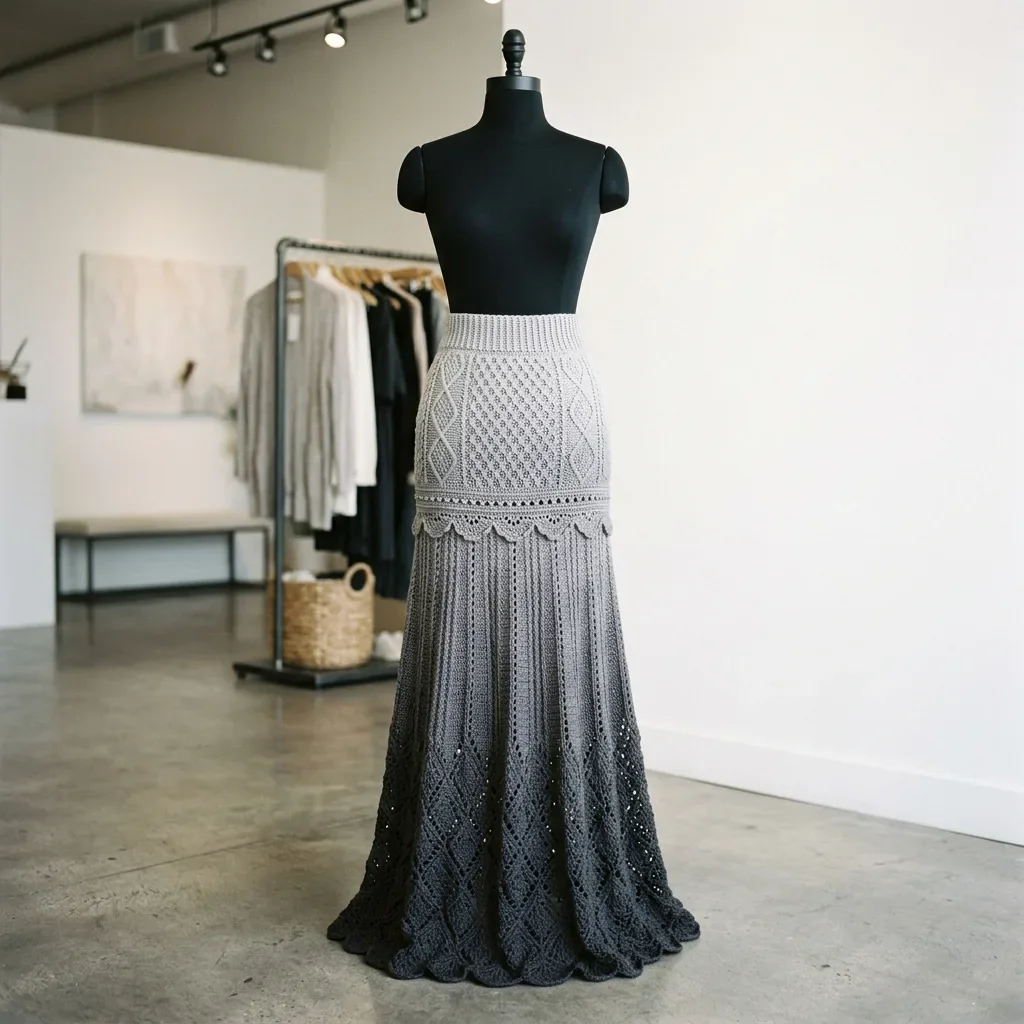
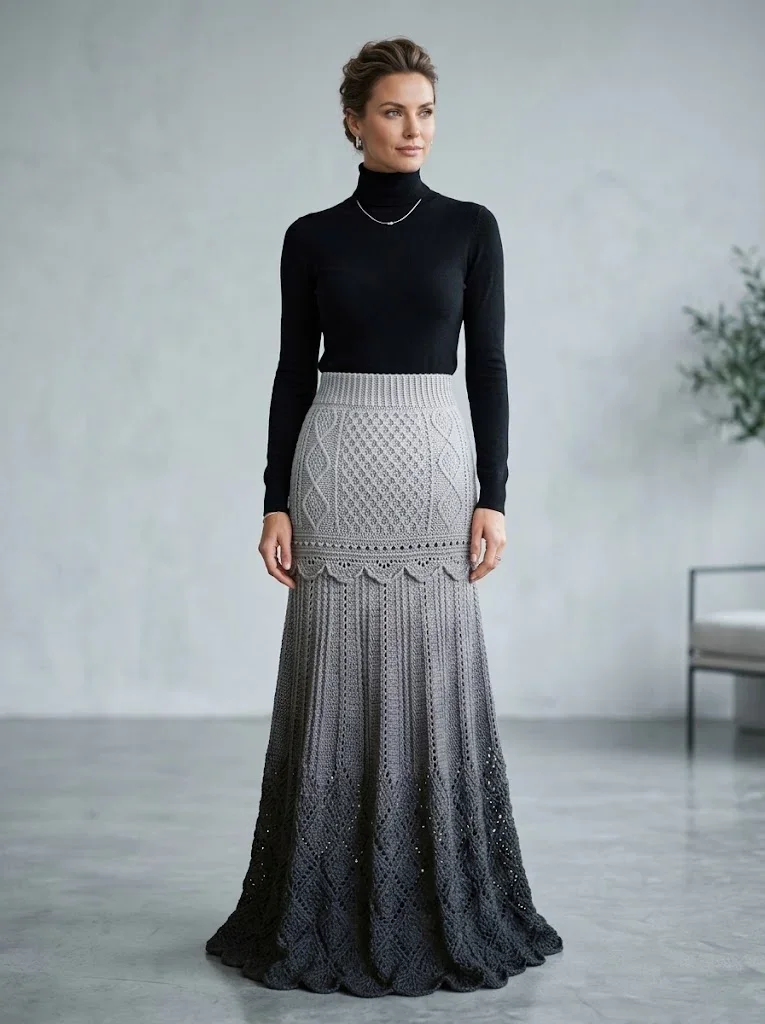
This stunning maxi skirt features three distinct sections that work together to create a sophisticated layered look. The fitted hip section showcases a beautiful diamond lattice pattern with textured ribbing at the waistband. A scalloped trim marks the transition to the flowing lower section, which features vertical ribbed panels and an ombre gradient that deepens from silver gray to charcoal. The hemline finishes with matching diamond lace motifs that echo the hip design.
The construction is worked primarily in the round from the waistband down. This eliminates most seaming and gives you that satisfying feeling of watching your skirt grow row by row.
Skill Level: Intermediate to Advanced
This crochet pattern requires comfort with working in the round, following lace charts or written instructions, maintaining consistent tension across different stitch patterns, and basic shaping. If you have completed a few garments before, you are ready for this project.
Materials Needed
Yarn:
I recommend a cotton blend or bamboo blend yarn for beautiful drape. Pure cotton can be heavy, so a blend with acrylic or bamboo gives you structure without weighing the skirt down.
Hook: 4.0mm (G/6) crochet hook, or size needed to obtain gauge
Notions:
Gauge
18 stitches and 10 rows = 4 inches in double crochet worked in the round
Please, please check your gauge. This is a fitted garment. If your gauge is off, your skirt will not fit properly. Make a 5-inch square swatch and measure the center 4 inches. Adjust your hook size up if your swatch is too small, down if it is too large.
Finished Measurements
This pattern is written for size Medium with a 28-inch waist and 38-inch hip measurement. The total length from waistband to hem is approximately 42 inches.
To adjust sizing, add or subtract stitches in multiples of 12 for the diamond lace pattern to remain centered.
Abbreviations and Stitch Definitions
Ch = Chain: Yarn over, pull through loop on hook. This creates the foundation for your work.
Sl st = Slip stitch: Insert hook, yarn over, pull through both loops at once. Used for joining rounds.
Sc = Single crochet: Insert hook, yarn over and pull up a loop (2 loops on hook), yarn over and pull through both loops.
Hdc = Half double crochet: Yarn over, insert hook, yarn over and pull up a loop (3 loops on hook), yarn over and pull through all 3 loops.
Dc = Double crochet: Yarn over, insert hook, yarn over and pull up a loop (3 loops on hook), yarn over and pull through 2 loops, yarn over and pull through remaining 2 loops.
Tr = Treble crochet: Yarn over twice, insert hook, yarn over and pull up a loop (4 loops on hook), [yarn over and pull through 2 loops] 3 times.
Dc2tog = Double crochet 2 together (decrease): [Yarn over, insert hook in next stitch, yarn over and pull up a loop, yarn over and pull through 2 loops] twice, yarn over and pull through all 3 loops on hook.
FPdc = Front post double crochet: Yarn over, insert hook from front to back to front around the post of the indicated stitch, complete as a regular dc.
BPdc = Back post double crochet: Yarn over, insert hook from back to front to back around the post of the indicated stitch, complete as a regular dc.
Pattern Instructions
Section 1: Ribbed Waistband
Using light gray yarn and 4.0mm hook, ch 127.
Row 1: Sc in 2nd ch from hook and in each ch across. (126 sc)
Row 2: Ch 2 (does not count as a stitch throughout), turn. FPdc around first sc, BPdc around next sc, *FPdc around next sc, BPdc around next sc; repeat from * across. (126 sts)
Rows 3-10: Repeat Row 2, working FPdc around front post stitches and BPdc around back post stitches to create vertical ribbing.
After Row 10, join the short ends together with a sl st to form a tube. This creates your waistband. Be careful not to twist your work.
Section 2: Diamond Lattice Hip Panel
You will now work in joined rounds.
Round 1: Ch 3 (counts as dc), dc in each st around, join with sl st to top of ch-3. (126 dc)
Round 2: Ch 3, dc in next 2 sts, *ch 2, skip 2 sts, dc in next 3 sts, ch 2, skip 2 sts, dc in next 5 sts; repeat from * around, adjusting final repeat as needed, join. Place stitch markers at the beginning of each 12-stitch repeat.
Rounds 3-5: Continue diamond lattice pattern, working dc into dc stitches and ch-2 spaces to create diagonal lines. The diamond shapes emerge as you offset the chain spaces every other round.
Diamond Pattern Detail:
Rounds 6-24: Continue the diamond lattice pattern for approximately 8 inches of fabric. The texture should show clear diamond shapes with small openwork holes at the intersections.
Section 3: Scalloped Transition Border
This decorative border separates the fitted hip from the flowing lower skirt.
Round 1: Ch 1, sc in each st and ch-sp around. (126 sc)
Round 2: Ch 1, sc in first st, *skip 2 sts, 5 dc in next st (shell made), skip 2 sts, sc in next st; repeat from * around, join. (21 shells)
Round 3: Ch 3, 2 dc in same st, sc in center dc of shell, *5 dc in next sc, sc in center dc of next shell; repeat from * around, ending with 2 dc in first st, join to top of ch-3.
Round 4: Ch 1, sc in each st around. (126 sc)
Section 4: Vertical Ribbed Lower Skirt
Change to medium gray yarn.
Round 1: Ch 3, dc in each st around, join. (126 dc)
Round 2: Ch 3, *FPdc around next st, dc in next 5 sts; repeat from * around, join.
Rounds 3-20: Continue the vertical rib pattern, working FPdc around the raised stitches to create prominent vertical lines. These ribs give the skirt beautiful structure and movement.
At Round 10, begin gradual increases for A-line shaping:
Increase Round: *Work in pattern to marked stitch, 2 dc in marked st; repeat from * at 6 evenly spaced points around. (132 sts)
Repeat increase round every 5 rounds, twice more. (144 sts after all increases)
Section 5: Ombre Transition
Change to charcoal gray yarn at approximately Round 25 of the lower skirt.
Tip: For a smoother gradient, you can alternate rounds of medium and charcoal gray for 4-6 rounds before switching completely. This creates a more natural ombre effect.
Continue the vertical rib pattern for another 15 rounds.
Section 6: Lower Diamond Lace Panel
Round 1: Ch 3, dc in each st around. (144 dc)
Rounds 2-18: Work the diamond lattice pattern as in Section 2, adjusting for the larger stitch count. The 12-stitch repeat works perfectly with 144 stitches, giving you 12 diamond motifs around the hem.
The openwork lace at the hem allows the skirt to move beautifully and creates visual interest that echoes the hip design.
Section 7: Scalloped Hem
Round 1: Ch 1, sc in each st around. (144 sc)
Round 2: Ch 1, sc in first st, *skip 2 sts, 7 dc in next st (larger shell for dramatic hem), skip 2 sts, sc in next st; repeat from * around, join.
Round 3: Ch 1, sl st in each st around. Fasten off.
Finishing
Weave in all ends carefully, especially at color change points. The wrong side of the waistband will show when worn, so take extra care there.
Blocking: Wet block your skirt by soaking it in lukewarm water for 15 minutes. Gently squeeze out excess water without wringing. Lay flat on blocking mats or towels, shaping the scallops and diamond patterns. Pin if needed. Allow to dry completely before wearing.
Optional Waistband Elastic: For extra security, you can thread a 1-inch wide elastic through the waistband using a safety pin. Cut elastic 2 inches shorter than your waist measurement and sew the ends together.
Tips for Success
Tension matters. The fitted sections require consistent tension. If you crochet tighter when tired, take breaks.
Count your stitches. Especially in the diamond lace sections, miscounting will throw off the entire pattern. Use stitch markers generously.
Try it on as you go. After completing the hip section, carefully try the skirt on (or hold it up to your body) to check the fit before continuing.
The ombre is forgiving. If your color transition looks abrupt, do not worry. The texture of the ribbing and lace patterns draws the eye and makes the gradient appear smoother than you might expect.
Customization Ideas
Want a shorter skirt? Stop the vertical rib section earlier and move directly to the lower lace panel.
Prefer a single color? This design looks stunning in all one shade. Navy, burgundy, or cream would all be gorgeous choices.
Need a larger size? Add stitches in multiples of 12 to maintain the diamond pattern symmetry.
Thank you so much for choosing this pattern for your next crochet project. I truly hope you love making this maxi skirt as much as I loved designing it. If you create one, I would absolutely love to see it! Tag me on Instagram or share a photo in our Facebook group.
If this charcoal gray modern lace maxi skirt crochet pattern is going on your must-make list, go ahead and save it to your Pinterest boards so you can find it easily when you are ready to start. And please drop a comment below if you make one. I read every single comment and it genuinely makes my day to see your finished projects!
You Might Also Like
- Tropical Octopus Baby Blanket Free Crochet Pattern
- Dusty Rose Floral Lace Bucket Bag Free Crochet Pattern
- Dusty Rose Open Weave Crochet Bolero Free Pattern
- Ocean Wave Hexagon Throw Free Crochet Pattern