Gray and Pink Heart Granny Square Blanket Free Crochet Pattern
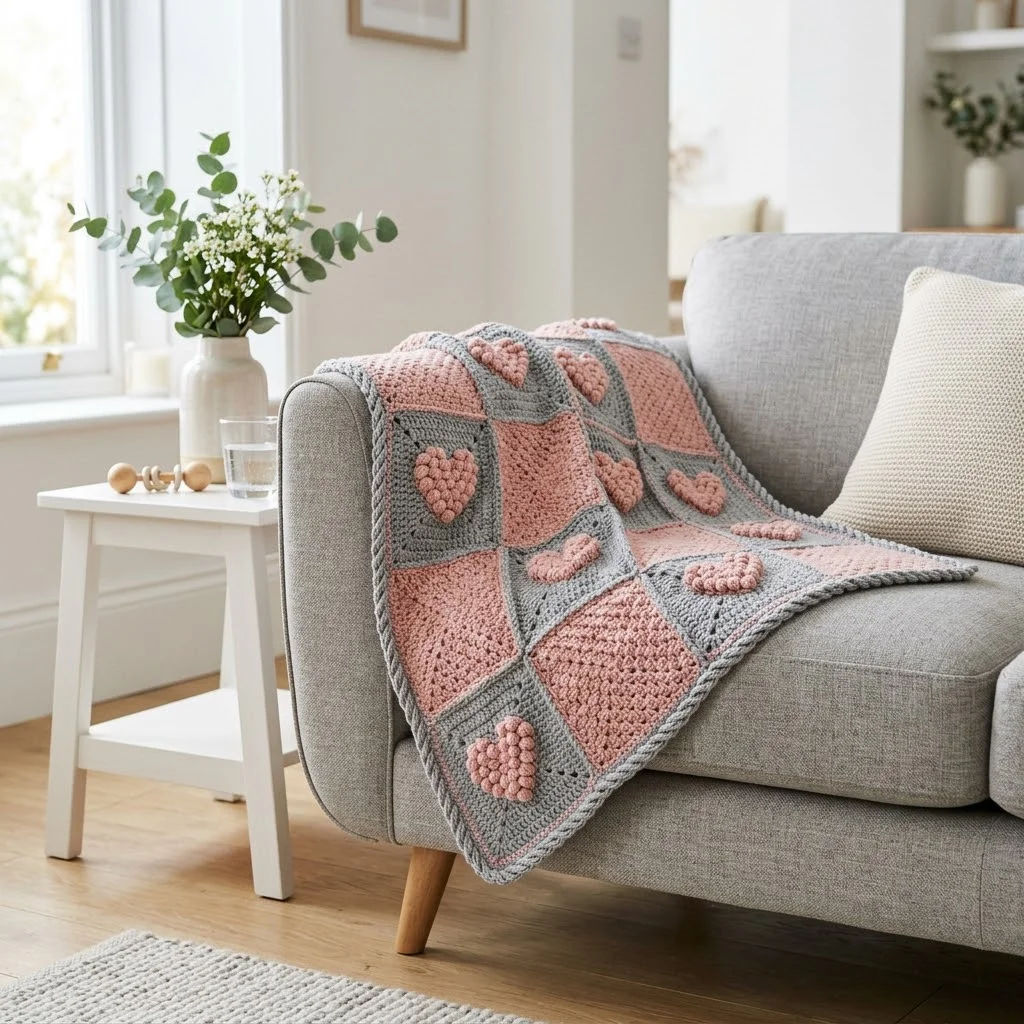
Time to dig into that stash, my friend. You know those pretty pink and gray skeins you have been saving for the perfect project? This is it. This cozy granny square blanket combines classic construction with adorable bobble stitch hearts that pop right off the fabric. The technique looks impressive, but I promise the bobble hearts are easier than they appear. If you can work a basic granny square and you are comfortable with bobble stitches, you can absolutely make this blanket. Let me walk you through every step.
About This Gray and Pink Heart Granny Square Blanket Pattern
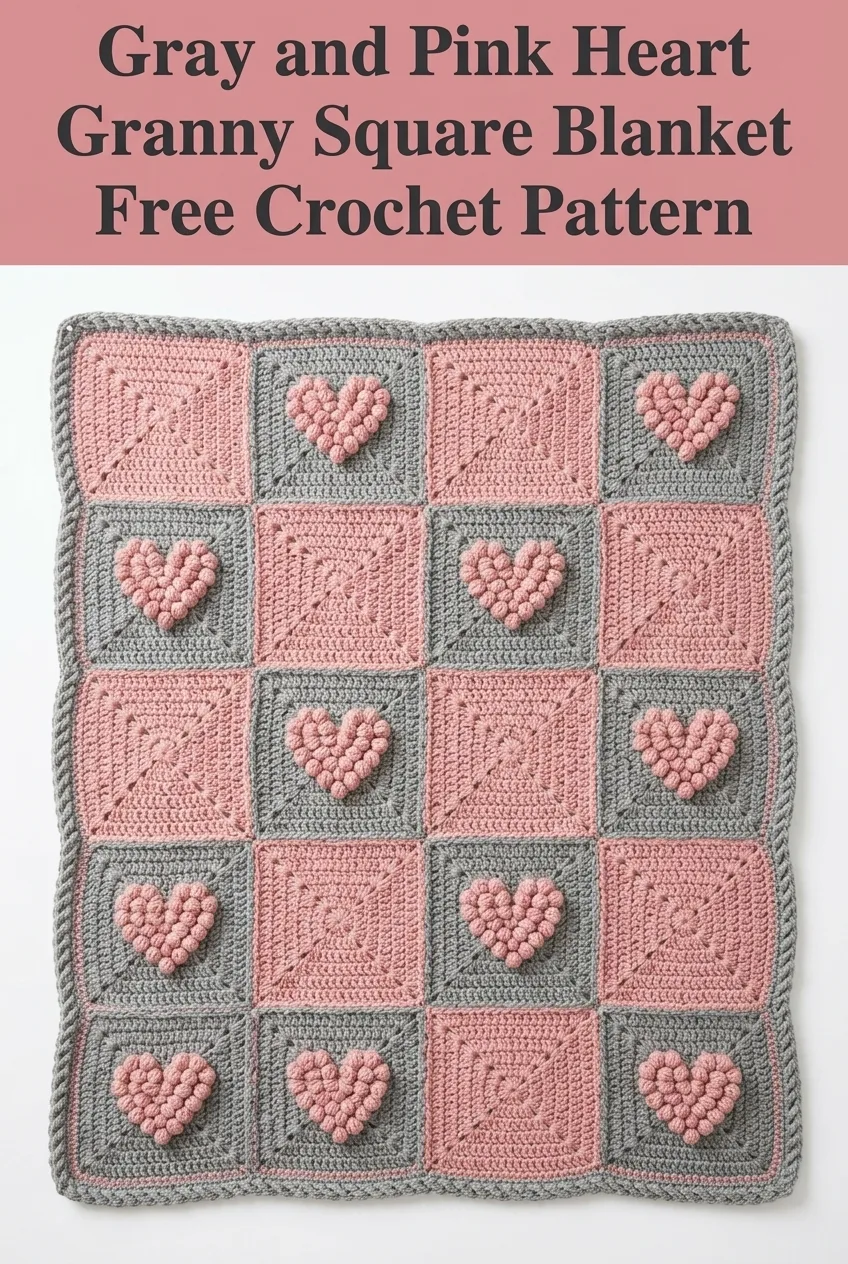
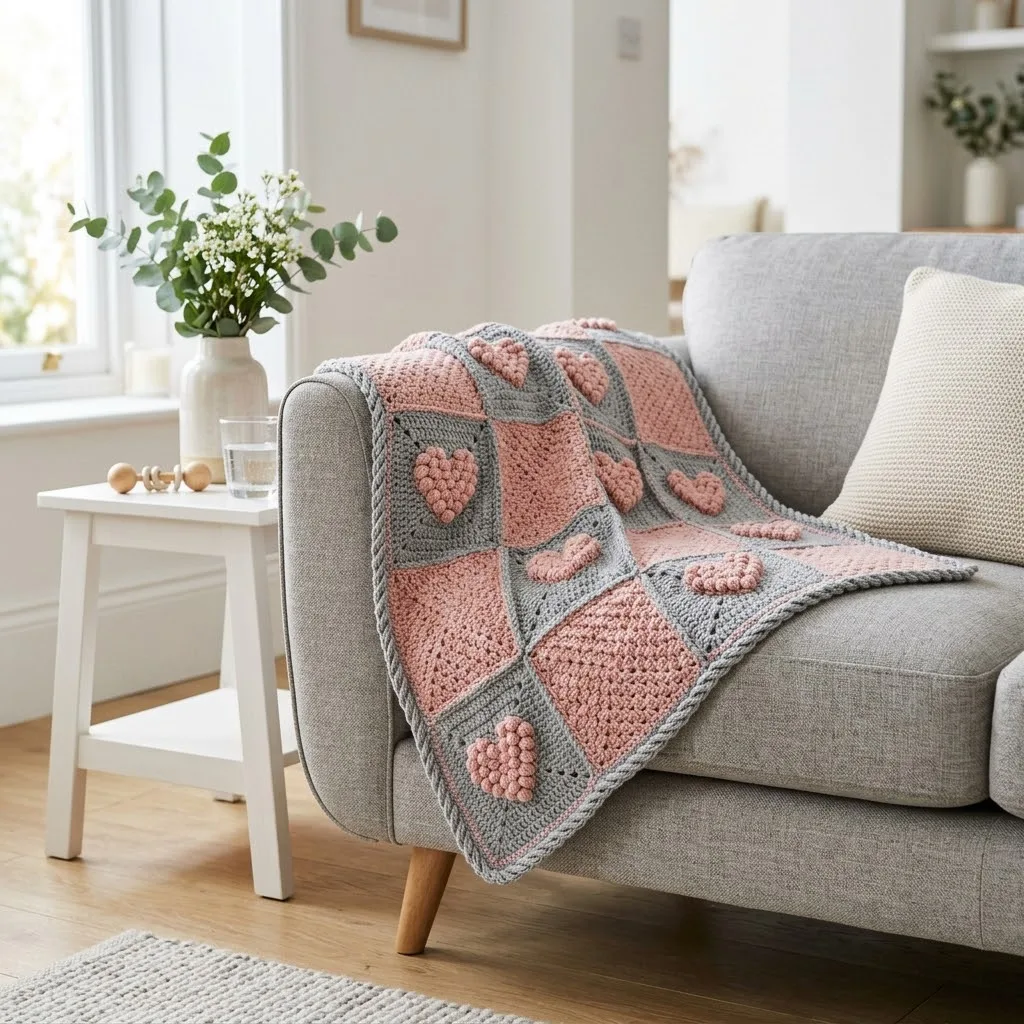
This blanket features a beautiful checkerboard layout of granny squares in soft pink and gray. What makes it special are the textured bobble stitch hearts centered on alternating squares. The hearts create a three-dimensional effect that adds visual interest and a romantic touch perfect for nurseries, Valentine’s Day gifts, or anyone who loves cozy handmade blankets.
The finished blanket measures approximately 36 inches by 45 inches, making it an ideal lap blanket or baby blanket size. The construction involves making individual granny squares, adding bobble hearts to half of them, then joining everything together with a simple slip stitch join. A twisted rope-style border finishes the edges beautifully.
Skill level: Intermediate. You should be comfortable with granny squares, changing colors, and bobble stitches before starting this project.
Materials You Will Need
Having everything ready before you start makes this crochet tutorial so much easier to follow. Here is your complete supply list.
Yarn:
Hook:
Notions:
Gauge:
One completed granny square should measure approximately 6 inches by 6 inches after blocking. Check your gauge before starting. If your squares are too large, go down a hook size. Too small? Go up a hook size.
Stitch Abbreviations and Definitions
Let me break down every stitch you will use in this crochet pattern. Understanding these terms will help you follow along smoothly.
Ch = Chain. Wrap yarn over hook and pull through the loop on your hook. This creates one chain stitch.
Sl st = Slip stitch. Insert hook into stitch, yarn over, pull through both the stitch and the loop on your hook in one motion. Used for joining rounds.
Sc = Single crochet. Insert hook into stitch, yarn over and pull up a loop (2 loops on hook), yarn over and pull through both loops.
Dc = Double crochet. Yarn over, insert hook into stitch, yarn over and pull up a loop (3 loops on hook), yarn over and pull through 2 loops (2 loops remain), yarn over and pull through remaining 2 loops.
Bobble = Bobble stitch. This creates a raised, puffy texture. Work 5 double crochets into the same stitch, but stop each double crochet before the final yarn over. You will have 6 loops on your hook after all 5 partial double crochets. Yarn over and pull through all 6 loops at once. The bobble pops toward you on the right side of your work.
3-dc cluster = Three double crochets worked into the same stitch or space. This is the foundation of granny square construction.
Pattern Instructions
Basic Granny Square (Make 18 total: 9 in pink, 9 in gray)
These squares form the foundation of your blanket. The ones without hearts will alternate with the heart squares in the final layout.
Round 1: Using your main color for this square, ch 4. Sl st to first ch to form a ring. Ch 3 (counts as first dc throughout), work 2 dc into ring, ch 2, *3 dc into ring, ch 2* repeat 3 more times. Sl st to top of beginning ch 3 to join. (12 dc, 4 ch-2 corner spaces)
Round 2: Sl st into next 2 dc and into corner ch-2 space. Ch 3, 2 dc into same corner space, ch 2, 3 dc into same corner space (first corner made). *Ch 1, skip 3 dc, work (3 dc, ch 2, 3 dc) into next corner ch-2 space.* Repeat from * to * around. Ch 1, sl st to top of beginning ch 3. (24 dc, 4 corners)
Round 3: Sl st into next 2 dc and into corner space. Ch 3, 2 dc, ch 2, 3 dc into corner space. *Ch 1, 3 dc into next ch-1 space, ch 1, (3 dc, ch 2, 3 dc) into corner space.* Repeat from * to * around, ending with ch 1, sl st to beginning ch 3. (36 dc, 4 corners)
Round 4: Repeat the pattern from Round 3, adding one more 3-dc cluster along each side. Each side should now have two 3-dc clusters between corners. Sl st to join. (48 dc, 4 corners)
Round 5: Continue the pattern. Each side now has three 3-dc clusters between corners. (60 dc, 4 corners)
Fasten off and weave in ends. Your square should measure about 6 inches.
Heart Granny Square (Make 12 total: 6 with pink heart on gray background, 6 with gray heart on pink background)
These squares feature an adorable bobble stitch heart in the center. The heart is worked as you go, not added afterward.
Round 1: With background color, ch 4, sl st to form ring. Ch 3, 2 dc into ring, ch 2, *3 dc into ring, ch 2* 3 times. Sl st to join. (12 dc, 4 corners)
Round 2: Sl st to corner space. Ch 3, 2 dc, ch 2, 3 dc into corner. Ch 1, (3 dc, ch 2, 3 dc) into each remaining corner with ch 1 between clusters. Sl st to join. (24 dc)
Round 3 (Begin Heart): Work to the center of one side. This is where the bottom point of your heart will begin. Work the round as normal, but in the center ch-1 space of one side, switch to your contrast color and work 1 bobble. Continue with background color. (1 bobble placed)
Round 4: Continue granny square pattern. On the same side as your previous bobble, work 2 bobbles in the contrast color in the two ch-1 spaces closest to center. These form the body of the heart. (2 bobbles placed)
Round 5: Work 3 bobbles across the top portion of the heart. The outer two bobbles should be slightly higher than the center, creating the curved top of the heart shape. Work bobbles in the three ch-1 spaces on this row where the heart continues. (3 bobbles total this round)
Fasten off. The heart should be clearly visible, with the point at the bottom and two rounded lobes at the top.
Continue the granny square border for Rounds 4 and 5 as described in the basic square instructions, working around the bobble stitches normally.
Heart Placement Guide
The bobble heart consists of approximately 6 bobbles total, arranged in a heart shape:
Take your time with the bobbles. They look complicated but become intuitive after the first heart.
Assembly Instructions
Lay out your squares in a pleasing arrangement. The blanket shown uses a 5 wide by 6 tall layout (30 squares total). Alternate heart squares and plain squares in a checkerboard pattern, with contrasting colors next to each other.
Suggested Layout:
Joining Squares
Use the slip stitch join method for a clean, visible seam that adds to the design.
Step 1: Hold two squares with right sides together. Using gray yarn, insert hook through both corner ch-2 spaces. Sl st to join.
Step 2: Working through both thicknesses, sl st through each stitch along the edge. Keep your tension consistent but not too tight.
Step 3: When you reach the corner, sl st through both corner spaces. Continue to the next square if joining a whole row.
Join all squares into rows first, then join the rows together horizontally.
Border Instructions
The border gives this blanket its polished, finished look. The twisted rope effect comes from working into specific stitches at an angle.
Round 1: Join gray yarn to any corner. Ch 1, sc evenly around entire blanket, working 3 sc into each corner. Sl st to join. Work approximately 3 sc per granny square side and 1 sc into each join.
Round 2: Ch 3, dc in each sc around, working 3 dc into center sc of each corner. Sl st to join.
Round 3: Work a twisted rope effect by inserting your hook from back to front (instead of front to back) into each stitch. This creates a beautiful braided appearance along the edge. Work 1 sc into each dc around, with 3 sc in corners.
Round 4: Repeat Round 3 for a thicker border.
Fasten off and weave in all remaining ends.
Finishing Your Blanket
Block your blanket for the best results. Wet blocking works beautifully for acrylic yarn. Soak the blanket in cool water with a splash of fabric softener, gently squeeze out excess water (never wring), and lay flat on blocking mats. Pin corners and edges straight, and let dry completely.
Weave in any remaining yarn tails using your tapestry needle. I recommend weaving through at least 3 inches of stitches and doubling back for security.
Tips for Success with This Crochet Pattern
Bobble stitch tension matters. Keep your bobbles consistent by counting your yarn overs carefully. Each bobble should have 5 partial double crochets before you pull through all loops.
Color changes keep things neat. When switching colors for hearts, carry the unused color loosely behind your work or cut and rejoin to avoid puckering.
Count your stitches. Granny squares can grow unevenly if you miss a chain space. Count after each round.
Make a test square first. Work one complete heart square before cutting all your yarn. This helps you understand the construction and check your gauge.
Customization Ideas
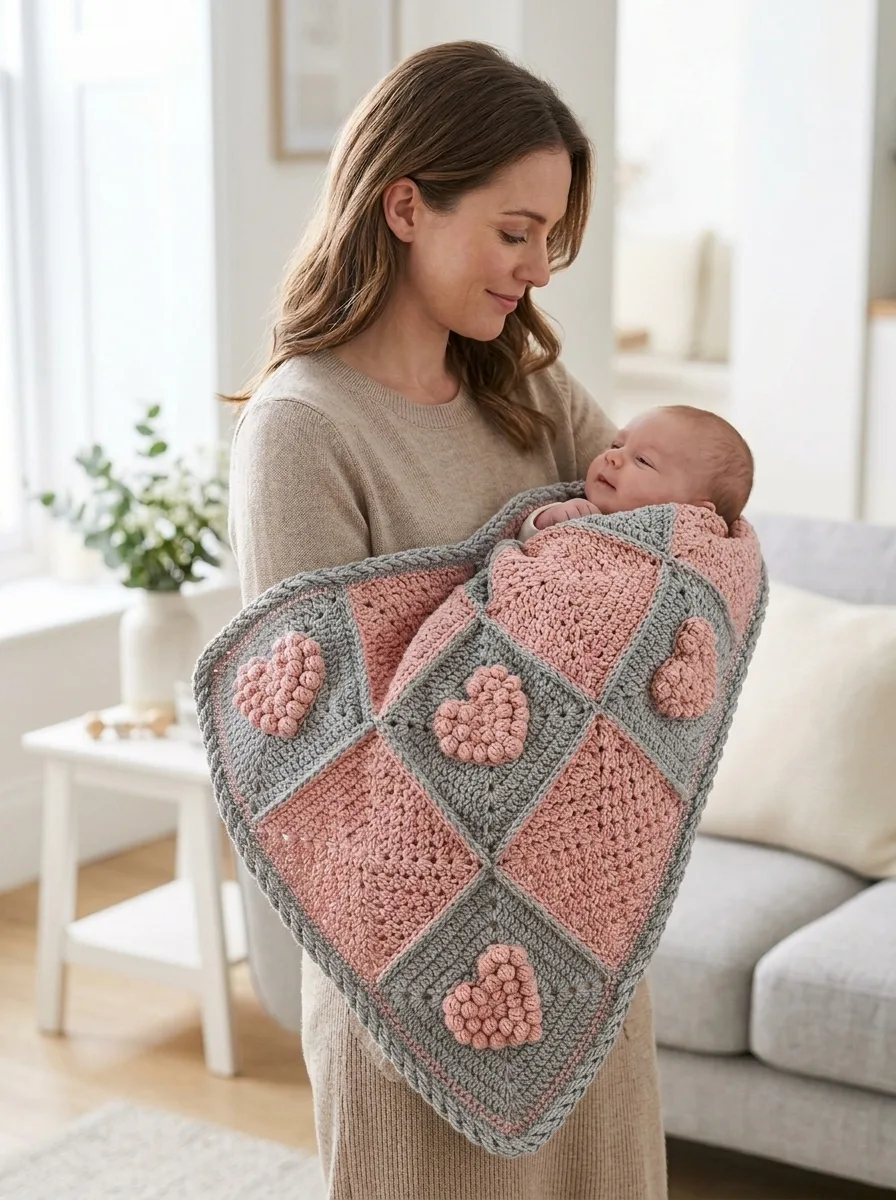
This step by step crochet tutorial works beautifully in other color combinations too. Try navy and white for a nautical feel, red and cream for a classic Valentine look, or pastel rainbow hearts on white backgrounds for a baby blanket.
You can also adjust the size by adding or removing squares. For a larger throw, work a 6 by 7 layout. For a baby blanket, try 4 by 5.
I hope this gray and pink heart granny square blanket brings you hours of happy crocheting. There is something so satisfying about watching those bobble hearts take shape, square by square. I would absolutely love to see your finished blankets, so please save this pattern to your Pinterest boards so you can find it whenever you are ready to start. And if you make one, drop a comment below or tag me on social media. Seeing your creations truly makes my day!
You Might Also Like
- Dusty Rose Floral Lace Bucket Bag Free Crochet Pattern
- Lavender Dream Tiered Baby Dress Free Crochet Pattern
- Pink Valentine Highland Cow Amigurumi Free Crochet Pattern
- Coral Sunset Gradient Chain Purse Free Crochet Pattern