Lavender Heart Granny Square Baby Blanket Free Crochet Pattern
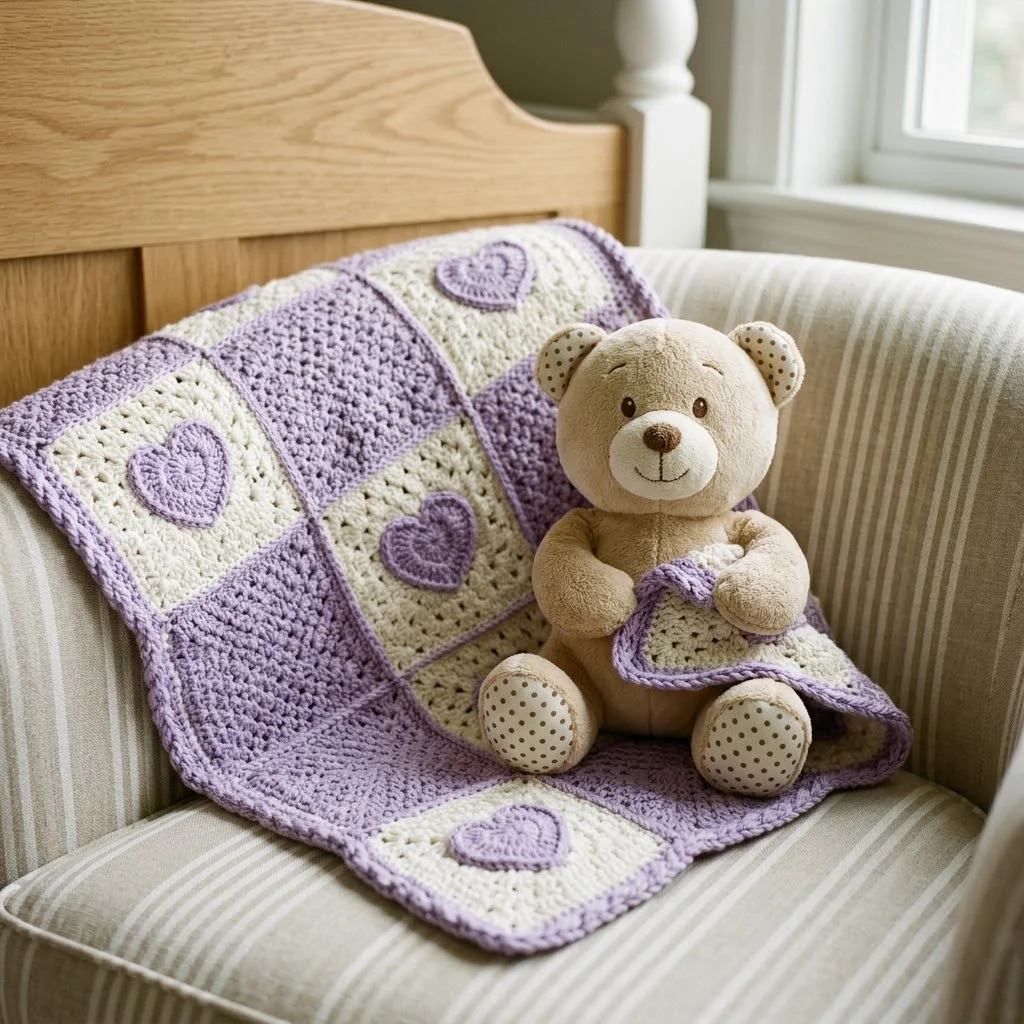
This blanket is SUPER QUICK to make and absolutely STUNNING as a baby shower gift! I’m talking about a project that looks like you spent weeks on it but actually comes together in a weekend. The classic granny square construction means you already know most of these stitches, and those adorable heart appliqués? Way easier than they look. If you want something impressive that new parents will treasure forever, this lavender heart granny square baby blanket is the one.
Why This Baby Blanket Pattern Works So Well
The combination of soft lavender purple and creamy white creates a timeless look that works for any nursery. This crochet pattern uses a traditional granny square base, which means you’re working in rounds with spaces between your stitch clusters. The texture is open and breathable, perfect for babies who tend to overheat.
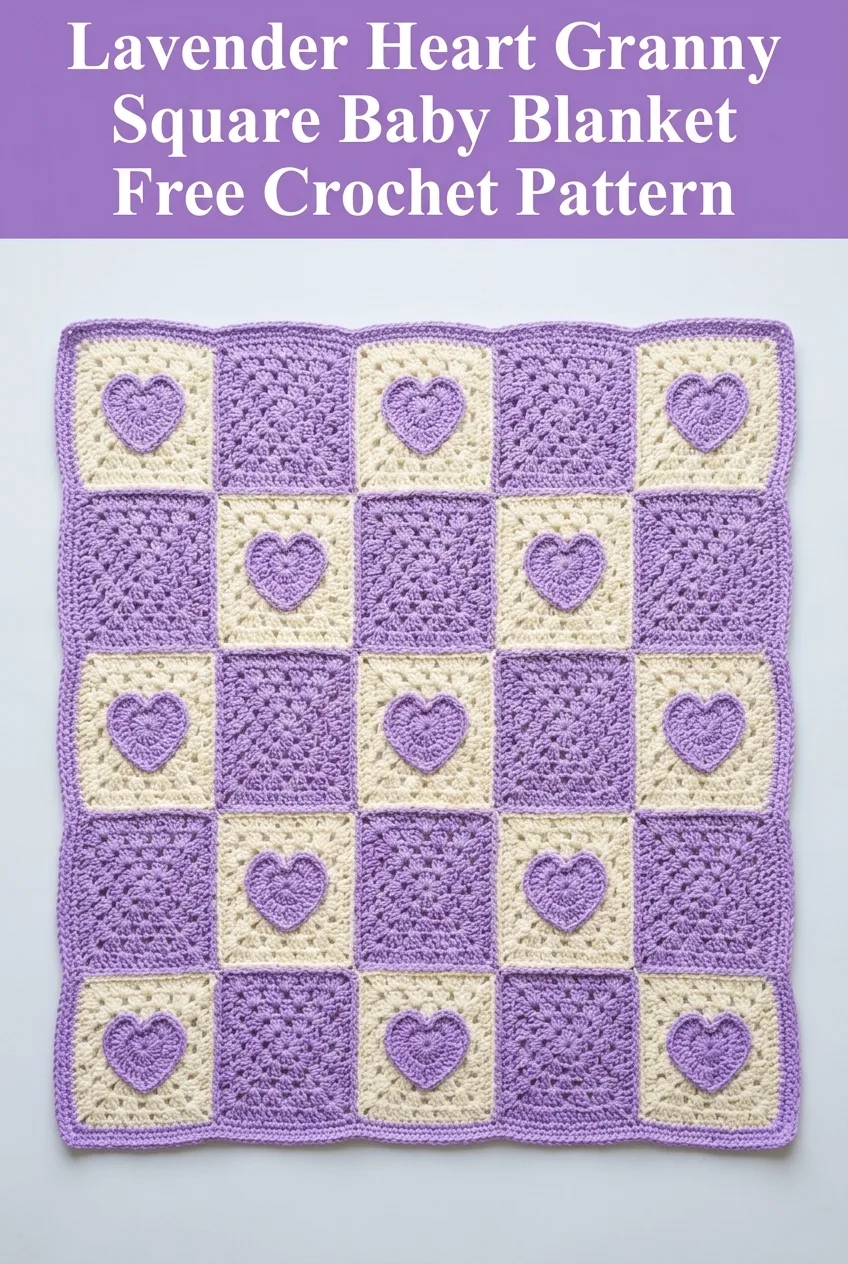
What makes this blanket special is the alternating color placement. Some squares feature a lavender heart on a cream background. Others are solid lavender or solid cream. When you arrange them in a checkerboard layout, you get visual interest without any complicated colorwork.
The finished blanket measures approximately 28 inches by 36 inches, which is an ideal stroller or tummy time size. You can easily adjust by adding more squares for a larger blanket.
Materials You Will Need
Before you start crocheting, gather everything so you can work without interruptions.
Yarn:
Hook:
Notions:
Gauge:
One completed granny square measures approximately 6 inches by 6 inches after blocking. If your squares are larger, try a smaller hook. If smaller, go up a hook size.
Stitch Abbreviations and Definitions
Let me walk you through every stitch you’ll use in this crochet tutorial. Even if you’ve crocheted before, a quick refresher never hurts.
Ch = Chain. Wrap yarn over hook and pull through the loop on your hook. This creates a foundation or adds height.
Sl st = Slip stitch. Insert hook, yarn over, pull through both the stitch and the loop on your hook in one motion. Used to join rounds or move across stitches invisibly.
Sc = Single crochet. Insert hook into stitch, yarn over and pull up a loop (2 loops on hook), yarn over and pull through both loops. A short, tight stitch.
Dc = Double crochet. Yarn over, insert hook into stitch, yarn over and pull up a loop (3 loops on hook), yarn over and pull through 2 loops (2 loops remain), yarn over and pull through remaining 2 loops. A taller stitch that creates the classic granny square look.
Sk = Skip. Pass over the indicated stitch without working into it.
Sp = Space. The gap between stitch clusters, usually created by chain stitches.
How to Crochet the Basic Granny Square
This blanket uses 20 granny squares total. You’ll make 10 in lavender and 10 in cream. The construction is identical for both colors.
Don’t worry if your first square looks a little wonky. Granny squares improve with practice, and blocking works magic on uneven edges.
Round 1: Using your chosen color, make a magic ring (or ch 4 and sl st to first ch to form a ring). Ch 3 (counts as first dc throughout), work 2 dc into ring, ch 2, *3 dc into ring, ch 2* three times. Sl st to top of beginning ch-3 to join. (12 dc, 4 ch-2 corner spaces)
If you’ve never made a magic ring, you can absolutely use the chain method instead. Both work perfectly fine.
Round 2: Sl st across tops of next 2 dc and into corner ch-2 space. Ch 3, 2 dc in same corner space, ch 2, 3 dc in same corner space (first corner made). *Ch 1, skip to next corner ch-2 space, work (3 dc, ch 2, 3 dc) in corner space.* Repeat from * to * around remaining corners. Ch 1, sl st to top of beginning ch-3 to join. (24 dc, 4 ch-2 corner spaces, 4 ch-1 side spaces)
Round 3: Sl st across to corner ch-2 space. Ch 3, 2 dc in corner space, ch 2, 3 dc in same corner space. *Ch 1, work 3 dc in next ch-1 side space, ch 1, work (3 dc, ch 2, 3 dc) in corner ch-2 space.* Repeat from * to * around. Ch 1, 3 dc in last side space, ch 1, sl st to top of beginning ch-3 to join. (36 dc, 4 ch-2 corner spaces, 8 ch-1 side spaces)
Round 4: Sl st across to corner ch-2 space. Ch 3, 2 dc in corner space, ch 2, 3 dc in same corner space. *Ch 1, work 3 dc in next ch-1 side space, ch 1, work 3 dc in next ch-1 side space, ch 1, work (3 dc, ch 2, 3 dc) in corner ch-2 space.* Repeat from * to * around, working 3 dc in each side space. Sl st to top of beginning ch-3 to join. Fasten off. (48 dc, 4 ch-2 corner spaces, 12 ch-1 side spaces)
Your finished square should measure approximately 6 inches. Weave in your ends as you go, or leave them for the end if you prefer.
How to Crochet the Heart Appliqué
These sweet hearts are worked separately and then sewn onto cream squares. You’ll need 5 hearts total, all in lavender.
The heart is made in two rounded bumps at the top, then worked down to a point. This step by step guide makes it simple.
Row 1 (First Bump): Ch 2. Work 4 sc in second ch from hook. Turn. (4 sc)
Row 2: Ch 1, 2 sc in first sc, sc in next 2 sc, 2 sc in last sc. Turn. (6 sc)
Row 3: Ch 1, 2 sc in first sc, sc across to last sc, 2 sc in last sc. Fasten off, leaving a long tail. (8 sc)
Second Bump: Repeat Rows 1 through 3. Do not fasten off after Row 3. (8 sc)
Joining Row: Ch 1, sc across second bump (8 sc), then continue to sc across first bump (8 sc). Turn. (16 sc)
Decrease Rows (creates the point):
Row 1: Ch 1, sc2tog (insert hook in first st, pull up loop, insert hook in second st, pull up loop, yarn over and pull through all 3 loops), sc to last 2 sts, sc2tog. Turn. (14 sc)
Rows 2 through 6: Repeat Row 1, decreasing at each edge until 4 sts remain. (4 sc after Row 6)
Row 7: Ch 1, sc2tog twice. (2 sc)
Row 8: Ch 1, sc2tog. Fasten off, leaving a long tail for sewing. (1 sc)
Your heart should measure approximately 3 inches tall. Block lightly if needed before attaching.
Adding a Border Around Heart Squares (Optional)
For a polished look, work one round of single crochet in lavender around each cream square before attaching the heart. This creates the beautiful purple frame you see in the finished blanket.
Join lavender yarn in any corner ch-2 space with a sl st. Ch 1, work 3 sc in corner space. Sc in each dc and ch-1 space around the entire square, working 3 sc in each corner ch-2 space. Sl st to first sc to join. Fasten off.
This border is beginner friendly and adds structure to your squares.
Assembling the Blanket
Lay out your squares in a 4 wide by 5 tall arrangement, alternating colors for that checkerboard effect. Place heart squares strategically, spacing them evenly across the blanket.
To attach hearts: Thread yarn needle with the long tail from your heart. Position heart in the center of a cream square. Whip stitch around the entire edge, keeping your stitches small and close to the heart’s edge. Weave in ends securely.
To join squares: You have several options here. I recommend the flat slip stitch join for this project because it creates a subtle seam that complements the granny square texture.
Hold two squares together with wrong sides facing. Working through both layers, join lavender yarn in corner. Sl st through both loops of each stitch across the edge. When you reach the corner, continue to the next square without breaking yarn.
Work in rows, joining all squares in one direction first, then join the rows together.
Adding the Final Border
The scalloped lavender border gives this blanket its finished, heirloom quality look.
Round 1: Join lavender in any corner. Ch 1, work 3 sc in corner. Sc evenly around entire blanket, working 3 sc in each corner. Sl st to first sc to join.
Round 2: Ch 1, sc in each sc around, working 3 sc in center corner stitch. Sl st to join.
Round 3 (Scallop Round): Ch 1, sc in first st. *Sk 2 sts, work 5 dc in next st, sk 2 sts, sc in next st.* Repeat from * to * around, adjusting at corners as needed to maintain pattern. Sl st to first sc to join. Fasten off.
Weave in all remaining ends. Block your blanket by wetting it thoroughly, shaping it to measurements, and allowing it to dry flat.
Care Instructions for Gift Giving
Include a small care card with your finished blanket. For machine washable acrylic yarn, recommend washing on gentle cycle with cold water and tumble drying on low. The recipient will appreciate knowing how to keep this treasure looking beautiful.
Tips for Success
If your squares are different sizes, blocking is your best friend. Wet blocking evens out tension differences and makes joining much easier.
When sewing hearts, pin them in place first. Step back and look at the placement before stitching. Once sewn, they’re tricky to remove without damaging your work.
Count your stitches at the end of each round. Granny squares are forgiving, but missing a cluster will show in the finished piece.
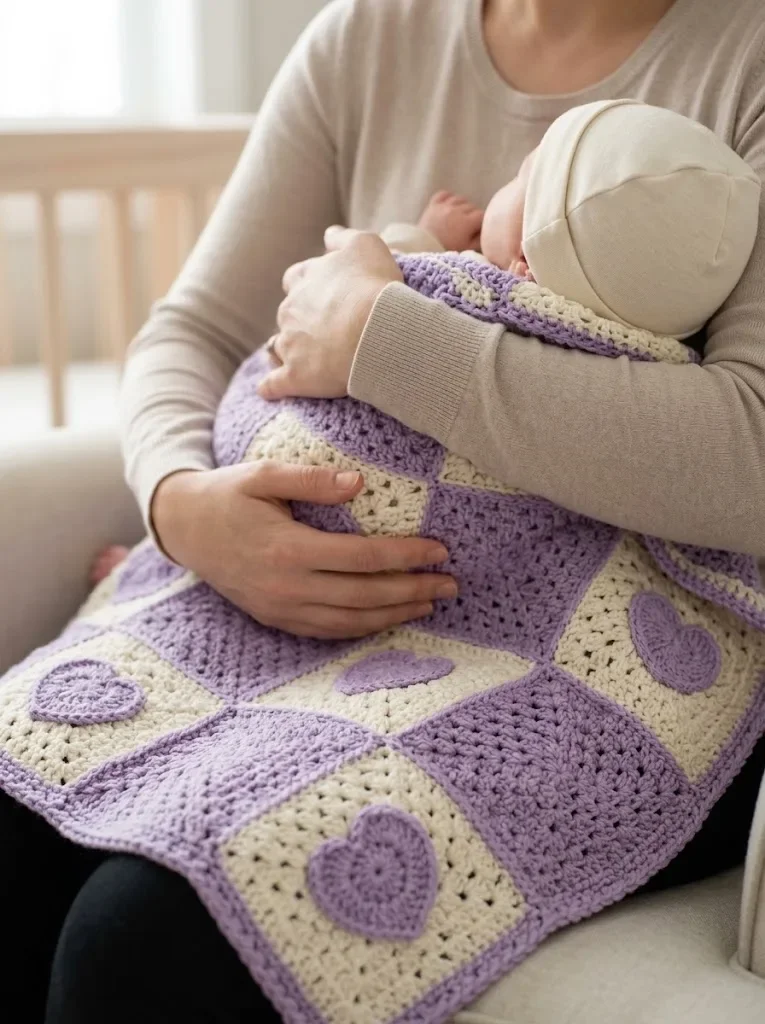
This crochet pattern makes a wonderful baby shower gift, newborn homecoming present, or treasured keepsake. The classic granny square construction means it will hold up through years of washing and love.
I really hope you enjoy making this lavender heart granny square baby blanket as much as I enjoyed designing it! If you found this crochet tutorial helpful, please save it to your Pinterest boards so you can find it when you’re ready to start. And I would absolutely love to see your finished blankets, so drop a comment below or tag me on social media when you make one!
You Might Also Like
- Lavender Jellyfish Baby Blanket Free Crochet Pattern
- Ocean Blue Chameleon Amigurumi Free Crochet Pattern
- Champagne Gold Bell Sleeve Crochet Top Free Pattern
- Cream Boho Tassel Fringe Clutch Free Crochet Pattern