Cinderella Blue Baby Dress Set Free Crochet Pattern
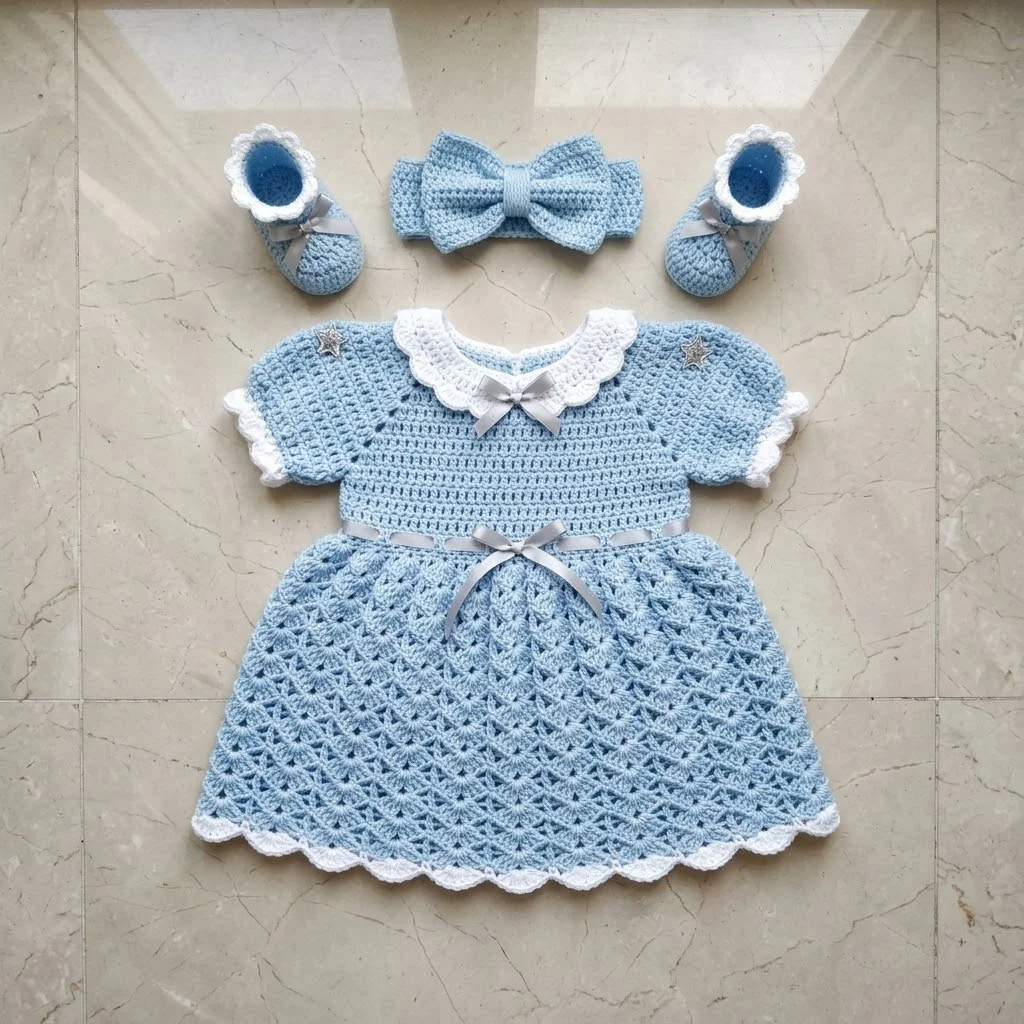
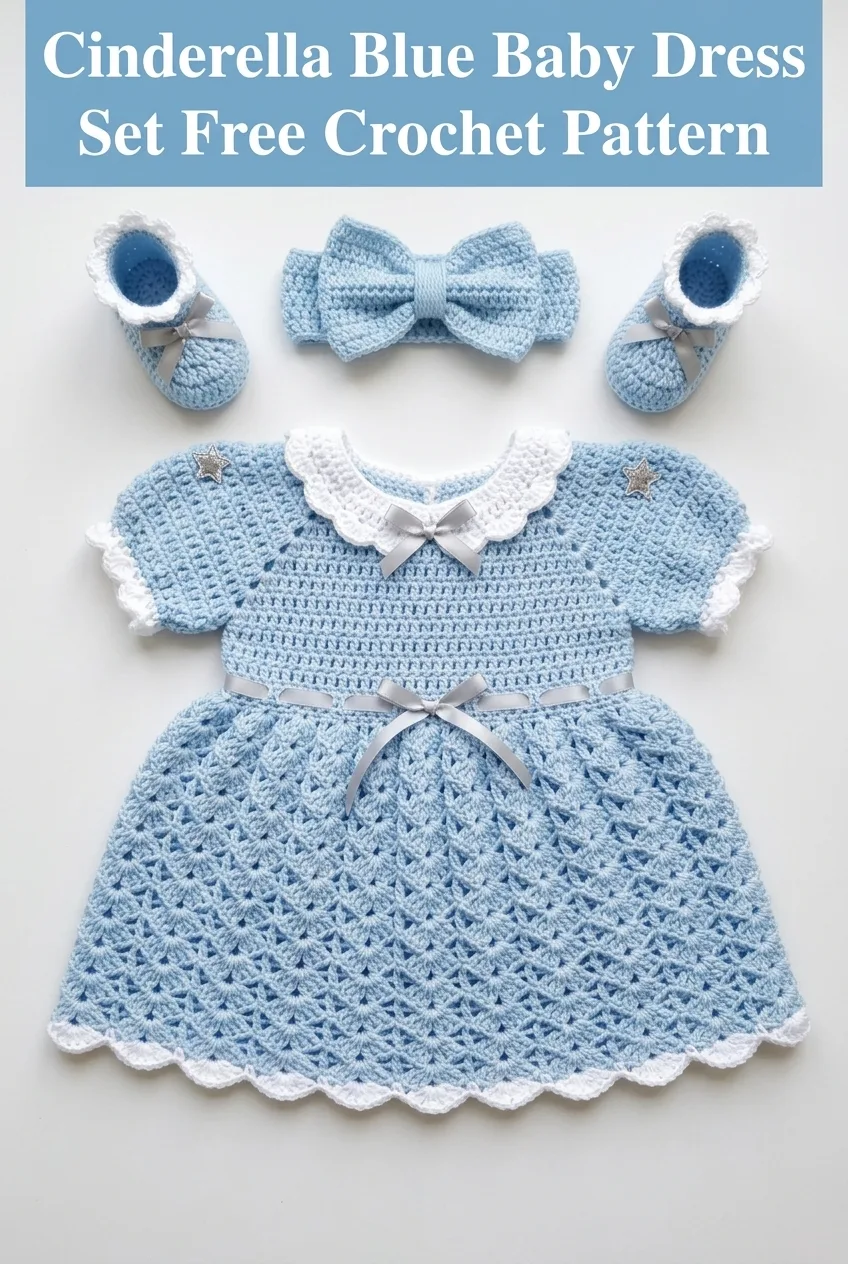
I’ve been looking for the perfect baby dress pattern that combines classic elegance with fairy tale charm, and this set is my absolute favorite find. This Cinderella Blue Baby Dress Set has everything I love in a baby project. A beautiful shell stitch skirt, a sweet Peter Pan collar, matching booties with delicate scalloped trim, and an adorable bow headband to complete the look. If you’re searching for a show-stopping baby shower gift or a special outfit for a little one in your life, this is the pattern I keep coming back to.
Why This Baby Dress Set Works So Well
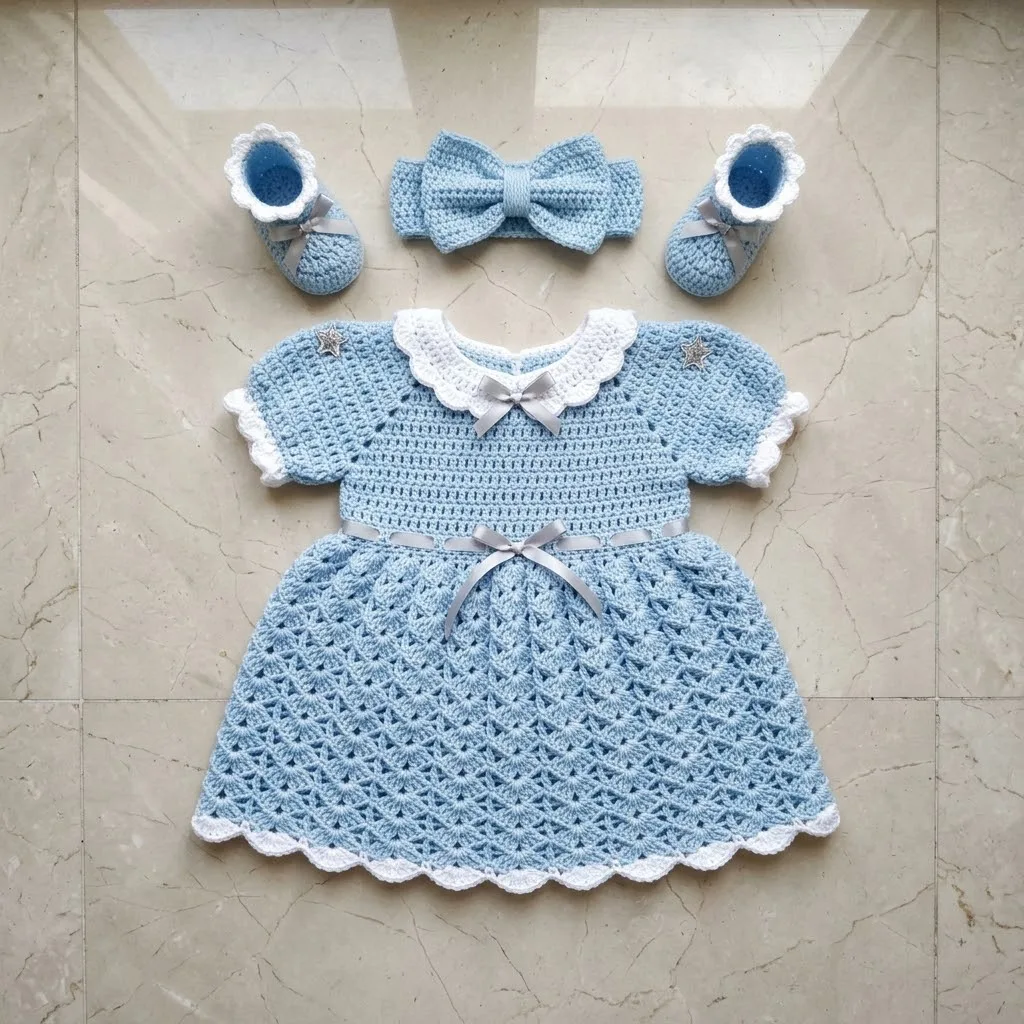
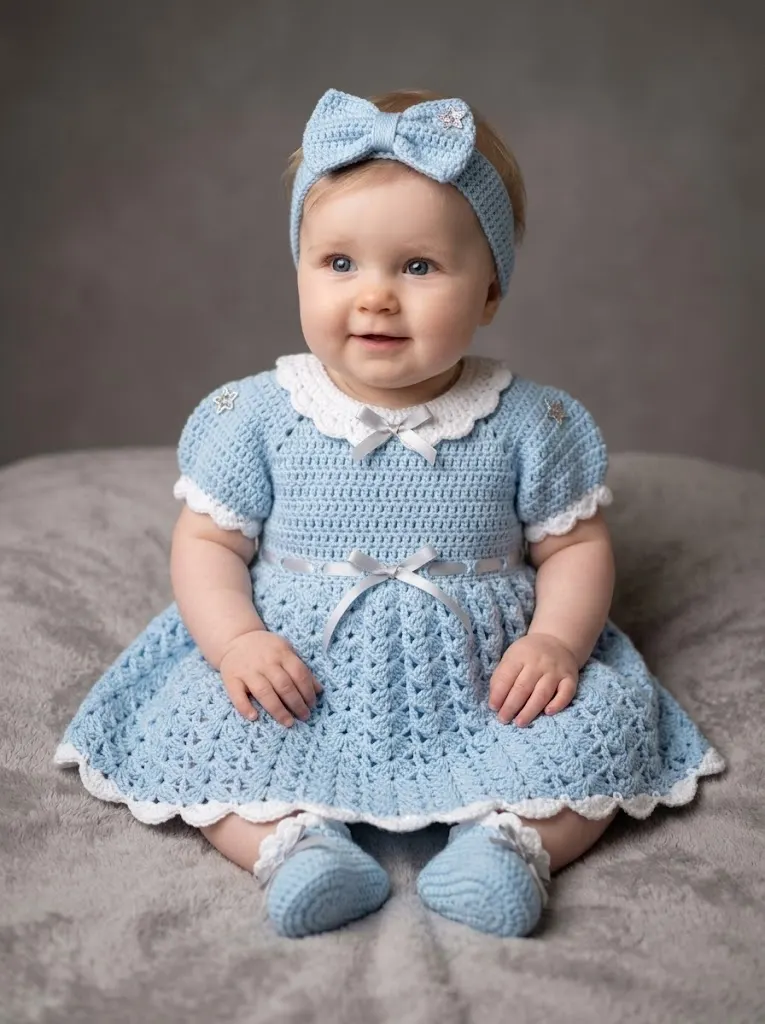
This coordinated set looks incredibly impressive, but I promise the construction is more approachable than it appears. Each piece builds on basic stitches you probably already know. The dress uses a combination of single crochet for the fitted bodice and a gorgeous shell stitch pattern for the flared skirt. The booties feature the same shell edging as the dress hem, and the headband bow ties everything together beautifully.
The soft blue color paired with crisp white trim gives this set its Cinderella vibe. Those little silver ribbon accents and star embellishments? Completely optional, but they add such a magical touch.
Skill Level
Intermediate beginner to confident beginner. If you can work in the round, increase and decrease, and follow a shell stitch pattern, you can make this. I’ll walk you through every step.
Finished Measurements
Dress: Fits approximately 0 to 6 months. Chest circumference of about 16 inches, length from shoulder to hem approximately 12 inches.
Booties: Sole length approximately 3.5 inches, fits newborn to 3 months.
Headband: Adjustable, fits head circumference of 14 to 16 inches.
Materials Needed
Yarn:
I recommend a soft acrylic or cotton blend that’s machine washable. Parents will thank you for choosing something easy to care for.
Hooks:
Notions:
Gauge
18 stitches and 10 rows = 4 inches in single crochet with 4.0mm hook.
Please take time to check your gauge. Baby garments need to fit properly, and a gauge swatch saves frustration later.
Abbreviations and Stitch Definitions
Let me walk you through every stitch abbreviation you’ll encounter:
ch = chain: Wrap yarn over hook, pull through loop on hook. This creates your foundation.
sl st = slip stitch: Insert hook, yarn over, pull through stitch and loop on hook in one motion. Used for joining rounds.
sc = single crochet: Insert hook into stitch, yarn over, pull up a loop (two loops on hook), yarn over, pull through both loops. Your most basic stitch.
hdc = half double crochet: Yarn over, insert hook into stitch, yarn over, pull up a loop (three loops on hook), yarn over, pull through all three loops.
dc = double crochet: Yarn over, insert hook into stitch, yarn over, pull up a loop, yarn over, pull through two loops, yarn over, pull through remaining two loops. Taller than single crochet.
shell = shell stitch: Work 5 double crochets into the same stitch. This creates a fan shape.
sk = skip: Pass over the indicated number of stitches without working into them.
st(s) = stitch(es)
inc = increase: Work two stitches into one stitch.
dec = decrease: Work two stitches together as one.
The Baby Dress Pattern
Bodice (Worked from Top Down)
The bodice starts at the neckline and works down to the waist. We’ll create the front, back panels, and sleeves all in one piece.
Foundation Row: With light blue yarn and 4.0mm hook, ch 56.
Row 1: Sc in 2nd ch from hook and in each ch across. Turn. (55 sts)
Row 2: Ch 1, sc in first 9 sts (back panel), 2 sc in next st, sc in next 7 sts, 2 sc in next st (sleeve), sc in next 17 sts (front), 2 sc in next st, sc in next 7 sts, 2 sc in next st (sleeve), sc in last 9 sts (back panel). Turn. (59 sts)
Row 3: Ch 1, sc in each st across. Turn. (59 sts)
Row 4: Ch 1, sc in first 10 sts, 2 sc in next st, sc in next 9 sts, 2 sc in next st, sc in next 19 sts, 2 sc in next st, sc in next 9 sts, 2 sc in next st, sc in last 10 sts. Turn. (63 sts)
Row 5: Ch 1, sc in each st across. Turn. (63 sts)
Row 6: Ch 1, sc in first 11 sts, 2 sc in next st, sc in next 11 sts, 2 sc in next st, sc in next 21 sts, 2 sc in next st, sc in next 11 sts, 2 sc in next st, sc in last 11 sts. Turn. (67 sts)
Rows 7-10: Continue this increase pattern every other row, adding increases at the four raglan points. After Row 10, you should have approximately (79 sts)
Separating for Sleeves
Row 11: Ch 1, sc in first 14 sts (back), ch 3, sk next 17 sts (sleeve opening), sc in next 31 sts (front), ch 3, sk next 17 sts (sleeve opening), sc in last 14 sts (back). Turn. (65 sts including chains)
Rows 12-16: Ch 1, sc in each st across. Turn. (65 sts)
This creates your bodice. It should measure approximately 3 inches from neckline to waist.
Shell Stitch Skirt
Now we create that gorgeous flared skirt with the shell stitch pattern. Don’t worry, this is easier than it looks.
Setup Row: Ch 1, sc in first st, *sk 2 sts, 5 dc in next st (shell made), sk 2 sts, sc in next st*. Repeat from * to * across. Turn.
You should have approximately 10 to 11 shells across your skirt.
Row 2: Ch 3 (counts as first dc), 2 dc in same st, *sc in center dc of next shell, 5 dc in next sc (shell in sc)*. Repeat from * to * across, ending with 3 dc in last st. Turn.
Row 3: Ch 1, sc in first st, *5 dc in next sc (shell made), sc in center dc of next shell*. Repeat from * to * across. Turn.
Rows 4-18: Repeat Rows 2 and 3 until skirt measures approximately 7 to 8 inches from waist, or desired length.
White Scallop Hem
Join white yarn to any stitch along the bottom edge.
Hem Round: Ch 1, *sc in next st, sk 1 st, 5 hdc in next st, sk 1 st*. Repeat from * to * around. Sl st to first sc to join. Fasten off.
This creates that beautiful scalloped edge you see in the photos.
Sleeves (Make 2)
Join light blue yarn to center of underarm chain.
Round 1: Ch 1, sc in each st around sleeve opening, working into the chain stitches and around the armhole edge. Sl st to join. (approximately 24 sts)
Rounds 2-6: Ch 1, sc in each st around. Sl st to join. (24 sts)
Round 7: Work decrease round if needed for shaping. Sc around, decreasing 2 to 4 stitches evenly. (20 to 22 sts)
Sleeve Trim (White)
Join white yarn.
Trim Round: Ch 1, *sc in next st, sk 1, 5 hdc in next st, sk 1*. Repeat from * to * around. Sl st to join. Fasten off.
Peter Pan Collar
The collar is worked separately and sewn on. This gives you more control over placement.
With white yarn and 3.5mm hook, ch 42.
Row 1: Sc in 2nd ch from hook and in each ch across. Turn. (41 sts)
Row 2: Ch 1, 2 sc in first st, sc across to last st, 2 sc in last st. Turn. (43 sts)
Row 3: Ch 1, 2 sc in first st, sc across to last st, 2 sc in last st. Turn. (45 sts)
Row 4: Ch 1, sc in each st across. Turn. (45 sts)
Scallop Edge: Ch 1, *sc in next st, sk 1, 5 hdc in next st, sk 1*. Repeat from * to * across. Fasten off.
Center the collar along the neckline of the dress and sew in place, leaving approximately 1 inch open at each back edge for the button closure.
Back Closure
Work a row of single crochet along each back edge of the bodice. On one side, create two small buttonholes by chaining 2 and skipping 2 stitches. Sew buttons to correspond on the opposite side.
Baby Booties Pattern (Make 2)
Sole
With light blue yarn and 4.0mm hook, ch 10.
Round 1: 3 sc in 2nd ch from hook, sc in next 7 ch, 4 sc in last ch. Working along opposite side of chain, sc in next 7 sts. Sl st to join. (22 sts)
Round 2: Ch 1, 2 sc in next 3 sts, sc in next 7 sts, 2 sc in next 4 sts, sc in next 7 sts, 2 sc in last st. Sl st to join. (30 sts)
Round 3: Ch 1, *sc in next st, 2 sc in next st* 3 times, sc in next 7 sts, *sc in next st, 2 sc in next st* 4 times, sc in next 7 sts. Sl st to join. (37 sts)
Round 4: Ch 1, sc in each st around. Sl st to join. (37 sts)
Sides
Rounds 5-7: Ch 1, working in back loops only for Round 5 (this creates a ridge), sc in each st around. Sl st to join. (37 sts)
Toe Shaping
Round 8: Ch 1, sc in next 12 sts, *sc2tog* 7 times, sc in remaining sts. Sl st to join. (30 sts)
Round 9: Ch 1, sc in next 10 sts, *sc2tog* 5 times, sc in remaining sts. Sl st to join. (25 sts)
Ankle Cuff
Rounds 10-12: Ch 1, sc in each st around. Sl st to join. (25 sts)
White Scallop Trim
Join white yarn.
Trim Round: Ch 1, *sc in next st, sk 1, 5 hdc in next st, sk 1*. Repeat from * to * around. Sl st to join. Fasten off.
Add a small ribbon bow to the front of each bootie if desired.
Bow Headband Pattern
Headband Base
With light blue yarn and 4.0mm hook, ch 6.
Row 1: Sc in 2nd ch from hook and in each ch across. Turn. (5 sts)
Rows 2-50: Ch 1, sc in each st across. Turn. (5 sts)
This creates a band approximately 14 inches long. Adjust length as needed for baby’s head circumference. Sew short ends together to form a loop.
Bow Piece
Ch 20.
Row 1: Sc in 2nd ch from hook and in each ch across. Turn. (19 sts)
Rows 2-12: Ch 1, sc in each st across. Turn. (19 sts)
Fasten off, leaving a long tail.
Bow Center Wrap
Ch 6.
Row 1: Sc in 2nd ch from hook and in each ch across. Turn. (5 sts)
Rows 2-6: Ch 1, sc in each st across. Turn. (5 sts)
Fasten off.
Assembly
Pinch the bow piece in the center to create the bow shape. Wrap the center piece around the pinched area and sew in place. Attach the completed bow to the headband, positioning it slightly off center for a charming look.
Finishing Touches
Weave in all ends securely. Block each piece gently if needed. Add ribbon accents by threading narrow silver or white ribbon through the waist area of the dress and tying in a bow at the front. The star charms shown in the photos can be sewn onto the collar area if you want that extra sparkle.
Care Instructions
Machine wash on gentle cycle with cold water. Lay flat to dry. This keeps the shell stitches looking beautiful and prevents the garment from stretching.
Tips for Success
Work your gauge swatch in single crochet before starting. The shell stitch section will naturally have more drape, so focus on matching gauge for the bodice.
If the shell stitch feels confusing at first, practice a small swatch. Once you complete two rows, the rhythm clicks and you’ll be working confidently.
For gift giving, consider making multiple sizes by adjusting your foundation chain count and adding extra rows to the bodice and skirt.
Thank you so much for choosing this pattern for your next baby project. I truly hope you enjoy making this sweet Cinderella-inspired set as much as I enjoyed designing it. If you create one, please share your photos with me on Instagram or Facebook. I absolutely love seeing your finished projects come to life.
Save this pattern to your Pinterest boards so you can find it whenever you’re ready to start stitching, and please drop a comment below if you make this set. I’d love to hear how it turned out for you.
You Might Also Like
- Galaxy Purple Chameleon Amigurumi Free Crochet Pattern
- Sage Green Summer Tote with Cream Tassels Free Crochet Pattern
- Lavender Butterfly Baby Dress Free Crochet Pattern
- Lavender Dream Tiered Baby Dress Free Crochet Pattern