Mint Garden Baby Crochet Dress Free Pattern
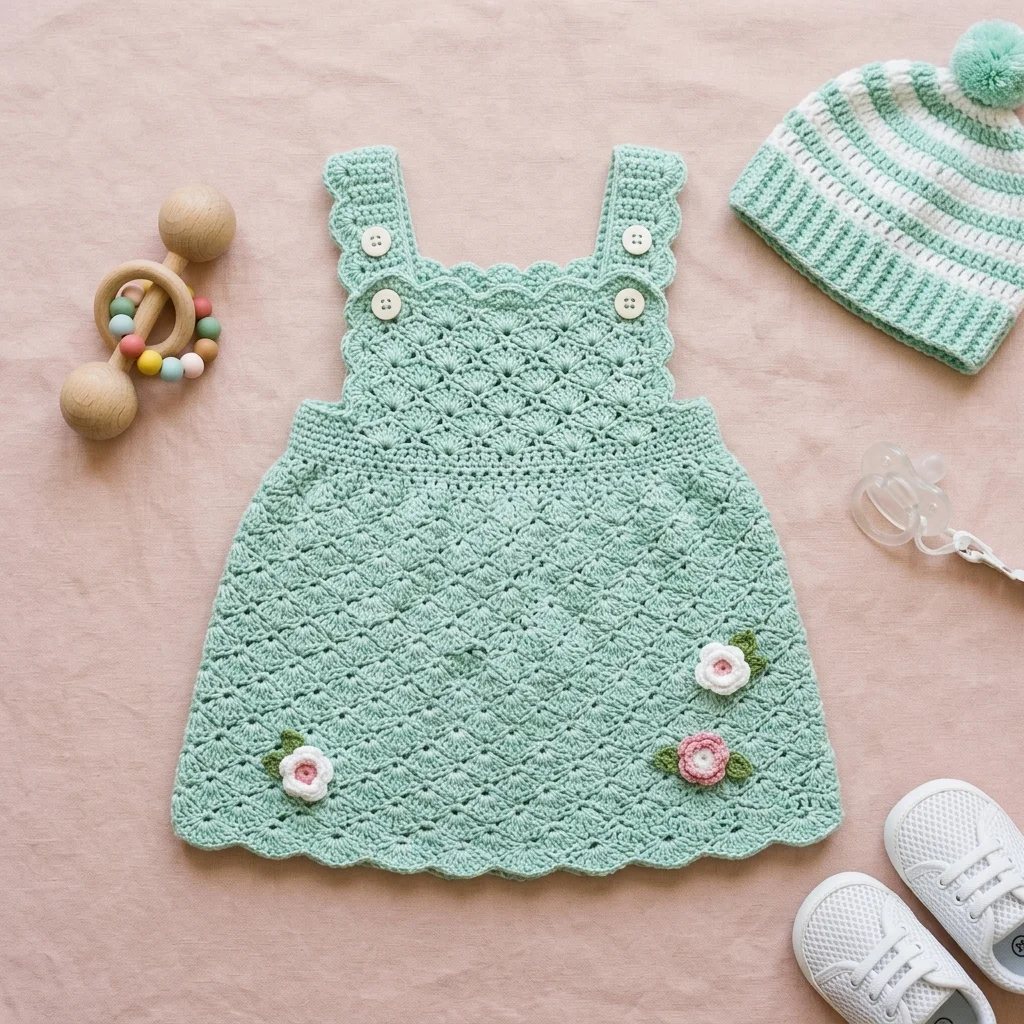
Last spring, my sister called me in a panic. Her best friend’s baby shower was in two weeks, and she wanted to give something handmade but had no idea where to start. I grabbed my hook, some soft mint yarn, and got to work designing something special. What came out of that whirlwind weekend was this sweet little dress, and honestly, I think it might be one of my favorite baby projects ever. The shell stitch creates these gorgeous scalloped waves, and those tiny appliqué flowers? They turned a simple dress into something that looks like it belongs in a garden party. If you have a baby shower coming up or just want to make something beautiful for your own little one, this is the project for you.
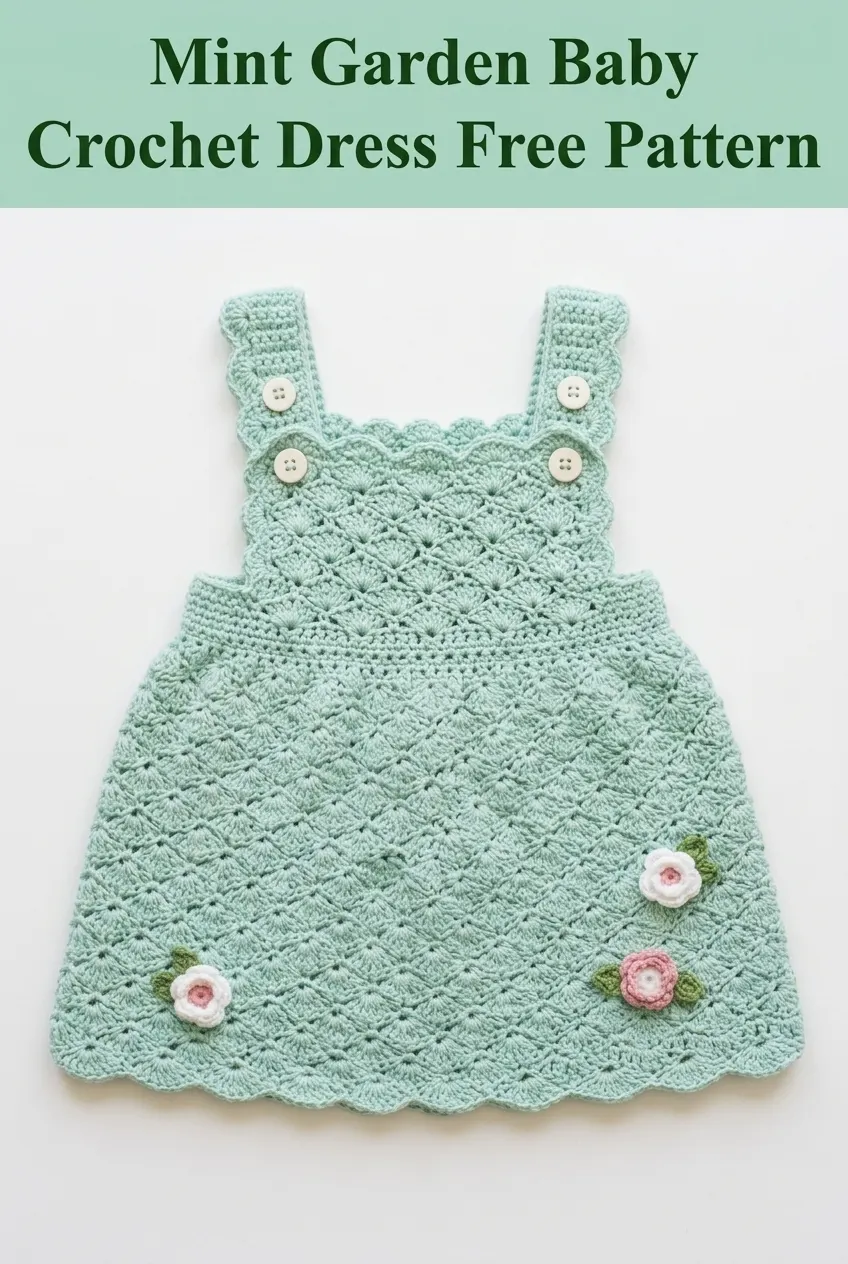
Why You Will Love This Crochet Baby Dress Pattern
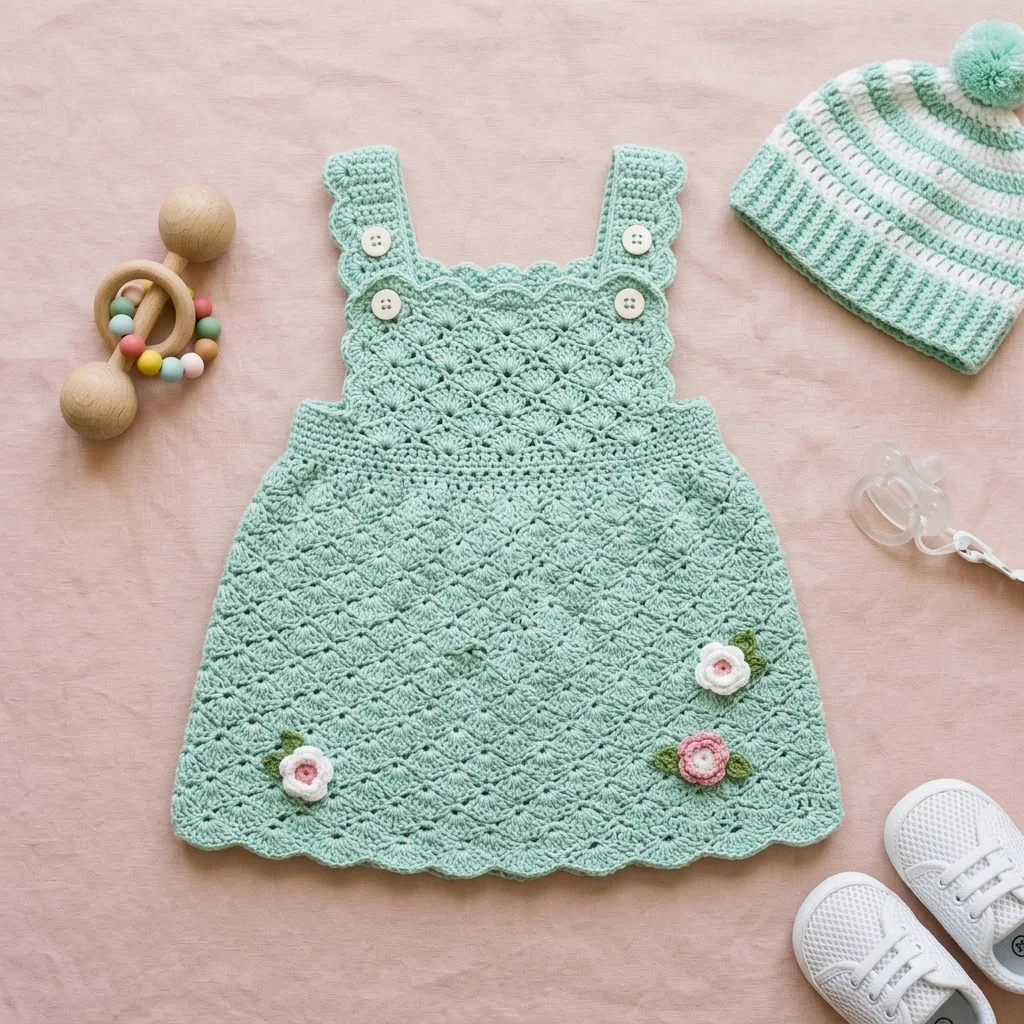
This mint garden baby crochet dress combines classic construction with charming details that make it stand out. The shell stitch pattern creates natural texture and drape, which is exactly what you want for a comfortable baby garment. The straps attach with buttons, making diaper changes easier for parents. And those sweet little flower appliqués with leaves? They transform a simple silhouette into something truly special.
The dress works up from the bottom hem to the bodice in one piece, so you will have minimal seaming. The scalloped edges along the neckline, armholes, and hem all happen naturally as part of the shell stitch pattern. No extra edging required.
This crochet pattern is perfect for:
Materials Needed for Your Crochet Baby Dress
Gathering the right supplies before you start makes everything smoother. Here is what you will need:
Yarn:
Hook:
Notions:
Gauge:
4 shell repeats and 8 rows in shell stitch pattern equals approximately 4 inches square. Always check your gauge before starting to ensure proper fit.
Skill Level and Techniques
This step by step crochet tutorial is rated intermediate. You should be comfortable with basic stitches and reading pattern instructions before starting.
Stitches and techniques used:
If you have never worked shell stitch before, do not worry. I will walk you through it. The pattern is repetitive once you get the hang of it, so after a few rows it will feel like second nature.
Size and Finished Measurements
This pattern includes instructions for size 6 to 12 months.
Finished measurements:
Adjusting the size: To make the dress smaller for newborn to 6 months, reduce your starting chain by one shell repeat (6 chains fewer) and work 2 fewer rows on the skirt. For 12 to 18 months, add one shell repeat and 2 additional rows.
How to Crochet the Baby Dress Pattern
Now let’s get into the actual construction. Take your time with each section, and remember that you can always rip back if something does not look right. That is the beauty of crochet.
Skirt Section (Bottom Up)
The skirt is worked flat from the hem upward, then joined to work in rounds.
Foundation Row:
Ch 109.
Row 1 (Right Side): Sc in 2nd ch from hook, *sk 2 ch, 5 dc in next ch (shell made), sk 2 ch, sc in next ch*, repeat from * to * across. (18 shells, 19 sc)
Row 2: Ch 3 (counts as first dc here and throughout), 2 dc in first sc, *sc in center dc of next shell, 5 dc in next sc*, repeat from * to * across, ending with sc in center dc of last shell, 3 dc in last sc. (17 full shells, 2 half shells at edges)
Row 3: Ch 1, sc in first dc, *5 dc in next sc, sc in center dc of next shell*, repeat from * to * across, ending with 5 dc in last sc, sc in top of turning ch. (18 shells, 19 sc)
Rows 4 through 24: Repeat Rows 2 and 3 alternately, ending with Row 2.
Your skirt should measure approximately 9 inches from the foundation chain.
Waist Decrease Section
This section brings the skirt in to fit the bodice. The decreases happen gradually so the dress maintains a nice shape.
Row 25: Ch 1, sc in first dc, *3 dc in next sc (small shell), sc in center dc of next shell*, repeat from * to * across, ending with 3 dc in last sc, sc in top of turning ch. (18 small shells, 19 sc)
Row 26: Ch 2, dc in first sc, *sc in center dc of next small shell, 3 dc in next sc*, repeat from * to * across, ending with sc in center dc of last small shell, 2 dc in last sc. (17 full small shells, 2 half shells)
Rows 27 and 28: Continue in small shell pattern as established.
Your waist section should be noticeably narrower than the skirt. This is where the empire waist definition happens.
Bodice Section
Row 29: Ch 1, sc in each dc and sc across, working 1 sc in each stitch. (72 sc)
Row 30: Ch 1, sc in each sc across. (72 sc)
Rows 31 through 34: Repeat Row 30.
The bodice should measure approximately 1.5 inches.
Divide for Front and Back
Now you will separate the work to create the armhole openings.
Row 35 (Back Right): Ch 1, sc in first 14 sc, turn, leaving remaining stitches unworked.
Rows 36 through 40: Ch 1, sc in each sc across. (14 sc)
Fasten off.
Row 35 (Front): Skip 8 sc for armhole, join yarn in next sc, ch 1, sc in same sc and next 27 sc, turn, leaving remaining stitches unworked. (28 sc)
Rows 36 through 40: Ch 1, sc in each sc across. (28 sc)
Fasten off.
Row 35 (Back Left): Skip 8 sc for armhole, join yarn in next sc, ch 1, sc in same sc and remaining 13 sc. (14 sc)
Rows 36 through 40: Ch 1, sc in each sc across. (14 sc)
Fasten off.
Straps (Make 2)
Row 1: Ch 7, sc in 2nd ch from hook and each ch across. (6 sc)
Rows 2 through 30: Ch 1, sc in each sc across. (6 sc)
The straps should measure approximately 7 inches long. Adjust length as needed for your gauge.
Scallop edging on straps:
After completing Row 30, do not fasten off. Work down one long side of the strap: *sk 1 row end, 5 dc in next row end, sk 1 row end, sl st in next row end*, repeat along the entire edge. Fasten off.
Repeat scallop edging on the opposite long edge.
Neckline and Armhole Edging
Join yarn at any corner of the neckline opening.
Round 1: Ch 1, sc evenly around entire neckline opening, working approximately 3 sc per 2 rows along the sides. Join with sl st to first sc.
Round 2: Ch 1, *sc, sk 1 sc, 5 dc in next sc, sk 1 sc*, repeat around, adjusting as needed to keep edging flat. Join with sl st.
Fasten off.
Repeat for each armhole opening.
Flower Appliqués (Make 2 or 3)
These sweet little flowers add the garden touch that makes this dress special.
Center:
Using white or pink yarn, make a magic ring.
Round 1: Ch 1, 5 sc into ring, pull ring closed, join with sl st to first sc. (5 sc)
Round 2 (Petals): *Ch 2, 2 dc in same sc, ch 2, sl st in same sc, sl st in next sc*, repeat around. (5 petals)
Fasten off, leaving a tail for sewing.
Leaf Appliqués (Make 4 to 6)
Using olive green yarn:
Ch 8, sl st in 2nd ch from hook, sc in next ch, hdc in next ch, dc in next 2 ch, hdc in next ch, 3 sc in last ch (this is the tip), working down opposite side of chain: hdc in next ch, dc in next 2 ch, hdc in next ch, sc in next ch, sl st in last ch.
Fasten off, leaving a tail for sewing.
Assembly and Finishing
This is where everything comes together. Take your time with assembly, as neat finishing makes a big difference.
Step 1: Block all pieces lightly by spraying with water and pinning to shape. Let dry completely.
Step 2: Sew straps to the back bodice pieces, positioning them about 1 inch from the armhole edge. The decorative scallop edge should face outward.
Step 3: Sew buttons to the front bodice corners, positioned to align with the straps.
Step 4: Create buttonholes on strap ends by working a sl st around a 3 stitch gap, or simply use the natural spaces in the crochet fabric as buttonholes.
Step 5: Arrange flowers and leaves on the skirt front as desired. I placed one cluster near the bottom left and another near the bottom right. Use yarn tails to sew securely in place.
Step 6: Weave in all remaining ends.
Tips for Success with This Crochet Tutorial
Counting shells: After every few rows, count your shells to make sure you have not accidentally added or dropped one. It is much easier to fix a mistake early.
Tension consistency: Shell stitch shows tension variations clearly. Try to keep your double crochets relaxed and even throughout.
Button placement: Have the parents try the dress on baby before sewing buttons permanently. Every baby is shaped differently, and you want the straps to sit comfortably.
Yarn substitutions: If you cannot find DK weight, you can use a light worsted with a slightly smaller hook. Just make sure to check your gauge.
Making multiples: This beginner friendly crochet pattern works up quickly once you get the rhythm. Consider making several in different colors for a complete baby wardrobe gift.
Care Instructions
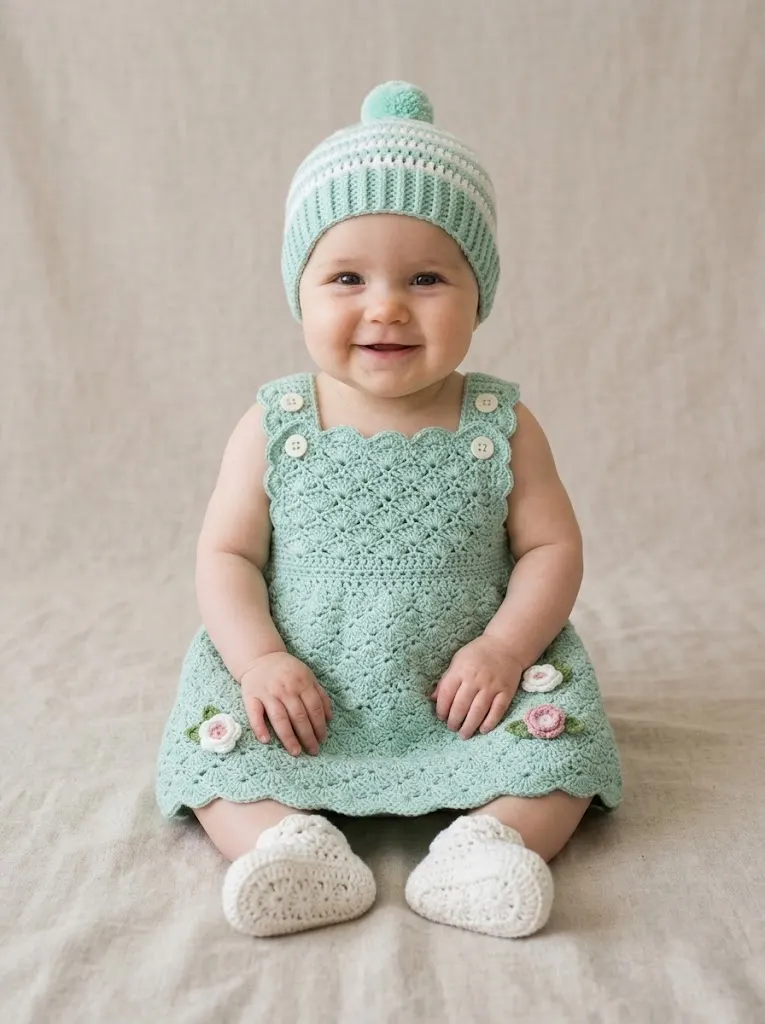
Include these care instructions when gifting:
Cotton and acrylic blends hold up beautifully to repeated washing, which parents will appreciate.
I really hope you enjoy making this mint garden baby crochet dress. It is one of those projects that looks impressive but comes together more easily than you might expect. The shell stitch creates such beautiful movement, and those little flowers just make me smile every time.
If you make this dress, I would absolutely love to see it. Save this pattern to your Pinterest boards so you can find it when you are ready to start, and please leave a comment below to let me know how it turned out. Your photos and feedback truly make my day, and they help other crocheters feel confident giving the pattern a try. Happy hooking!
You Might Also Like
- Pink Valentine Highland Cow Amigurumi Free Crochet Pattern
- Ocean Blue Ombre Drawstring Bucket Bag Free Crochet Pattern
- Midnight Silver Lace Bucket Bag Free Crochet Pattern
- Arctic Ice Mermaid Plush Doll Free Crochet Pattern