Blush Pink Tiered Baby Romper Free Crochet Pattern
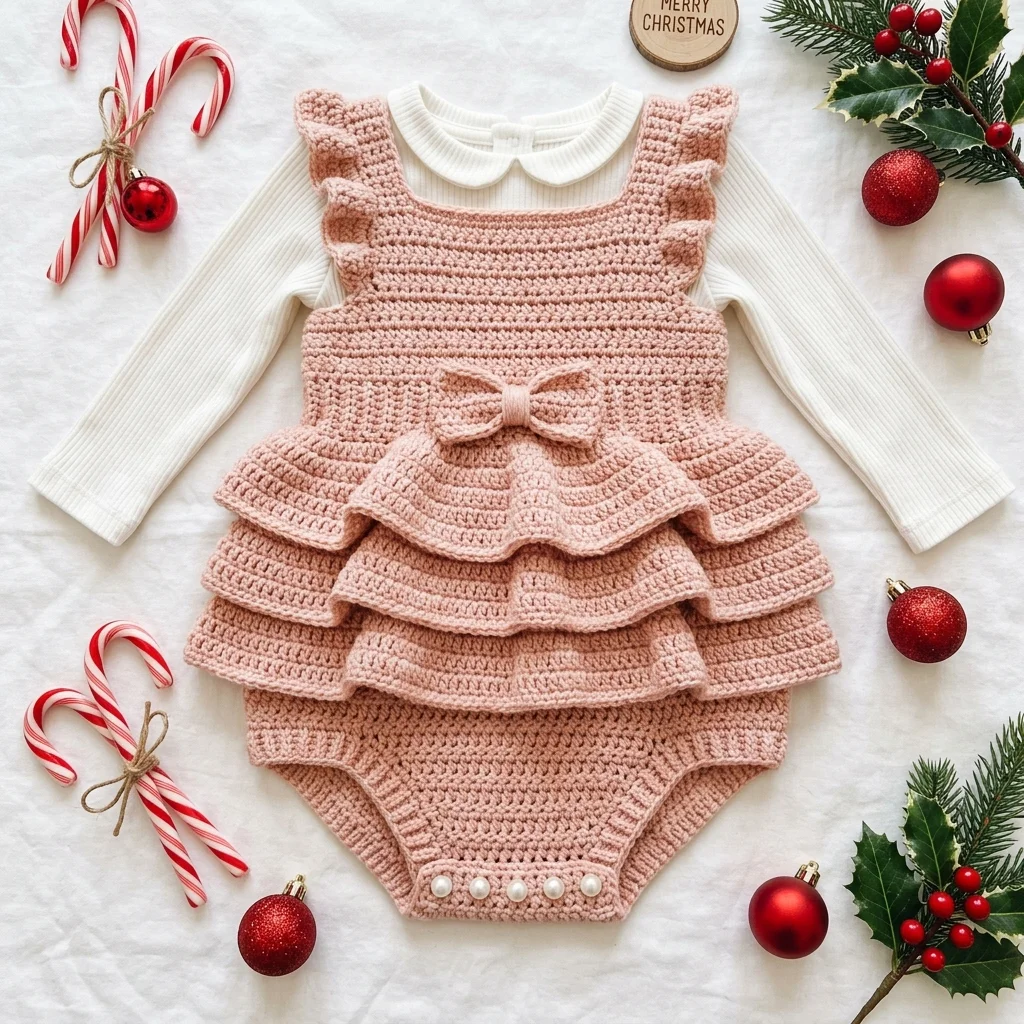
There is something absolutely magical about creating handmade clothes for the littlest people in your life. This blush pink tiered baby romper is one of those projects that looks incredibly impressive but is actually quite achievable. The layered ruffles, sweet bow detail, and delicate flutter sleeves create a showstopper piece perfect for holiday photos, special occasions, or any day you want your little one to feel extra special.
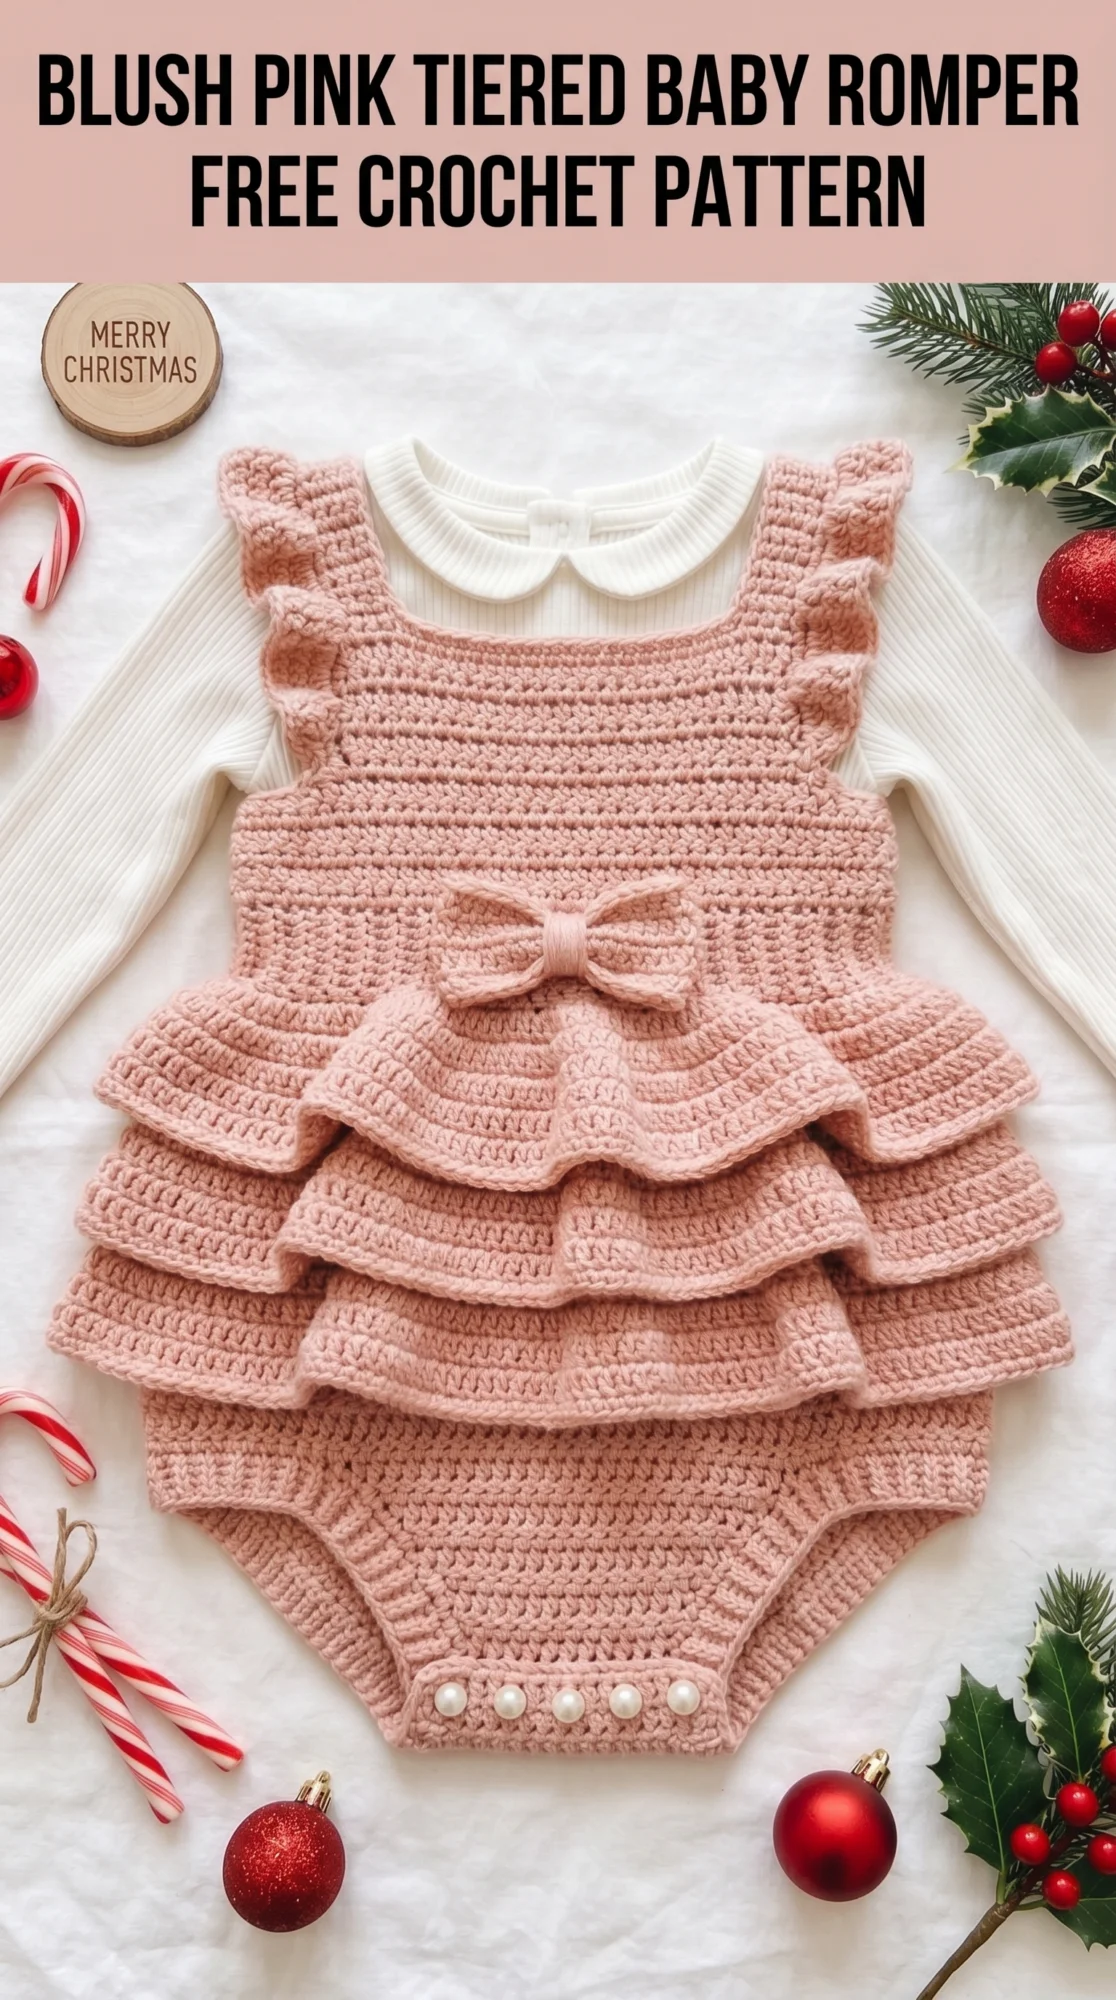
I designed this crochet pattern with intermediate crocheters in mind, but adventurous beginners should not feel intimidated. If you can work basic stitches in rows and are comfortable increasing and decreasing, you have everything you need. The construction is simpler than it looks because each ruffle tier is worked separately and attached as you go.
Let me walk you through every step of creating this adorable baby romper crochet tutorial.
Why This Tiered Baby Romper Pattern Works So Well
The genius of this design is in the construction method. Rather than trying to create the tiered effect through complicated stitch manipulation, we build each ruffle independently. This means you can focus on one section at a time without worrying about the whole garment.
The bodice uses simple rows of half double crochet for that lovely textured look you see in the image. The ruffles are created by working into the front loops of a foundation row, which allows them to flare out naturally. And that precious bow at the waist is a simple rectangle folded and cinched in the center.
The blush pink color shown here is absolutely dreamy, but this pattern works beautifully in any shade. Consider cream for a vintage feel, sage green for something gender neutral, or bright red for the holidays.
Materials You Will Need
Yarn:
Hook:
Notions:
Gauge:
16 stitches and 12 rows = 4 inches in half double crochet using 4.0mm hook
Always check your gauge before starting. This pattern is written for size 6 to 12 months. Finished measurements are approximately 10 inches across the chest and 14 inches from shoulder to crotch.
Stitch Abbreviations and Definitions
Let me define every stitch we will use so you can reference this section anytime you need a refresher.
Ch = Chain: Yarn over, pull through the loop on your hook. This creates the foundation for most crochet work.
Sl st = Slip stitch: Insert hook, yarn over, pull through both the stitch and the loop on your hook in one motion. Used for joining and moving across stitches invisibly.
Sc = Single crochet: Insert hook, yarn over, pull up a loop (2 loops on hook), yarn over, pull through both loops. The shortest basic stitch.
Hdc = Half double crochet: Yarn over, insert hook, yarn over, pull up a loop (3 loops on hook), yarn over, pull through all 3 loops at once. Creates a slightly taller stitch with nice drape.
Dc = Double crochet: Yarn over, insert hook, yarn over, pull up a loop (3 loops), yarn over, pull through 2 loops, yarn over, pull through remaining 2 loops. Taller and more open than hdc.
Inc = Increase: Work 2 stitches into the same stitch. This adds width to your fabric.
Dec = Decrease: Work 2 stitches together as one. For hdc, this means yarn over, insert into first stitch, pull up loop, insert into next stitch, pull up loop (5 loops on hook), yarn over, pull through all 5.
FLO = Front loop only: Instead of inserting your hook under both loops at the top of a stitch, work only through the loop closest to you.
BLO = Back loop only: Work only through the loop farthest from you.
Step by Step Crochet Pattern Instructions
Part 1: The Bodice Front
The bodice is worked flat in rows, starting from the top edge and working down toward the waist.
Row 1: Ch 43. Hdc in 3rd ch from hook and in each ch across. Turn. (41 hdc)
Row 2: Ch 2 (does not count as a stitch throughout), hdc in each st across. Turn. (41 hdc)
Rows 3 through 6: Repeat Row 2. (41 hdc)
You should now have a rectangular panel approximately 10 inches wide.
Armhole Shaping:
Row 7: Ch 2, hdc in first 10 sts, ch 3, skip next 7 sts (first armhole created), hdc in next 7 sts, ch 3, skip next 7 sts (second armhole created), hdc in last 10 sts. Turn. (27 hdc, 2 ch-3 spaces)
Row 8: Ch 2, hdc in first 10 sts, 7 hdc in ch-3 space, hdc in next 7 sts, 7 hdc in ch-3 space, hdc in last 10 sts. Turn. (41 hdc)
Rows 9 through 14: Ch 2, hdc in each st across. Turn. (41 hdc)
Place a stitch marker at each end of Row 14. This marks your waistline.
Part 2: The Bodice Back
Work exactly as the front through Row 14. You now have two identical bodice pieces.
Part 3: Flutter Sleeve Ruffles
These adorable little ruffles along the armholes give the romper that extra sweetness. They are worked directly onto the armhole edge.
Joining the Bodice Sides:
First, place front and back pieces together with right sides facing. Using sl st, join the side seams from the bottom of each armhole down to the waist markers. Leave armholes open.
Working the Ruffle:
With right side facing, join yarn at the underarm seam of one armhole.
Round 1: Ch 1, work 28 sc evenly around the entire armhole opening. Sl st to first sc to join. (28 sc)
Round 2: Ch 3, dc in same st, 2 dc in each st around. Sl st to top of ch-3 to join. (56 dc)
Round 3: Ch 3, dc in each st around. Sl st to join. (56 dc)
Round 4: Ch 1, sc in each st around. Sl st to join. Fasten off. (56 sc)
Repeat for the second armhole.
Part 4: The Diaper Cover Bottom
This section creates the bottom portion that snaps closed at the crotch.
Starting at the waist (Row 14 of bodice), with front and back joined at sides:
Round 1: Join yarn at one side seam. Ch 2, hdc evenly around the entire waist opening, working 41 hdc across front and 41 hdc across back. Sl st to join. (82 hdc)
Rounds 2 through 4: Ch 2, hdc in each st around. Sl st to join. (82 hdc)
Begin Crotch Shaping:
Now we work in rows to create the front and back panels that will meet at the crotch.
Front Panel:
Row 5: Ch 2, hdc in next 40 sts. Turn, leaving remaining sts unworked. (40 hdc)
Row 6: Ch 2, hdc2tog (decrease), hdc to last 2 sts, hdc2tog. Turn. (38 hdc)
Rows 7 through 12: Repeat Row 6, decreasing 2 sts each row. (26 hdc after Row 12)
Rows 13 through 15: Ch 2, hdc in each st across. Turn. (26 hdc)
Fasten off.
Back Panel:
Join yarn at the opposite side where you left off on Round 4. Work Rows 5 through 15 exactly as the front panel.
Part 5: Creating the Three Tiered Ruffles
This is where the magic happens. Each ruffle is worked separately and sewn on.
First Ruffle (Top, attached at waistline):
Row 1: Ch 82. Sc in 2nd ch from hook and each ch across. Turn. (81 sc)
Row 2: Ch 3, dc in same st, 2 dc in each st across. Turn. (162 dc)
Rows 3 through 5: Ch 3, dc in each st across. Turn. (162 dc)
Row 6: Ch 1, sc in each st across. Fasten off. (162 sc)
Second Ruffle (Middle):
Work exactly as the first ruffle.
Third Ruffle (Bottom):
Work exactly as the first ruffle.
Attaching the Ruffles:
Using your tapestry needle and matching yarn, whip stitch the foundation chain edge of each ruffle to the romper body:
Space them evenly and gather slightly as you sew for that beautiful tiered effect.
Part 6: The Bow
This sweet detail at the waist finishes the whole look.
Main Bow Piece:
Row 1: Ch 21. Hdc in 3rd ch from hook and each ch across. Turn. (19 hdc)
Rows 2 through 8: Ch 2, hdc in each st across. Turn. (19 hdc)
Fasten off, leaving a long tail.
Bow Center Wrap:
Row 1: Ch 7. Sc in 2nd ch from hook and each ch across. Turn. (6 sc)
Rows 2 through 6: Ch 1, sc in each st across. Turn. (6 sc)
Fasten off, leaving a long tail.
Assembly:
Pinch the main bow piece in the center to create the bow shape. Wrap the center piece around the pinched area and sew the ends together at the back. Attach the finished bow to the center front of the romper at the waistline, just above where the first ruffle begins.
Part 7: Finishing
Crotch Closure:
Overlap the front and back crotch panels by approximately 1 inch, with the back panel on top. Mark placement for 3 snap buttons evenly spaced. Sew snaps in place, or use decorative pearl buttons if you prefer the visible look shown in the image.
Weaving Ends:
Take your time weaving in all yarn tails securely. Baby items get washed frequently, so make sure nothing will work loose.
Blocking (Optional):
Lightly steam or wet block the finished romper to even out your stitches and help the ruffles lay beautifully.
Tips for Success with This Baby Romper Crochet Pattern
Gauge matters here. Because this is a fitted garment, being off gauge will significantly affect the fit. Take five minutes to make a gauge swatch before diving in.
Count your stitches at the end of every row for the bodice sections. Losing or gaining even one stitch will throw off the armhole placement.
For the ruffles, do not stress about perfection. A little unevenness adds to the handmade charm and disappears once the ruffle is gathered and attached.
If the flutter sleeves feel too ruffly for your taste, skip Round 2 of the sleeve instructions. You will have a simpler, less dramatic ruffle that is equally sweet.
How to Adjust This Pattern for Different Sizes
For newborn to 3 months, reduce your starting chain to 35 stitches and adjust all stitch counts proportionally.
For 12 to 18 months, increase your starting chain to 51 stitches.
The ruffle lengths can stay the same for all sizes since gathering adjusts automatically.
Care Instructions
This handmade baby romper deserves gentle care. Machine wash on delicate cycle with cold water and lay flat to dry. Avoid the dryer, which can cause the ruffles to lose their shape. A light steam with your iron held several inches away will refresh the garment between wears.
Perfect Occasions for This Crochet Baby Romper
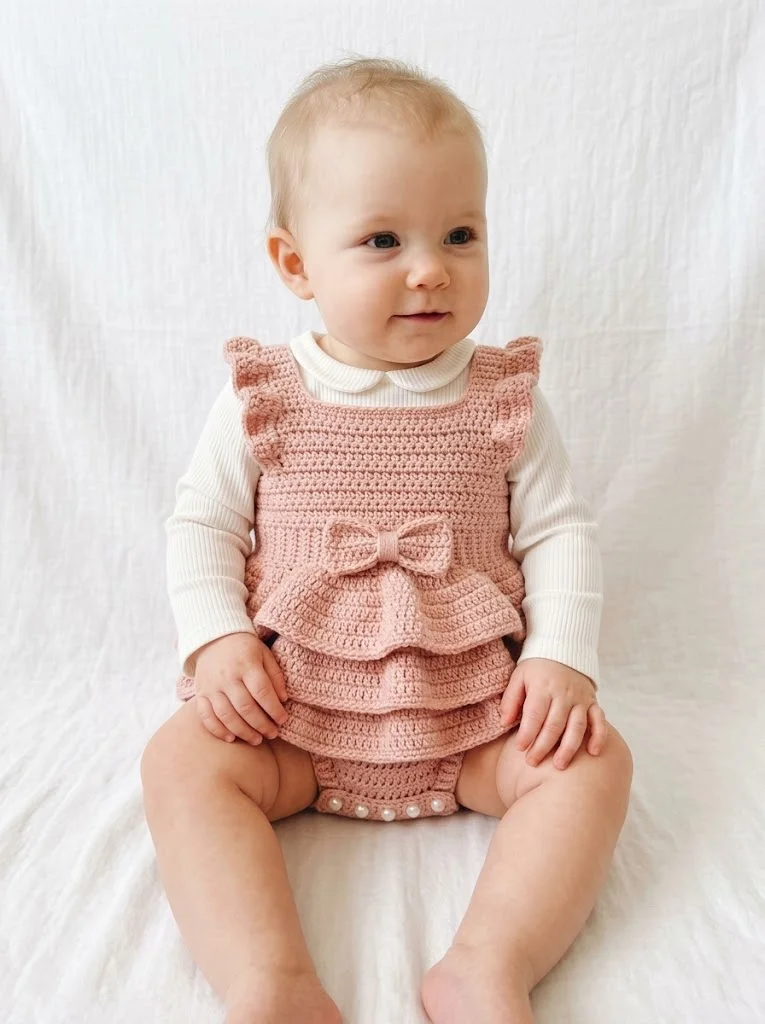
This tiered romper is absolutely perfect for holiday photo sessions, birthday celebrations, christenings, or any special occasion where you want your little one to shine. The blush pink color pairs beautifully with cream or white long sleeve shirts underneath, just like you see in the styling shown.
It also makes an incredibly thoughtful handmade baby shower gift. New parents absolutely treasure handmade items, and this one is sure to become a family keepsake.
I really hope you enjoy making this blush pink tiered baby romper crochet pattern as much as I enjoyed designing it. There is something so satisfying about creating beautiful things for the babies we love.
If this pattern made your heart happy, I would love for you to save it to your Pinterest boards so you can find it easily when you are ready to start. And please, if you make one, drop a comment below or tag me in your photos. Seeing your finished projects absolutely makes my day, and I cannot wait to see your version of this sweet little romper come to life.
You Might Also Like
- Mustard Yellow Circle Purse Free Crochet Pattern
- Mint Green Popcorn Stitch Baby Jumpsuit Free Crochet Pattern
- Lavender Purple Drawstring Bucket Bag Free Crochet Pattern
- Mustard Yellow Boho Tote with Brown Leather Tassels Pattern