Terracotta Desert Shell Purse Free Crochet Pattern
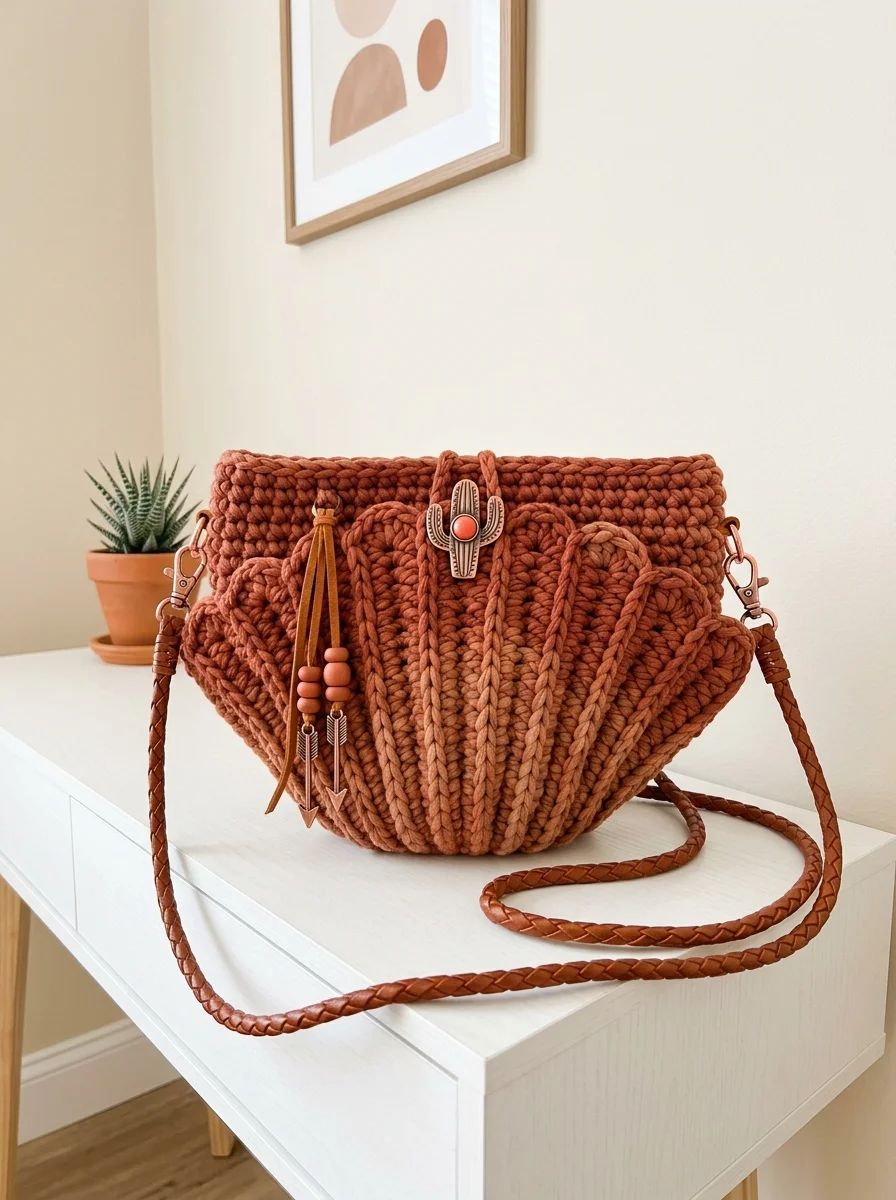
There is something absolutely magical about a bag that looks like it belongs in a sun-drenched adobe boutique. This Terracotta Desert Shell Purse combines southwestern charm with a sculptural shell shape that turns heads everywhere you carry it. The warm terracotta and rust tones paired with those bold vertical ridges give this purse serious boho desert vibes. And here is the best part. If you can work basic stitches in the round, you can make this crochet pattern your own weekend project.
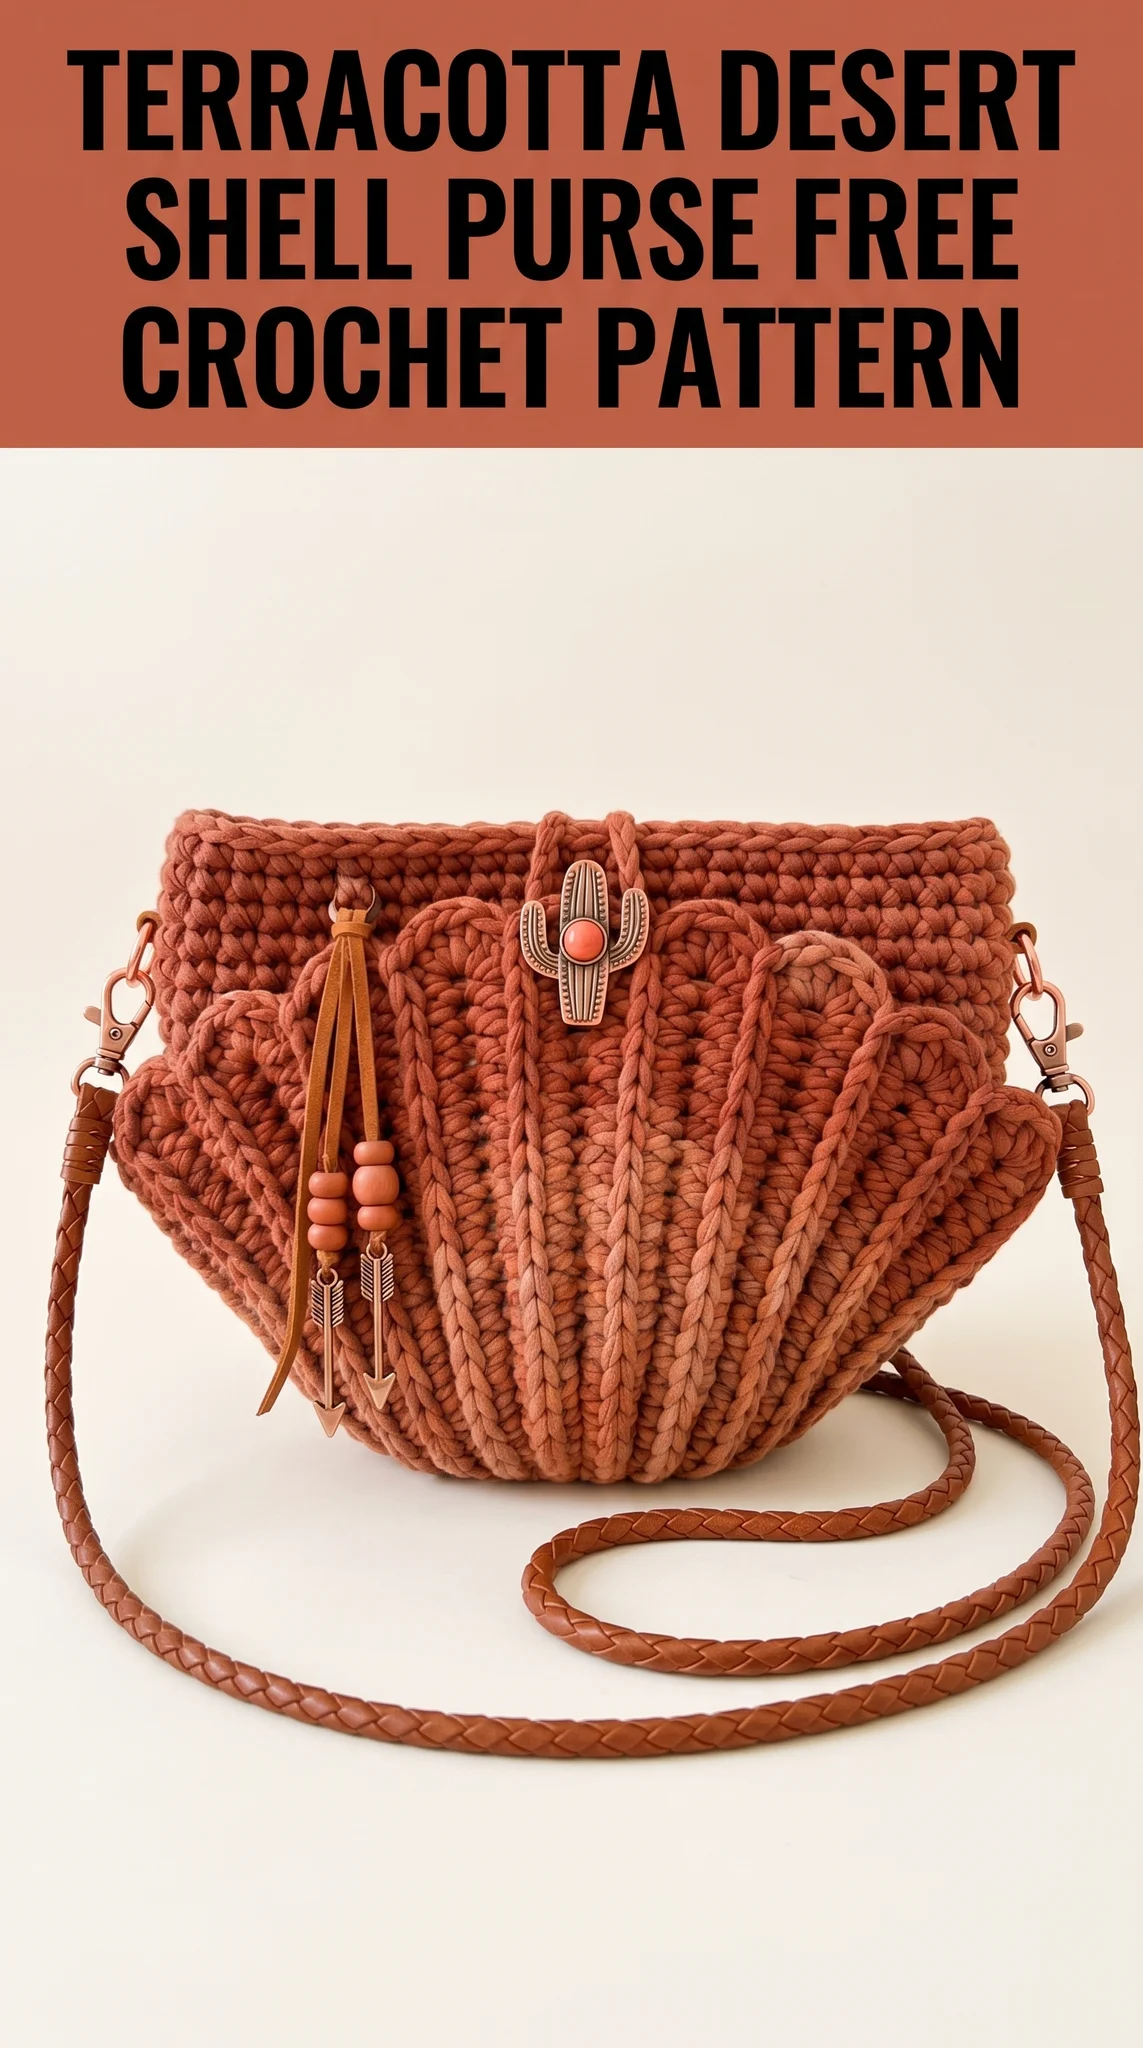
I designed this purse to be both a statement piece and genuinely functional. It fits your phone, wallet, keys, and those little extras we all carry. The shell shape naturally creates depth without complicated shaping. Trust me when I say the construction is far simpler than it looks.
Let me walk you through exactly how to crochet this step by step.
Why This Crochet Pattern Works So Well
Before we dive into the tutorial, let me explain what makes this design special. The shell shape comes from strategic increases worked in a radial pattern from the bottom center. Think of it like crocheting a half circle, then building straight sides up from there.
Those dramatic vertical ridges running from bottom to top are created using surface slip stitch chains applied after the main body is complete. They look intricate but only require a crochet hook and some patience. No fancy stitches needed.
The two-tone color blocking adds visual interest without requiring color changes mid-row. You simply work the bottom section in one shade and the top border in another. Beginner friendly all the way.
Skill Level
Intermediate beginner. You should feel comfortable working in continuous rounds and joining rounds. If you have made a basic beanie or simple bag before, you are ready for this crochet tutorial.
Finished Measurements
Your measurements may vary slightly based on tension and yarn brand.
Materials Needed
Yarn:
I recommend a chunky cotton or cotton blend t-shirt yarn for this project. The dense fabric holds the shell shape beautifully without stretching. Recycled cotton yarn works wonderfully here.
Hook:
Notions:
Gauge
10 single crochet stitches and 11 rows = 4 inches (10 cm) in single crochet worked flat.
Gauge matters here because it affects the final bag size and how well the shell holds its shape. Take a few minutes to check yours before starting.
Abbreviations and Stitch Definitions
Let me define every stitch you will use. Read through these before starting so nothing catches you off guard.
Pattern Notes Before You Begin
This purse is worked in two identical panels, then seamed together along the sides and bottom. Working flat panels means you can easily measure your progress and fix mistakes.
About the shell shape: The bottom starts with increases that create a half-circle or fan shape. Then you work straight rows to build the sides up. Do not stress about perfect symmetry. The finishing details hide minor variations.
About the ridges: These are added after the main panels are complete using surface slip stitch. You will chain directly onto the fabric surface. I explain this in detail below.
Joining rounds: When the pattern says “join,” use a slip stitch to the first stitch of the round unless otherwise noted.
Step by Step Crochet Pattern Instructions
Panel One (Make 2)
Foundation Row:
With MC, ch 4.
Row 1: Sc in 2nd ch from hook, sc in each remaining ch. Ch 1, turn. (3 sc)
Row 2: Inc in first st, sc in next st, inc in last st. Ch 1, turn. (5 sc)
Row 3: Inc in first st, sc across to last st, inc in last st. Ch 1, turn. (7 sc)
Row 4: Inc in first st, sc across to last st, inc in last st. Ch 1, turn. (9 sc)
Row 5: Inc in first st, sc across to last st, inc in last st. Ch 1, turn. (11 sc)
Row 6: Inc in first st, sc across to last st, inc in last st. Ch 1, turn. (13 sc)
Row 7: Inc in first st, sc across to last st, inc in last st. Ch 1, turn. (15 sc)
Row 8: Inc in first st, sc across to last st, inc in last st. Ch 1, turn. (17 sc)
Row 9: Inc in first st, sc across to last st, inc in last st. Ch 1, turn. (19 sc)
Row 10: Inc in first st, sc across to last st, inc in last st. Ch 1, turn. (21 sc)
Row 11: Inc in first st, sc across to last st, inc in last st. Ch 1, turn. (23 sc)
Row 12: Inc in first st, sc across to last st, inc in last st. Ch 1, turn. (25 sc)
Row 13: Inc in first st, sc across to last st, inc in last st. Ch 1, turn. (27 sc)
You have now completed the fan-shaped bottom section. Your piece should look like a wide triangle or half circle.
Building the Straight Sides
Now we work even (no increases) to build the purse walls.
Rows 14-24: Sc in each st across. Ch 1, turn. (27 sc per row)
Work 11 rows total without any increases. This creates the straight sides of your shell shape.
At the end of Row 24, fasten off MC. Do not cut a long tail yet.
Contrast Border Section
Join CC with a slip stitch in the first stitch of Row 24.
Rows 25-30: Sc in each st across. Ch 1, turn. (27 sc per row)
Work 6 rows in the contrast color for the top border.
Row 31 (Top Edge): Sc in each st across. Fasten off, leaving a 6-inch tail. (27 sc)
Repeat the entire panel instructions to create your second panel.
Creating the Vertical Ridge Details
This is where the magic happens. Those bold surface slip stitch chains transform a simple bag into a showstopper.
How Surface Slip Stitch Works:
Hold your yarn behind the crocheted panel. Insert your hook from front to back through the fabric between stitches. Yarn over and pull up a loop to the front. You now have one loop on your hook. Insert the hook through the next row up, yarn over, pull through fabric AND through loop on hook. This creates a chain that sits on the surface.
Placement:
Starting at the bottom point of each panel, create 5 vertical ridge lines that radiate outward like the ribs of a shell or fan.
Work all ridges in MC yarn for a tone-on-tone textured effect.
Do not stress about perfect placement. The organic variation makes each purse unique.
Assembling the Purse
Step 1: Align Panels
Place both panels with wrong sides together (ridges facing outward on both sides). Line up the edges carefully.
Step 2: Seam the Sides and Bottom
Using MC and your tapestry needle, whip stitch or mattress stitch along both side edges and the bottom pointed edge. Leave the top edge completely open.
Alternatively, you can single crochet the panels together through both layers for a decorative raised seam. This creates a neat braided look along the edges.
Step 3: Attach Hardware
On each side of the purse opening, fold down approximately 1 inch of fabric to create a loop. Stitch in place, securing the D-ring hardware inside the loop. The swivel clasps will attach to these D-rings.
Adding the Closure and Strap
Decorative Clasp:
Position your southwestern-style clasp (the cactus design shown works perfectly) centered on the front panel, about 1 inch below the top edge. Many decorative clasps have prongs that push through the fabric and bend flat on the inside. Follow your specific hardware instructions.
Leather Strap:
Clip your braided leather crossbody strap to the swivel clasps on each side. A 45-50 inch strap provides comfortable crossbody length for most adults.
Optional Embellishments:
The tassel shown features a leather fringe, wooden beads, and arrow charms. Attach this to one of the D-rings or clasp for extra southwestern flair. This is completely optional but adds beautiful movement.
Helpful Tips for Success
Blocking: Wet blocking your panels before assembly helps even out stitches and encourages the shell shape to lay flat.
Yarn choice: Stiffer yarns like cotton or acrylic-cotton blends hold the structure better than soft merino or bamboo.
Hardware: Search “purse hardware” or “bag making supplies” online for swivel clasps and D-rings. Many craft stores stock these in their leather crafting section.
Color variations: This design looks stunning in cream and sage, navy and dusty rose, or classic black and gray. Make it your own.
Caring for Your Finished Purse
Spot clean with mild soap and water. Lay flat to dry. The cotton yarn may stretch slightly with heavy use, which is normal. Store stuffed with tissue paper to maintain the shell shape.
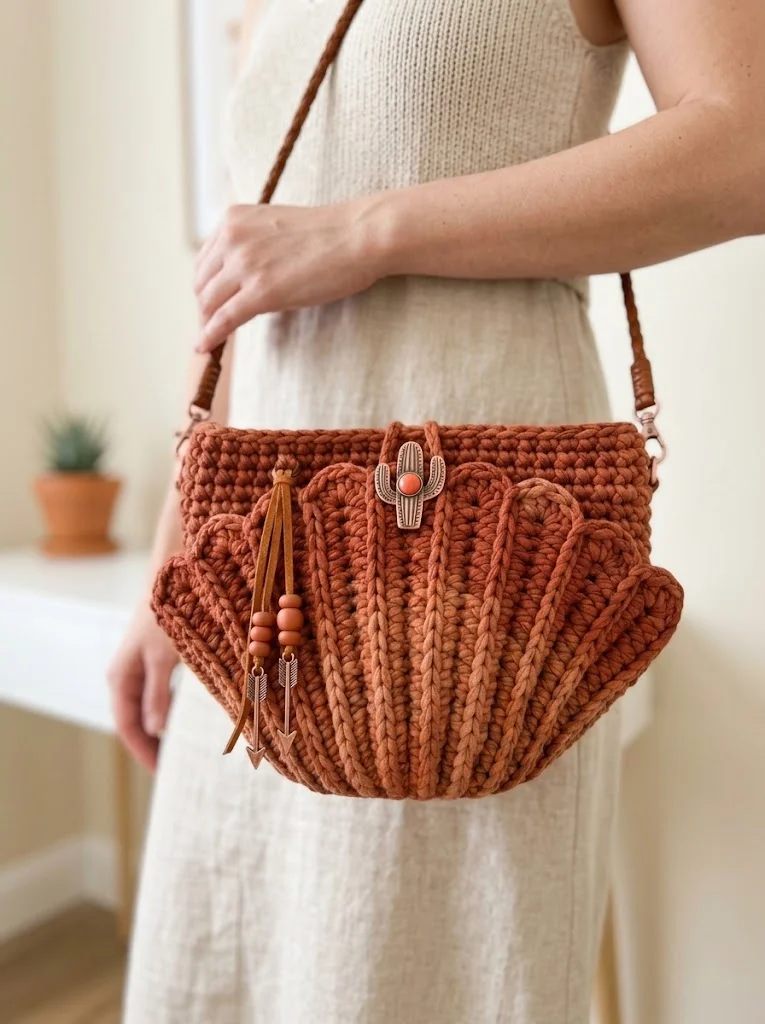
Final Thoughts on the Terracotta Desert Shell Purse Crochet Pattern
You did it. You now have everything you need to create this gorgeous Terracotta Desert Shell Purse from start to finish. The combination of simple stitches, strategic shaping, and those stunning surface crochet ridges makes this project both satisfying to work and impressive to wear.
I genuinely hope this crochet tutorial gives you the confidence to dive in. The first panel teaches you everything. The second one flies by.
Thank you so much for choosing this pattern and trusting me with your crafting time. It means more than you know.
When you finish your purse, I would absolutely love to see it. Tag me on Instagram or share in our Facebook group so I can cheer you on. Seeing your creations in different colors and with your personal touches is honestly the highlight of my week.
Happy crocheting, friend. You have got this.