Coral Sunset Gradient Chain Purse Free Crochet Pattern
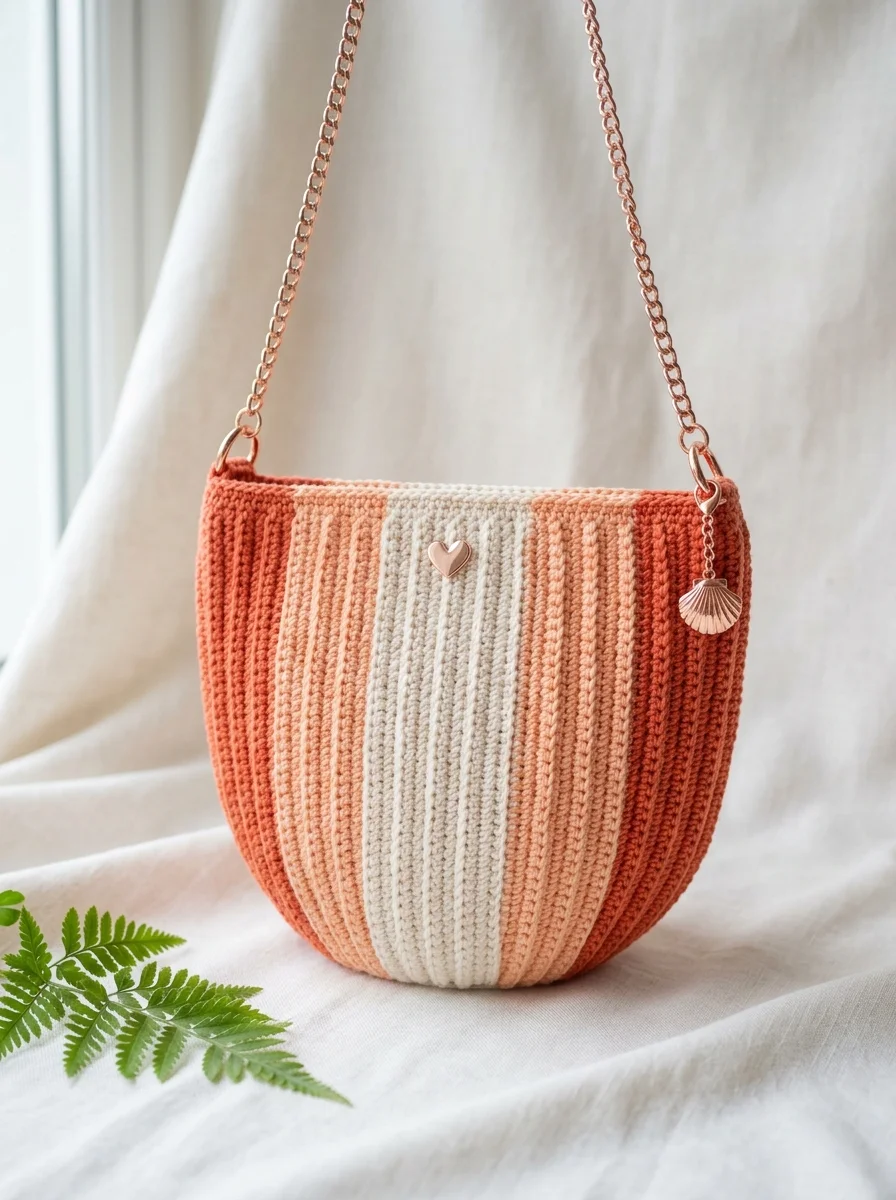
This little shoulder bag is one of those projects that looks way more impressive than it actually is to make. The Coral Sunset Gradient Chain Purse features gorgeous vertical ribbing, a smooth color gradient from terracotta to cream, and elegant hardware that elevates the whole piece. If you can work basic stitches in the round, you can absolutely make this bag.
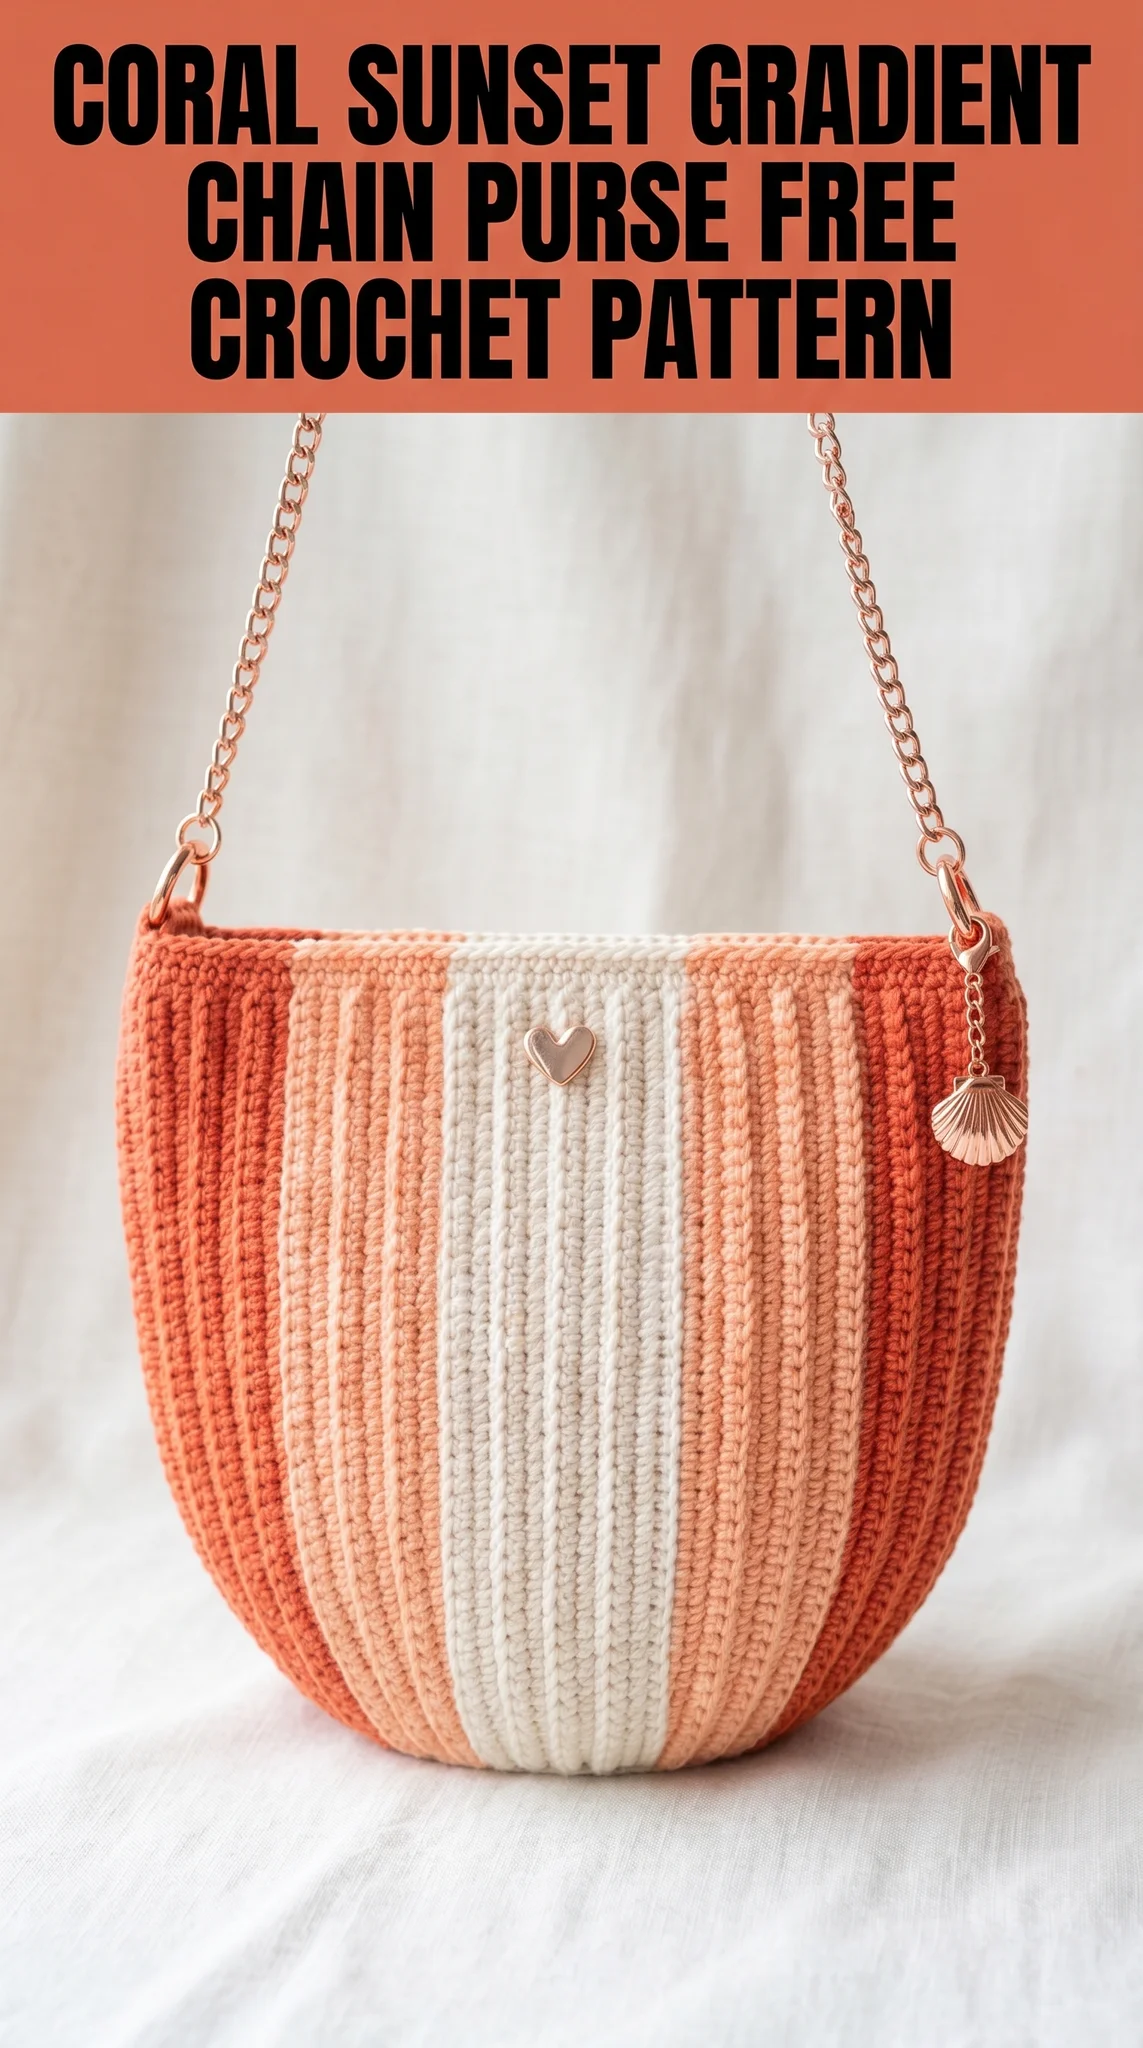
I designed this crochet pattern to be beginner friendly while still creating that polished, boutique look we all love. The ribbed texture comes from a simple technique, and the rounded bottom shape happens almost magically as you work. Let me walk you through every step.
Why This Crochet Purse Pattern Works So Well
The secret to this bag’s beautiful drape and structure is the ribbed stitch pattern combined with a sturdy cotton yarn. Those vertical lines you see running from top to bottom create a fabric that holds its shape without being stiff. It stretches just enough to be functional but snaps back into place.
The gradient effect uses four coordinating colors: a deep terracotta, a warm coral, a soft peach, and a creamy off-white. You will work color changes in vertical stripes rather than horizontal rows, which gives that modern ombre look without any complicated colorwork techniques.
This crochet tutorial breaks everything down into manageable sections. We will start with the rounded base, build up the sides, add the ribbed texture, finish the top edge, and attach the chain strap. Each section has its own clear instructions with stitch counts so you always know where you are.
Materials You Will Need
Yarn:
I recommend mercerized cotton for this project. It has a slight sheen that makes the stitches pop and holds up beautifully to everyday use. Regular cotton works fine too, but the finished look will be more matte.
Hook:
A smaller hook than usual for sport weight creates the dense, sturdy fabric you need for a bag. If your stitches look loose and floppy, go down a hook size.
Notions:
Finished Dimensions
Gauge
18 stitches and 20 rows = 4 inches in single crochet worked in the round
Gauge matters for bags because you want a tight, sturdy fabric. Take time to check yours before diving into the full pattern.
Skill Level
Advanced Beginner to Intermediate
You should be comfortable with:
If some of these techniques are new to you, do not worry. I explain each one as we go.
Abbreviations and Stitch Definitions
Before we start, here are all the abbreviations you will encounter in this step by step crochet pattern:
ch = chain: Wrap yarn over hook, pull through loop on hook. This creates the foundation loops.
sl st = slip stitch: Insert hook, yarn over, pull through stitch and loop on hook in one motion. Used for joining and moving across stitches.
sc = single crochet: Insert hook into stitch, yarn over and pull up a loop (2 loops on hook), yarn over and pull through both loops. The most basic and commonly used stitch.
hdc = half double crochet: Yarn over, insert hook into stitch, yarn over and pull up a loop (3 loops on hook), yarn over and pull through all 3 loops. Slightly taller than single crochet.
inc = increase: Work 2 stitches into the same stitch. This adds one stitch to your count.
BLO = back loop only: Instead of inserting your hook under both loops at the top of a stitch, insert it under only the back loop (the one furthest from you). This creates the ribbed texture.
st(s) = stitch(es)
rnd(s) = round(s)
The Pattern Instructions
Part One: The Rounded Base
We begin at the very bottom center of the bag and work outward in an oval shape. This creates that lovely curved silhouette.
Using Color A (terracotta) and your 3.0mm hook:
Foundation: Ch 15.
Round 1: Starting in the 2nd ch from hook, sc in each of the next 13 ch. In the last ch, work 3 sc (this turns the corner). Now working along the opposite side of the foundation chain, sc in each of the next 12 ch. Work 2 sc in the last ch. Do not join. Place a stitch marker in the first stitch of the round and move it up as you work. (30 sts)
Round 2: Inc in first st, sc in next 12 sts, inc in next 3 sts, sc in next 12 sts, inc in next 2 sts. (36 sts)
Round 3: Sc in first st, inc in next st, sc in next 12 sts, (sc in next st, inc in next st) 3 times, sc in next 12 sts, (sc in next st, inc in next st) 2 times. (42 sts)
Round 4: Sc in first 2 sts, inc in next st, sc in next 12 sts, (sc in next 2 sts, inc in next st) 3 times, sc in next 12 sts, (sc in next 2 sts, inc in next st) 2 times. (48 sts)
Round 5: Sc in first 3 sts, inc in next st, sc in next 12 sts, (sc in next 3 sts, inc in next st) 3 times, sc in next 12 sts, (sc in next 3 sts, inc in next st) 2 times. (54 sts)
Round 6: Sc in first 4 sts, inc in next st, sc in next 12 sts, (sc in next 4 sts, inc in next st) 3 times, sc in next 12 sts, (sc in next 4 sts, inc in next st) 2 times. (60 sts)
Your base should now measure approximately 5.5 inches long and 3 inches wide. It will look like a flat oval. Perfect.
Part Two: Building the Sides
Now we stop increasing and work straight up to create the bag walls. This is where the magic of the ribbing begins.
Round 7: Working in BLO only for this entire round, sc in each st around. (60 sts)
This single round of BLO creates a crisp edge where the base meets the sides. You will see a visible ridge form. This is exactly what we want.
Rounds 8 through 12: Sc in both loops of each st around. (60 sts per round)
Continue working in standard single crochet for 5 more rounds. The sides should start curving upward nicely.
Part Three: The Ribbed Body with Color Gradient
Here is where your bag transforms with that gorgeous ribbed texture and gradient coloring. We switch to BLO for the remainder of the bag body. This creates the vertical ribbing effect.
Color Placement Guide:
The bag has 60 stitches around. We divide these into color sections:
This creates the symmetrical gradient stripe pattern you see in the finished bag.
How to manage multiple colors:
You have two options here. You can carry the unused yarns along the inside of the bag (this works well for short color sections), or you can use separate small balls and pick them up as needed. I prefer carrying the yarn for this project because the sections are small enough that it does not create bulk.
Rounds 13 through 35: Working in BLO throughout, sc in each st around, changing colors according to the placement guide above. (60 sts per round, 23 rounds total)
Color change technique: When you reach the last stitch before a color change, work the sc until you have 2 loops on your hook. Drop the old color, pick up the new color, and pull it through both loops to complete the stitch. The new color is now active. Carry the old color loosely along the inside.
At the end of Round 35, your bag body should measure approximately 5.5 to 6 inches tall from the base ridge.
Part Four: The Top Edge
We finish with a clean, sturdy edge that will support the strap hardware.
Round 36: Still using your working colors in their sections, work in both loops (not BLO) for this round. Sc in each st around. (60 sts)
Round 37: Repeat Round 36. Sc in each st around in both loops. (60 sts)
Round 38 (Final Round): Sl st in each st around. Fasten off and weave in all ends securely.
The slip stitch round creates a nice finished edge and slightly pulls the top inward for a polished look.
Part Five: Finishing and Hardware
Weave in all yarn tails. Use your tapestry needle to work ends through several stitches on the wrong side (inside) of the bag. Trim close.
Attach D-rings for the strap:
Locate the side points of your bag, directly above where the curved ends of the base are. Using a matching yarn color, attach yarn to the top edge at one side point.
Ch 8, sl st into the top edge 4 stitches away from where you started. This creates a small loop. Sl st along the loop to reinforce it, then fasten off.
Thread your D-ring onto this loop before closing it, or attach it after using a jump ring.
Repeat on the opposite side.
Attach the chain strap:
Open the end links of your chain and thread them through the D-rings. Close securely with pliers.
Optional embellishments:
I added a small gold seashell charm to one side for a summery touch, and a tiny heart pin near the center. These little details make the bag feel special but are completely optional.
Tips for Success with This Crochet Pattern
Tension consistency is everything. Because you are working in BLO, any variation in your tension will show more than usual. Try to maintain even pressure on your yarn throughout each round.
Count your stitches regularly. With color changes happening every round, it is easy to accidentally skip a stitch. Count at least every few rounds to catch mistakes early.
Block your finished bag if needed. Wet blocking can even out any uneven stitches and help the bag hold its shape. Stuff it with plastic bags or tissue paper while drying.
Consider adding a lining. While this bag is sturdy enough to use as is, a fabric lining adds polish and prevents small items from poking through.
Customization Ideas
This how to crochet tutorial gives you a solid foundation, but feel free to make it your own:
Wrapping Up the Coral Sunset Gradient Chain Purse Pattern
You did it. Or you are about to do it. Either way, I am so excited for you to make this beautiful little bag.
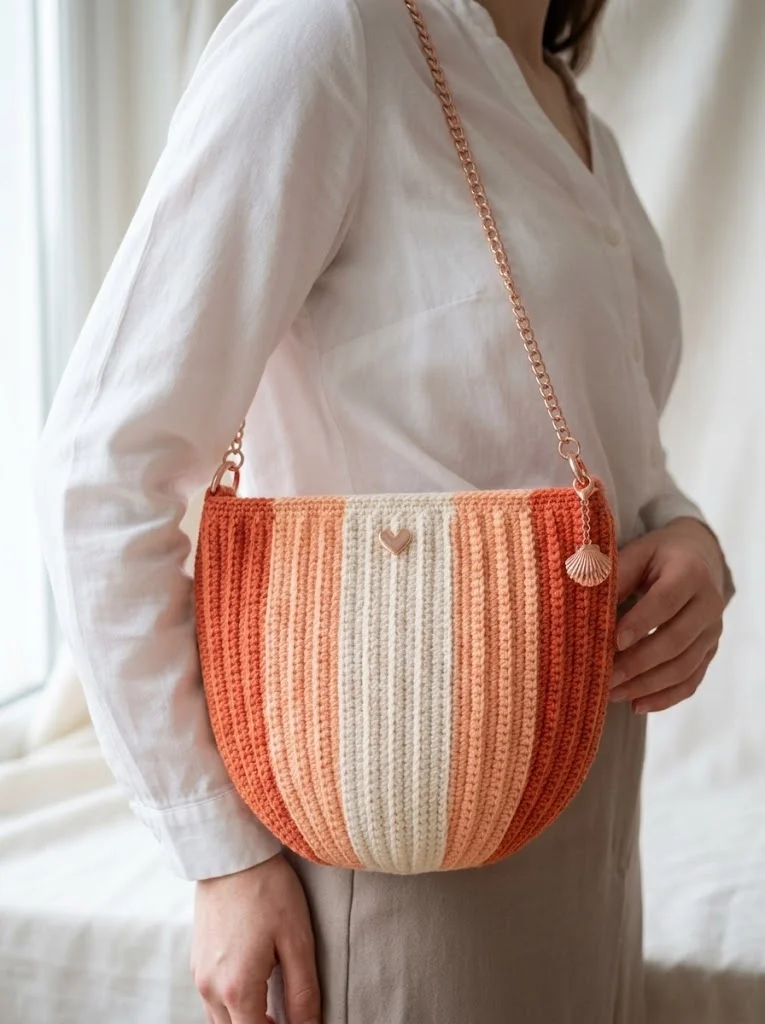
This Coral Sunset Gradient Chain Purse crochet pattern combines simple stitches with thoughtful design to create something that looks and feels like you spent way more time on it than you actually did. The ribbing, the gradient, the elegant hardware. It all comes together into a bag you will actually want to carry everywhere.
Thank you so much for choosing this pattern and for trusting me to guide you through it. I genuinely appreciate you being here.
When you finish your bag, I would absolutely love to see it. Tag me on Instagram or share in my Facebook group. Seeing your makes is honestly the best part of doing this.
Happy hooking, friend. You have got this.