Blush Pink Shell Clutch with Pearl Accents Free Crochet Pattern
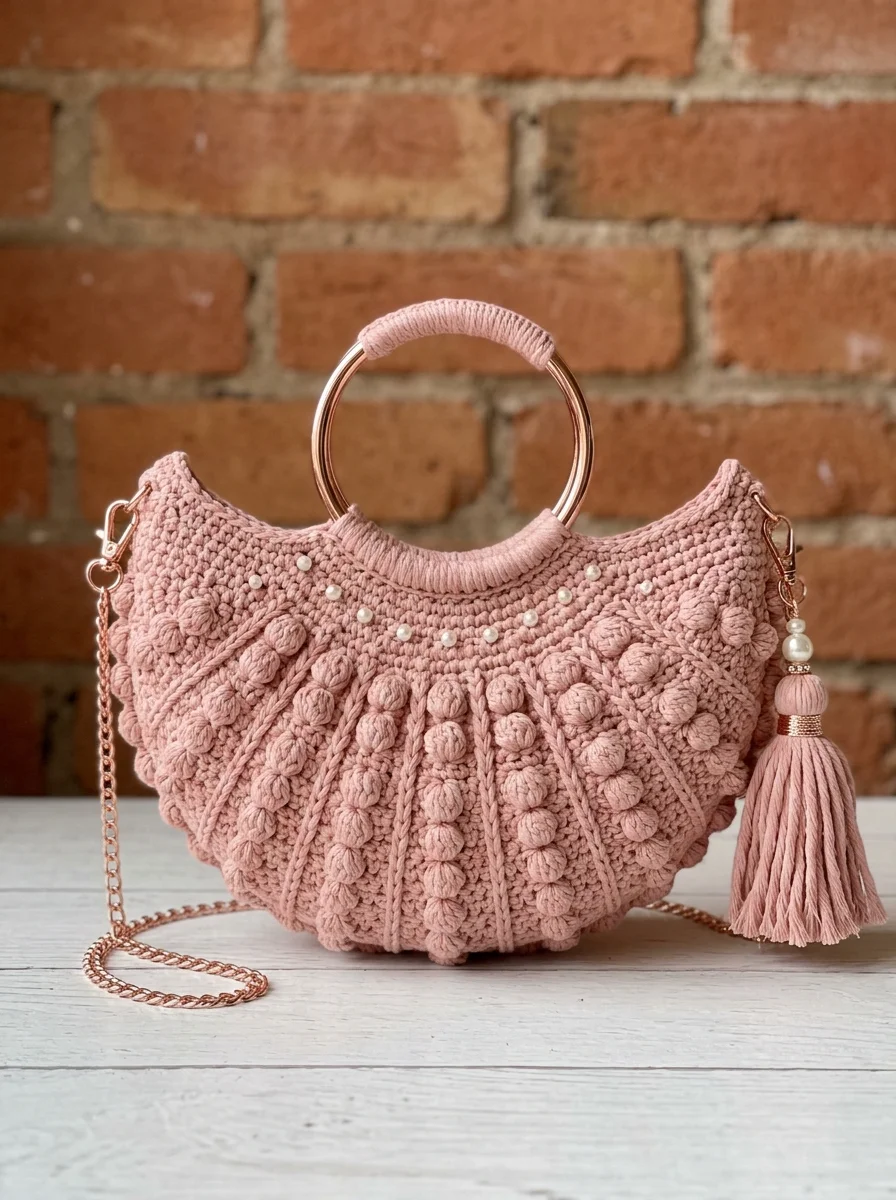
This gorgeous shell-shaped clutch bag is about to become your new favorite accessory project. The blush pink shell clutch combines romantic bobble texture with elegant pearl embellishments and rose gold hardware for a bag that looks straight off a boutique shelf. I promise you can make this even if textured stitches feel intimidating right now.
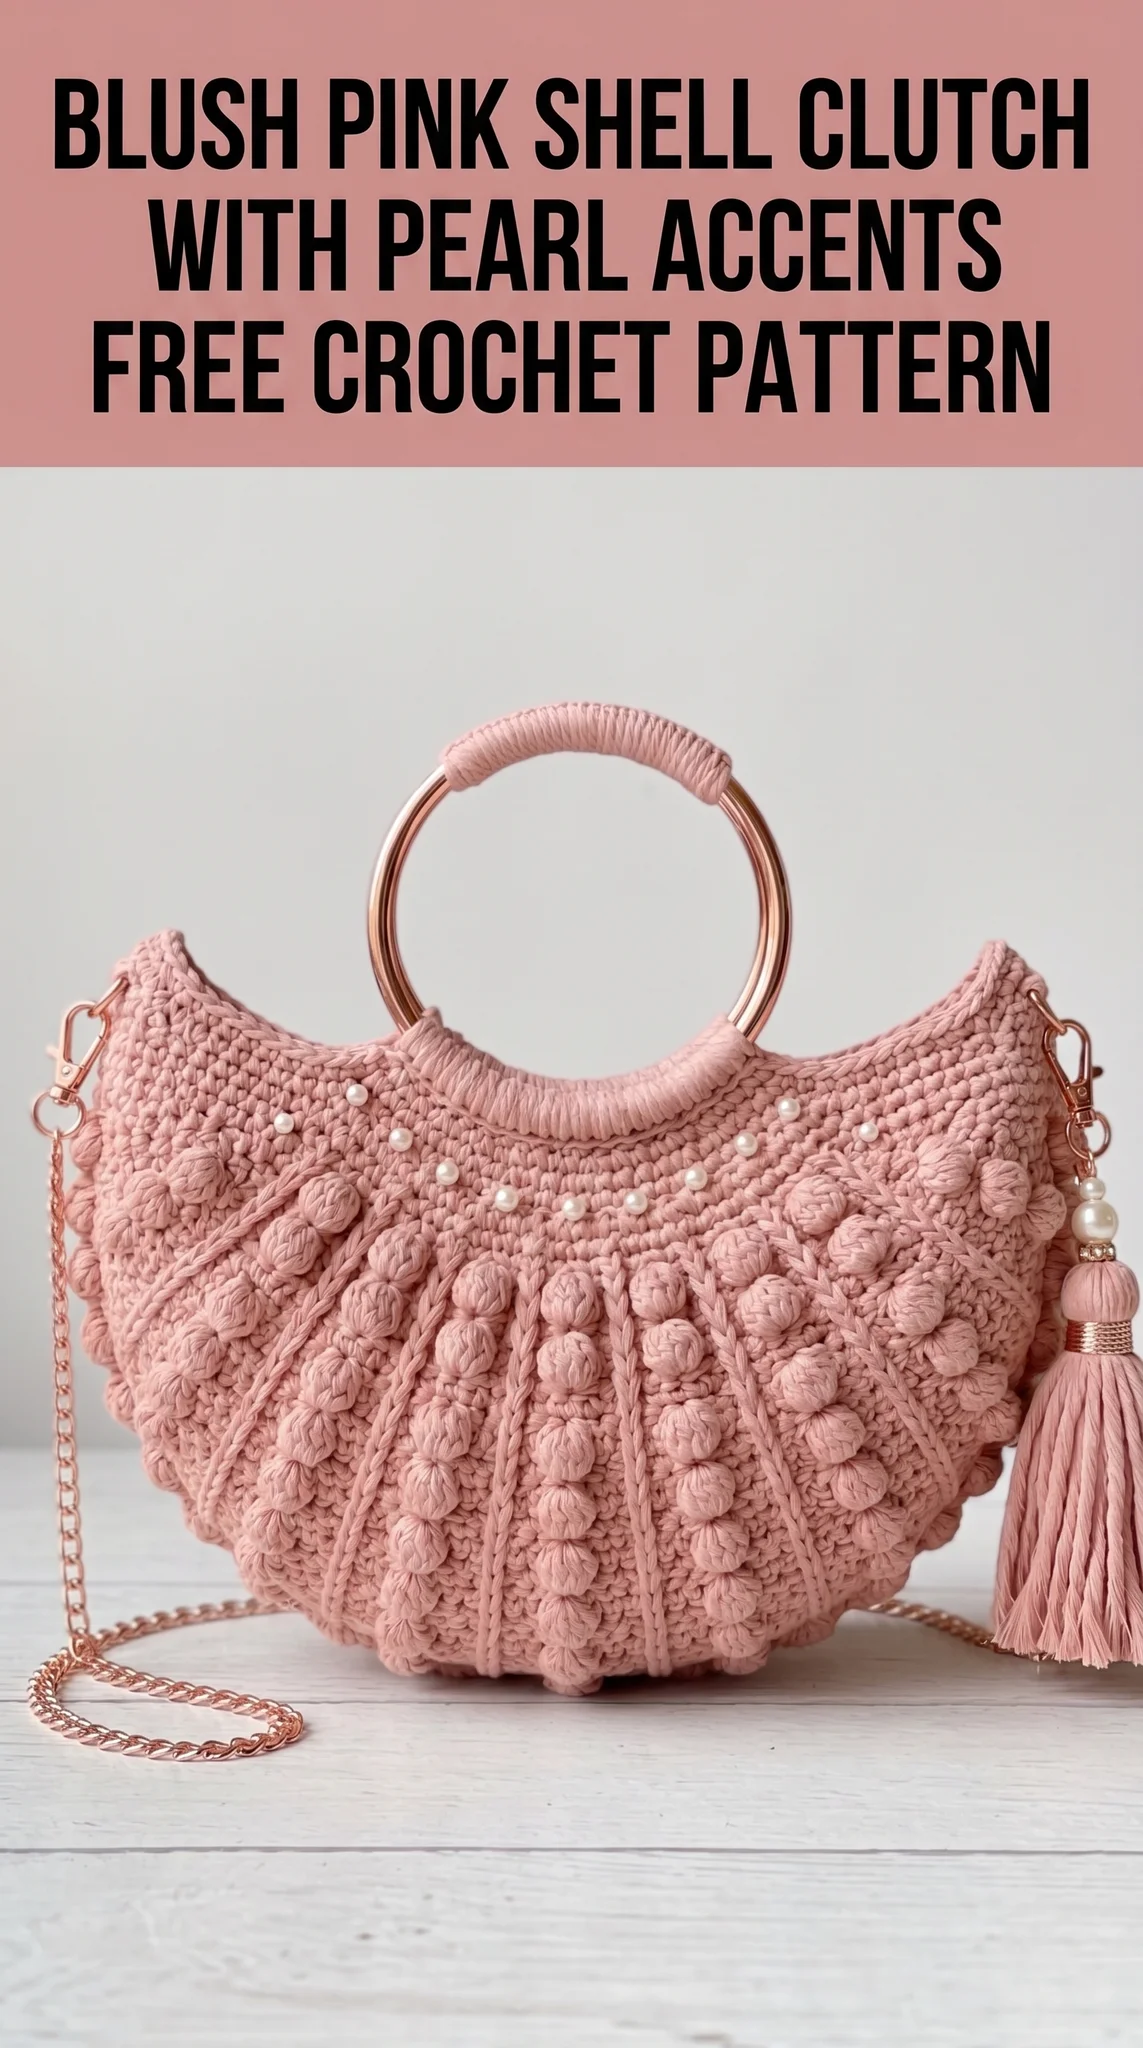
This crochet pattern uses techniques you probably already know, just combined in a fresh way. We are talking single crochet, bobble stitches, and some simple shaping. The pearl accents get sewn on at the end, so no tricky bead integration while you work. Let me walk you through every single step.
Why You Will Love This Crochet Tutorial
The crescent moon silhouette of this clutch makes it stand out from typical rectangular bags. That curved bottom edge creates visual interest while the structured top stays flat for easy opening and closing.
The texture combination is what really makes this piece special. Vertical ribbed panels alternate with bobble stitch columns, giving you that dimensional look without overwhelming the design. Those little pearl beads scattered across the upper section add just enough sparkle for evening events.
This step by step crochet pattern works up faster than you might expect. The cotton yarn holds its shape beautifully, and the rose gold ring handle plus chain strap transform your handmade work into something truly polished.
Materials You Will Need
Yarn:
Hook:
Hardware:
Notions:
For the Tassel:
Skill Level and Gauge
This crochet pattern rates as intermediate level. You should feel comfortable with basic stitches and be ready to try bobble stitches if they are new to you.
Gauge: 18 stitches and 20 rows equals 4 inches in single crochet with 4.0mm hook.
Gauge matters here because the bag needs enough structure to hold its shape. If your fabric feels floppy, go down a hook size.
Stitch Abbreviations and Definitions
Let me explain every stitch before we start so nothing catches you off guard.
Chain (ch): The foundation loops that start most projects. Yarn over, pull through the loop on your hook.
Single Crochet (sc): Insert hook into stitch, yarn over and pull up a loop (2 loops on hook), yarn over and pull through both loops. This creates a short, dense stitch.
Bobble Stitch (bob): This creates those puffy dimensional bumps you see all over the bag. To make one bobble, work 5 double crochets into the same stitch but only pull through the first 2 loops each time. You will have 6 loops on your hook. Yarn over and pull through all 6 loops at once. The bobble pops to the front of your work.
Back Loop Only (BLO): Instead of inserting your hook under both top loops of a stitch, go under just the back loop. This creates ribbed texture.
Front Post Double Crochet (FPdc): Yarn over, insert hook from front to back around the post (vertical part) of the stitch below, complete as a regular double crochet. This raises the stitch for cable-like texture.
Slip Stitch (sl st): Insert hook, yarn over, pull through stitch and loop on hook in one motion. Used for joining and creating invisible stitches.
Increase (inc): Work 2 stitches into one stitch to add width.
Decrease (dec): Work 2 stitches together to reduce width.
Understanding the Construction
Before diving into the pattern, here is how this clutch comes together. Understanding the big picture helps everything make sense.
You will crochet two identical shell-shaped panels. Each panel starts at the curved bottom edge and works upward toward the flat top. The textured pattern creates vertical columns of ribbing and bobbles.
Once both panels are complete, you join them along the sides and bottom curve. The ring handle attaches at the top center, and the chain strap connects at the upper corners. Pearl beads get sewn on last, and the tassel clips to one side.
Does that make sense? Good. Let us begin.
Blush Pink Shell Clutch Crochet Pattern Instructions
Panel One (Make Two Identical Pieces)
Foundation Row:
Ch 46.
Row 1: Sc in 2nd ch from hook and in each ch across. Turn. (45 sts)
Row 2: Ch 1, sc in BLO of each st across. Turn. (45 sts)
Row 3: Ch 1, sc in BLO of each st across. Turn. (45 sts)
These first rows establish your base with subtle horizontal ribbing.
Row 4 (Begin Texture Pattern):
Ch 1, sc in first 3 sts, *bob in next st, sc in next 4 sts, FPdc around post of st 2 rows below, sc in next 4 sts*, repeat from * to * across, ending with sc in last 3 sts. Turn. (45 sts including bobbles)
Here is where the magic starts happening. Do not worry if your bobbles feel awkward at first. They get easier with every repeat.
Row 5: Ch 1, sc in BLO of each st across, working into the top of each bobble as you come to it. Turn. (45 sts)
Row 6: Ch 1, sc in first 3 sts, *sc in next st (where bobble was), sc in next 4 sts, FPdc around the FPdc from 2 rows below, sc in next 4 sts*, repeat pattern across, sc in last 3 sts. Turn. (45 sts)
Row 7: Ch 1, sc in BLO of each st across. Turn. (45 sts)
Row 8: Ch 1, sc in first 3 sts, *bob in next st, sc in next 4 sts, FPdc around post from 2 rows below, sc in next 4 sts*, repeat across, sc in last 3 sts. Turn. (45 sts)
Continue repeating Rows 5 through 8 for the texture pattern.
Rows 9 through 24: Continue established pattern, working bobbles every 4th row and FPdc columns every right side row. (45 sts each row)
You should see clear vertical lines forming with bobble clusters between them. The front post stitches create those raised cable-like ridges.
Shaping the Shell Curve
Now we create that beautiful curved silhouette by working decreases at each end.
Row 25: Ch 1, sc2tog over first 2 sts, continue pattern across to last 2 sts, sc2tog. Turn. (43 sts)
Row 26: Ch 1, sc in BLO of each st across. Turn. (43 sts)
Row 27: Ch 1, sc2tog, work pattern to last 2 sts, sc2tog. Turn. (41 sts)
Row 28: Ch 1, sc in BLO across. Turn. (41 sts)
Continue decreasing 2 stitches every other row (one at each edge) while maintaining your texture pattern as much as possible.
Rows 29 through 36: Continue shaping and pattern. (33 sts after Row 36)
When your bobble columns would fall on decrease stitches, simply work single crochet instead. The pattern naturally narrows, and that is exactly what we want.
Rows 37 through 40: Work even in pattern without decreases. (33 sts)
Top Edge
Row 41: Ch 1, sc across evenly. Turn. (33 sts)
Row 42: Ch 1, sc in BLO across. Turn. (33 sts)
Row 43: Ch 1, sc across. Fasten off and weave in ends. (33 sts)
Second Panel
Repeat all instructions to create your second matching panel.
Joining the Panels
Place both panels with wrong sides together. The bobbles should face outward on both sides.
Joining Round:
Attach yarn at upper right corner. Working through both layers, sc evenly down the right side, across the curved bottom, and up the left side. Leave the top edge open.
Use approximately 3 sc per 2 row ends along the sides. Around the curve, work 2 sc in each row end to accommodate the shape without puckering.
Sl st to join. Fasten off.
Attaching the Ring Handle
This step looks impressive but is actually quite simple.
Wrapping the Handle Section:
Cut a 3-yard length of yarn. Starting at one end of where the handle meets the bag, wrap yarn tightly around the metal ring. Continue wrapping until about 3 inches of the ring is covered.
Securing to Bag:
Position the wrapped portion at the top center of the bag. Using yarn needle, sew through the wrapping and into the bag fabric to secure firmly. Work at least 10 to 12 secure stitches.
Adding the Chain Strap
Attach one D-ring to each upper corner of the bag where the side seam meets the top edge. Use yarn to create a small tab or sew directly through the hardware.
Clip your chain strap to the D-rings. Test the length and adjust if needed.
Pearl Embellishments
Thread your sewing needle with matching thread. Position pearls in a curved arc across the upper portion of one panel, spacing them about 1 inch apart.
Sew each pearl securely with several passes through the bead and fabric. Add pearls to the second side if desired.
Creating the Tassel
Wrap yarn around a 4-inch piece of cardboard approximately 40 times. Slide off and tie tightly at one end. Cut the loops at the opposite end.
Wrap yarn around the tassel about half an inch below the tied top to create the head. Thread the decorative bead cap and pearl onto the top tie.
Attach tassel to one D-ring or create a separate clip attachment.
Finishing Touches
Weave in all remaining ends securely. Block lightly if needed by spritzing with water and shaping.
For extra durability, consider adding a fabric lining. Cut fabric to match your panel shape plus seam allowance, sew together, and hand stitch inside the bag.
Tips for Success with This Crochet Pattern
Bobble consistency: Try to keep your tension even on every bobble. Looser bobbles will look larger, which can throw off your design.
Counting stitches: After each texture row, count your stitches. The bobbles count as one stitch each.
Blocking: Cotton holds blocking well. Pin your panels flat before joining if the edges are curling.
Hardware quality: Invest in nice hardware. It makes your handmade bag look professionally finished.
Customization Ideas
This beginner friendly base pattern (once you master those bobbles) adapts beautifully to your personal style.
Try cream yarn with gold hardware for a bridal clutch. Swap pearl beads for crystal or wooden beads. Use leather handles instead of metal rings. Make the tassel longer or skip it entirely.
The shell shape works in any color. Navy looks sophisticated. Mustard feels boho. Black goes everywhere.
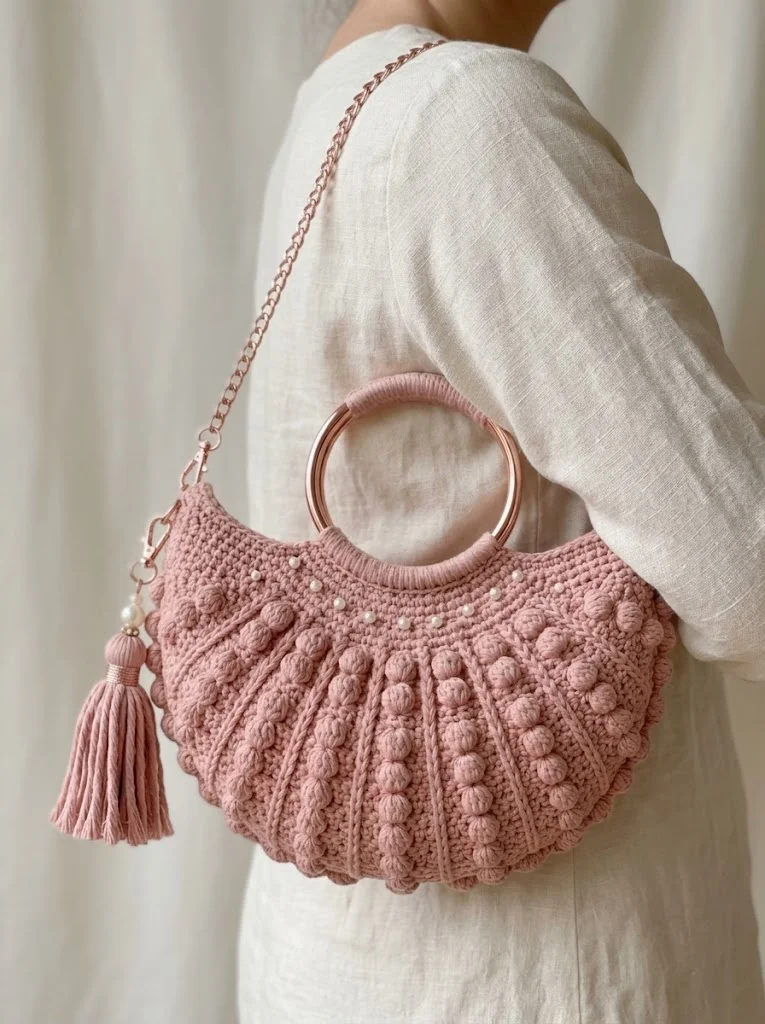
Final Thoughts on Your New Blush Pink Shell Clutch
You now have everything needed to create this stunning shell clutch from start to finish. The combination of texture techniques, elegant hardware, and those sweet pearl accents makes this bag a real showstopper.
Take your time with the bobble stitches. They will click, I promise. And when you hold that finished clutch in your hands, you will feel so proud of what you created.
Thank you for trusting me with your next crochet project. I genuinely cannot wait to see your finished bags.
Tag me on Instagram or share in our Facebook group when you complete your clutch. Seeing your versions of my patterns is truly the best part of this whole thing.
Happy crocheting, friend. You have got this.