Lavender Purple Drawstring Bucket Bag Free Crochet Pattern
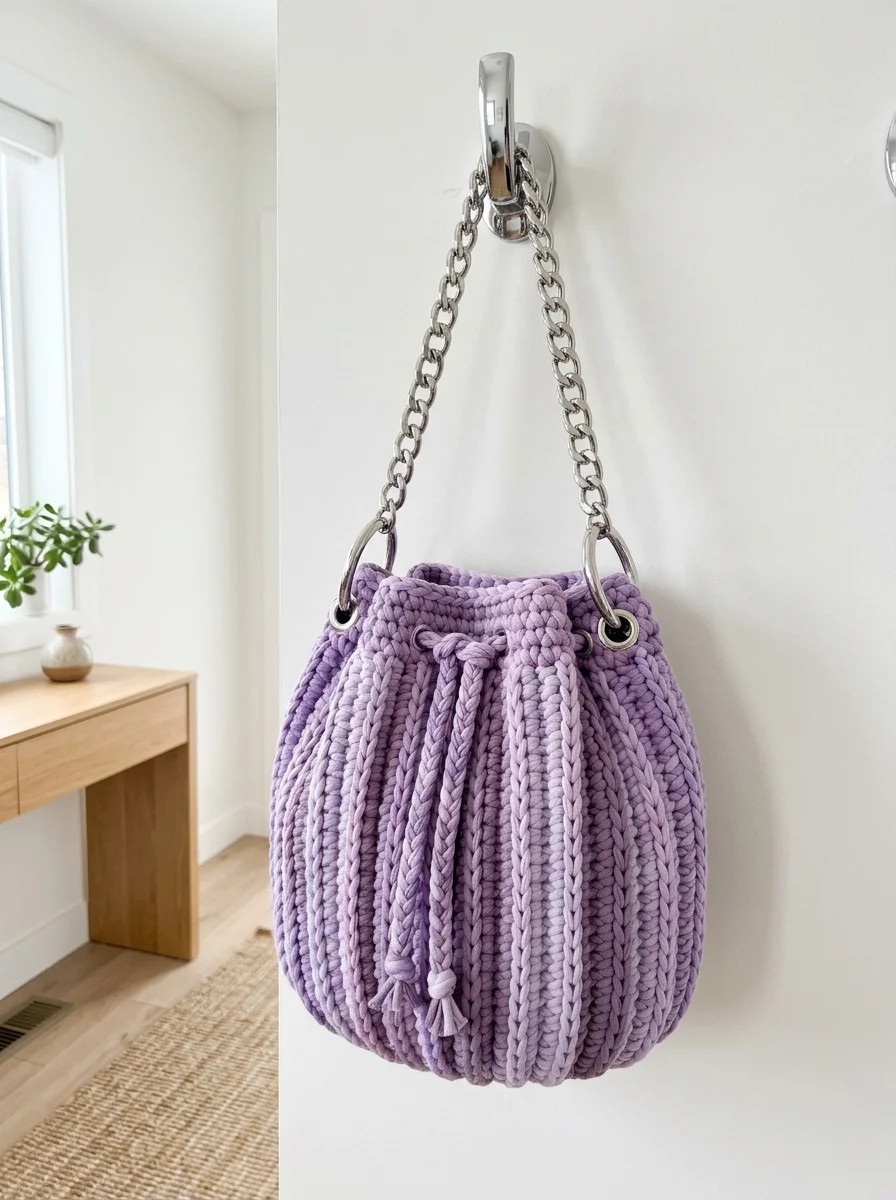
You are going to love making this bag. The lavender purple drawstring bucket bag combines trendy ribbed texture with a classic silhouette that works for everyday errands or a night out. The silver chain strap and metal rings give it that designer look, but you can absolutely make this yourself at home.
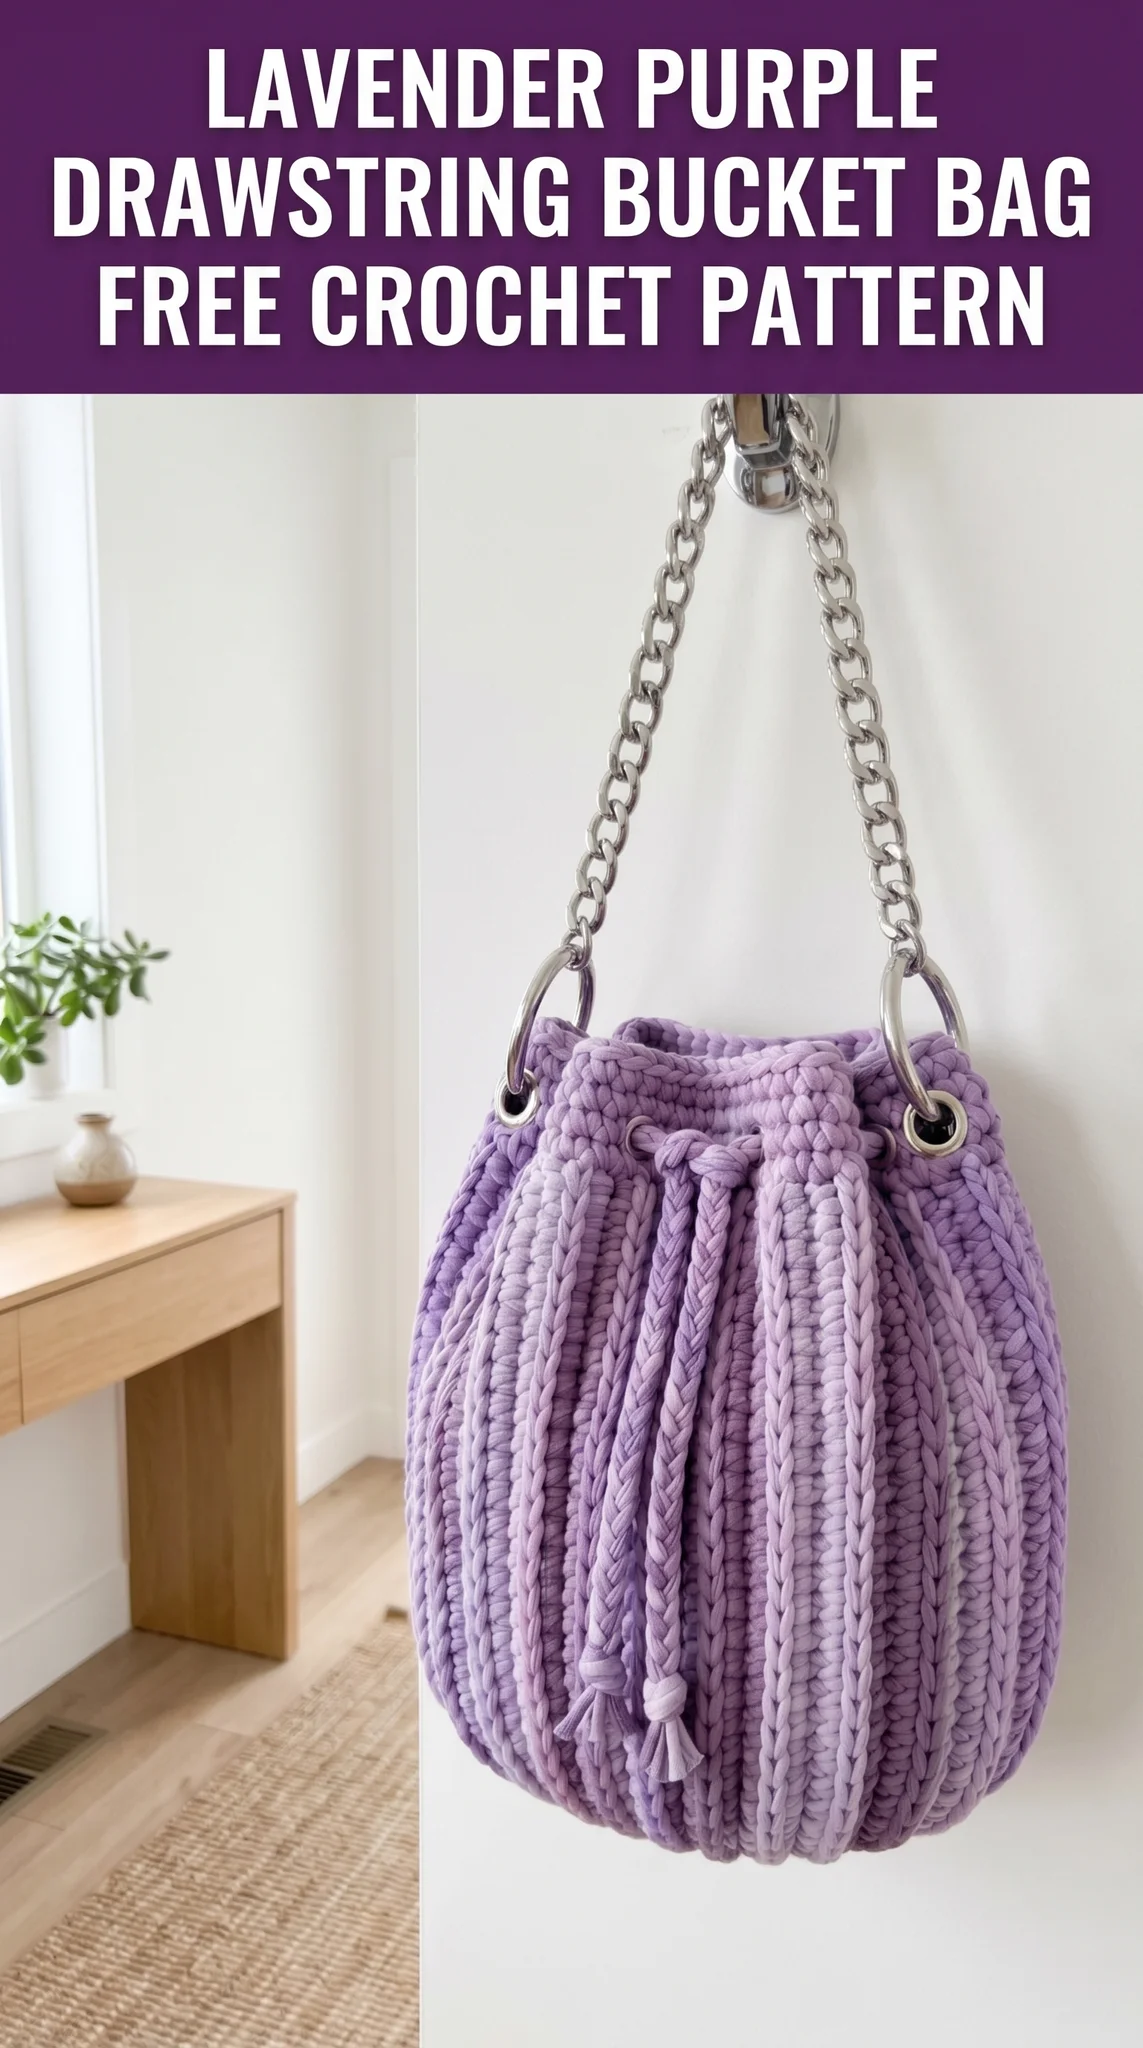
I designed this crochet pattern to work up quickly using chunky t-shirt yarn. The construction is simpler than it looks. You will work from the bottom up in continuous rounds, add some surface crochet for those gorgeous vertical stripes, then finish with a drawstring channel and hardware. Even if you have never made a bag before, you can handle this project.
Let me walk you through everything you need to create your own stunning bucket bag.
Why This Crochet Bucket Bag Pattern Works So Well
The secret to this bag is the yarn choice. T-shirt yarn (also called trapillo or ribbon yarn) creates that plush, rounded shape you see in the photos. It holds its structure beautifully without any lining or interfacing. The chunky weight means fewer rounds to complete, so you will have a finished bag in just a few evenings.
The two-tone lavender color scheme adds visual interest without complicated colorwork. You will work the main body in a deeper purple shade, then add lighter lavender surface chains vertically. This technique creates the striped effect that makes the bag look so polished.
Skill level: Confident beginner to intermediate. If you can single crochet in the round and have tried surface crochet (or are willing to learn), you are ready for this crochet tutorial.
Materials You Will Need
Gather these supplies before you start. Having everything ready makes the process so much more enjoyable.
Yarn:
Hook:
Notions:
Gauge:
8 single crochet stitches and 8 rounds = 4 inches (10cm) in continuous single crochet with t-shirt yarn
Check your gauge before starting. T-shirt yarn varies widely between brands. Your bag should feel sturdy but not stiff.
Stitches and Abbreviations Used
Let me break down every stitch you will encounter in this step by step pattern. No surprises here.
Chain (ch): Yarn over, pull through the loop on your hook. This creates a foundation or adds height to your work.
Slip stitch (sl st): Insert hook, yarn over, pull through both the stitch and the loop on your hook in one motion. Used for joining and surface work.
Single crochet (sc): Insert hook into stitch, yarn over and pull up a loop (2 loops on hook), yarn over and pull through both loops. This is your main stitch for the entire bag body.
Increase (inc): Work 2 single crochet stitches into the same stitch. This makes your circle grow.
Back loop only (BLO): Insert your hook under just the back loop of the stitch below, leaving the front loop untouched. Creates ribbed texture.
Magic ring: An adjustable starting loop that closes completely. If you prefer, you can chain 2 and work your first round into the second chain from the hook instead.
Pattern Notes Before You Begin
A few things to keep in mind as you crochet this bucket bag pattern.
This bag is worked in continuous rounds without joining. That means you will spiral upward, placing a stitch marker at the start of each round to keep track. Move the marker up as you go.
The bottom of the bag is a flat circle. The sides are worked in back loop only to create subtle horizontal ribbing that adds texture and structure.
Surface slip stitches are added after the body is complete. Do not stress about this technique. It is easier than it sounds, and I will explain it thoroughly.
Finished dimensions: Approximately 8 inches (20cm) wide at the widest point and 9 inches (23cm) tall, not including the strap.
Crochet Pattern Instructions
Here we go. Take a breath, put on some music, and let us make a beautiful bag together.
Base of the Bag
You will work the circular bottom first.
Round 1: Create a magic ring. Work 6 sc into the ring. Pull the tail to close. Place stitch marker. (6 sts)
Round 2: Inc in each st around. (12 sts)
Round 3: *Sc 1, inc* repeat around. (18 sts)
Round 4: *Sc 2, inc* repeat around. (24 sts)
Round 5: *Sc 3, inc* repeat around. (30 sts)
Round 6: *Sc 4, inc* repeat around. (36 sts)
Round 7: *Sc 5, inc* repeat around. (42 sts)
Round 8: *Sc 6, inc* repeat around. (48 sts)
Your circle should measure approximately 6 inches (15cm) across. If it looks ruffled, your tension is too loose. If it cups upward, your tension is too tight. Adjust your hook size if needed.
Sides of the Bag
Now you will transition to working the sides. This is where the bag starts to take shape.
Round 9: Working in back loops only, sc in each st around. (48 sts)
This single BLO round creates a sharp corner at the base of your bag. You will see it start to stand up.
Rounds 10-30: Sc in both loops of each st around. (48 sts per round)
Continue for 21 rounds total on the sides. Your bag body should measure approximately 7 inches (18cm) tall from the base.
Quick tip: Count your stitches every few rounds. It is easy to accidentally skip or add a stitch when working in continuous spirals. If you end up with 47 or 49 stitches, add a sneaky increase or skip a stitch to get back to 48.
Drawstring Channel
The top of your bag needs an opening for the drawstring to weave through.
Round 31: *Sc 3, ch 2, skip 2 sts* repeat around. You should have 8 chain spaces evenly distributed. (48 sts including chains)
Round 32: *Sc 3, sc 2 into the ch-2 space* repeat around. (48 sts)
Rounds 33-35: Sc in each st around. (48 sts per round)
Sl st to the next stitch. Fasten off and weave in your end.
You now have a complete bag body with those little eyelet holes for your drawstring. Nice work.
Surface Crochet Stripes
This is the fun part that transforms your bag from simple to stunning. The vertical light lavender stripes are added using surface slip stitches.
How surface crochet works: You are essentially creating a chain on the outside of your fabric by pulling loops through from front to back. Your yarn stays on the outside the entire time.
To create each stripe:
1. Identify where you want your stripe to go. Looking at the finished bag, there are 8 vertical stripes evenly spaced (every 6 stitches apart).
2. Starting at the base (Round 9 where the sides begin), insert your hook from front to back between two stitches.
3. Pull up a loop of light lavender yarn, leaving a 4 inch tail inside the bag.
4. Insert your hook into the next row directly above. Pull up a loop and draw it through the loop on your hook. You just made a surface slip stitch.
5. Continue straight up the bag, working one surface slip stitch per row until you reach Round 30.
6. Fasten off, leaving a tail inside the bag. Weave in or knot securely.
Repeat for all 8 stripes. Space them approximately 6 stitches apart around the circumference.
Troubleshooting: If your surface chain looks wobbly, you may be inserting your hook at an angle. Keep it straight up and down. If it pulls the fabric, your tension is too tight. Relax your hands and let the yarn glide.
Ring Tabs (Make 2)
You need two small tabs to attach the metal O-rings to your bag.
Row 1: Ch 8. Sc in second ch from hook and each ch across. (7 sts)
Rows 2-4: Ch 1, turn. Sc in each st across. (7 sts)
Fasten off, leaving a long tail for sewing.
Fold the tab in half over the O-ring. Use the tail to whip stitch the short ends together, securing the ring inside the loop.
Attach to bag: Position the tabs on opposite sides of your bag, at Round 33 (just above the drawstring channel). Use matching yarn to sew them firmly in place, stitching through multiple layers for strength.
Drawstring
The drawstring is a simple chain with a decorative tassel.
Chain: Using your deep lavender yarn, ch 100. Fasten off.
Alternative: You can crochet a foundation single crochet row or simply twist/braid a length of yarn if you prefer a different look.
Weave the drawstring: Thread your chain in and out of the eyelet holes created in Round 31. Both ends should exit at the front of your bag.
Tassel: Cut 6 strands of yarn, each about 8 inches long. Fold them in half. Thread both drawstring ends through the folded loop and pull tight to create a wrapped tassel effect. Trim the ends evenly.
Finishing and Assembly
Almost done. Let us bring everything together.
1. Attach chain strap: Clip each end of your chain strap onto the O-rings. If your chain has lobster clasps, this is simple. If not, you may need small jump rings from a jewelry supply.
2. Block if needed: T-shirt yarn bags rarely need blocking, but if your bag looks uneven, stuff it with plastic bags or tissue paper and let it sit overnight to relax into shape.
3. Final weave-in: Check that all yarn tails are secure inside the bag. T-shirt yarn can be slippery, so I recommend knotting tails before weaving.
Customization Ideas
Make this crochet bucket bag pattern your own.
Color options: Try black and white for a classic look, or go bold with coral and gold hardware. Monochrome works beautifully too.
Strap alternatives: Swap the chain for a crocheted strap, a leather strap, or wooden beads strung on cord.
Size adjustments: For a larger bag, continue increasing on the base until you reach your desired width. Add more rounds to the sides proportionally. For a smaller evening clutch, stop the base at Round 6 and reduce the side height.
Skip the surface crochet: The bag looks lovely without the stripes if you prefer a cleaner silhouette.
Common Questions About This Bucket Bag Pattern
Can I use different yarn?
Yes, but the results will vary. Cotton yarn will create a stiffer bag. Acrylic worsted weight with a smaller hook will make a softer, smaller version. T-shirt yarn really does give you that chunky, structured look you see here.
My bag is floppy. What went wrong?
Your gauge is too loose. Try going down a hook size. T-shirt yarn should create a dense, sturdy fabric for bags.
I have never done surface crochet. Is it hard?
Not at all. Watch a quick video tutorial if you are nervous. It truly is just slip stitching on top of existing fabric. Practice on a swatch first if that helps build your confidence.
You Did It
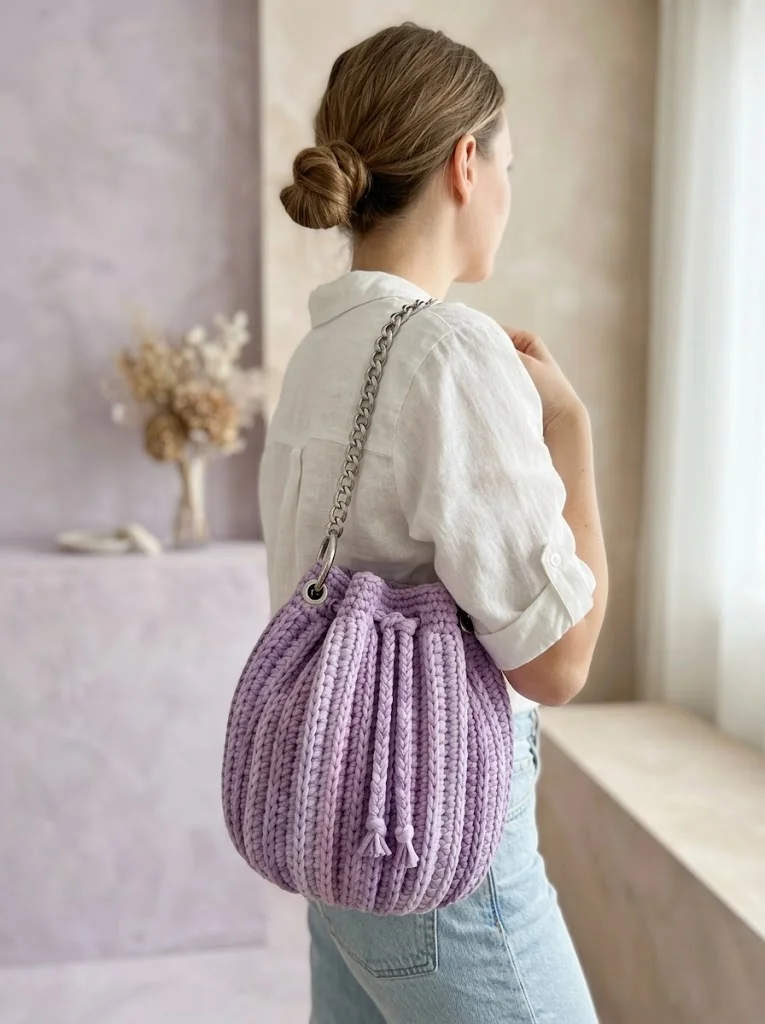
Congratulations on completing your lavender purple drawstring bucket bag. This project is one of those satisfying makes where you end up with something that genuinely looks store-bought. The chunky texture, the coordinating stripes, that shiny chain strap. It all comes together beautifully.
Thank you so much for choosing this crochet pattern for your next project. I hope the instructions were clear and the process was enjoyable.
I would absolutely love to see your finished bag. Tag me on Instagram or share your photos in my Facebook group. Seeing your creations honestly makes my whole day. Every version turns out a little different, and that handmade uniqueness is the best part of what we do.
Happy crocheting, and enjoy your gorgeous new bag.