Mustard Yellow Boho Tote with Brown Leather Tassels Pattern
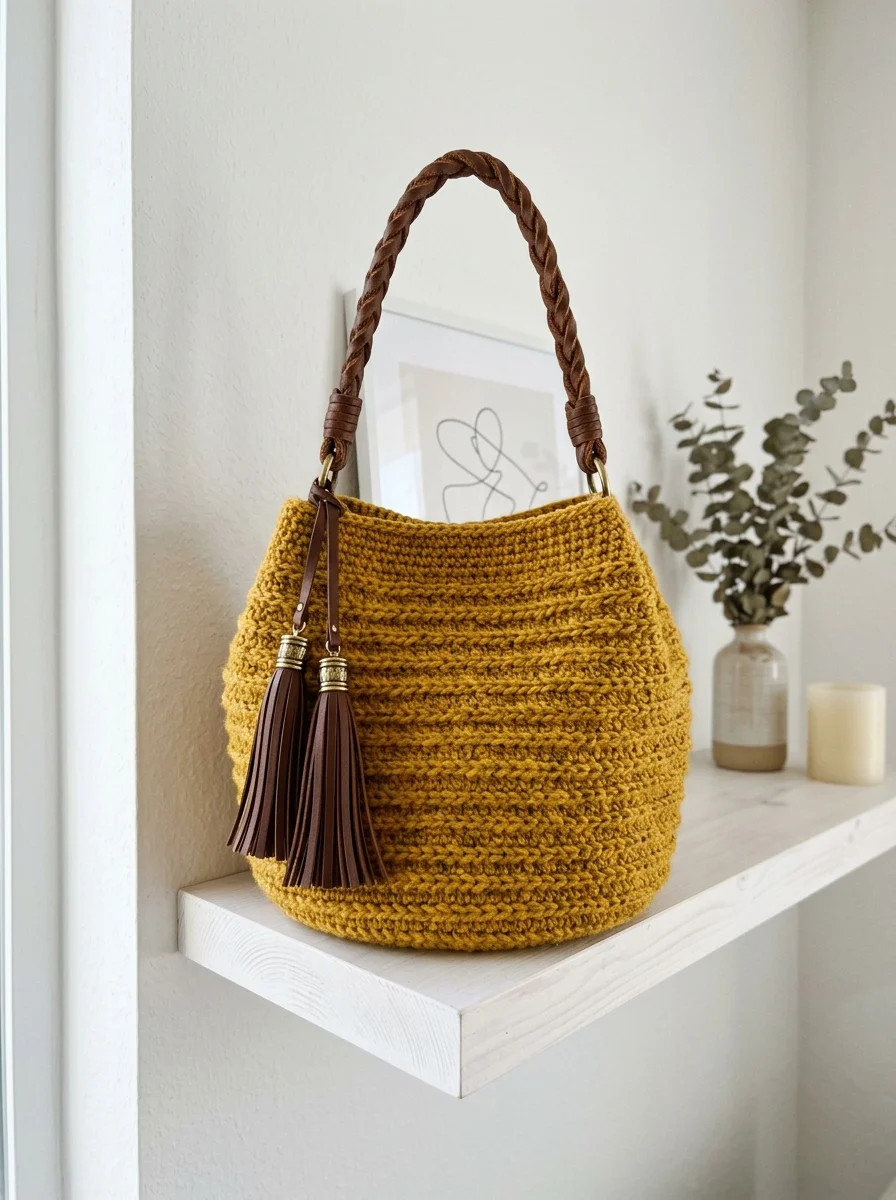
This gorgeous crochet tote bag might just become your favorite everyday accessory. I designed this mustard yellow boho tote with texture, structure, and a little bit of luxury in mind. The combination of the warm golden yarn and those brown leather tassels gives it a boutique look that nobody would guess you made yourself.
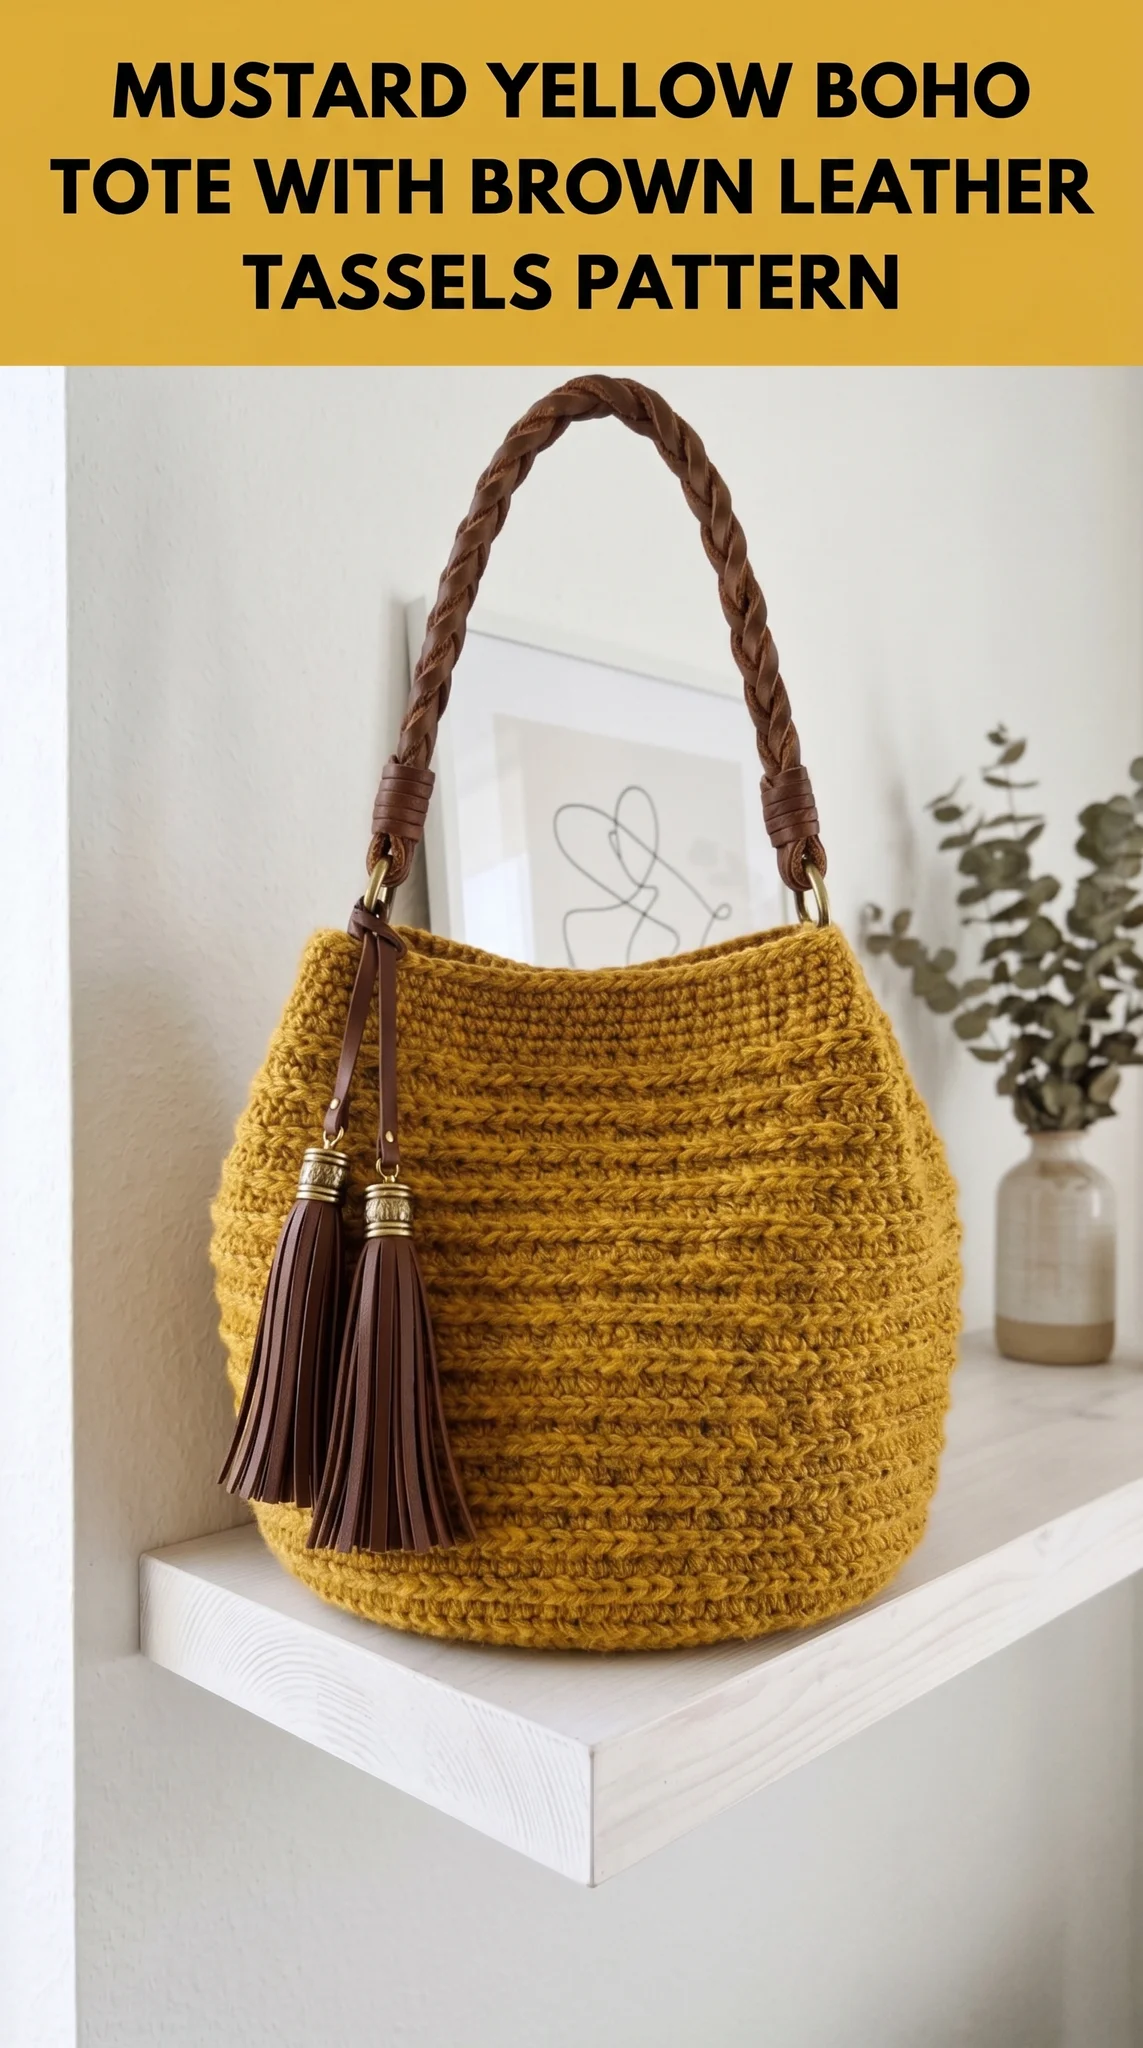
Here is the good news. If you can crochet in the round and know a few basic stitches, you can absolutely make this bag. I will walk you through every single step.
Why This Crochet Tote Bag Pattern Works So Well
The secret to this design is the textured stitch pattern that creates those beautiful horizontal ridges you see wrapping around the bag. This crochet pattern uses a simple combination of stitches worked in continuous rounds to build up a sturdy fabric that holds its shape without any liner.
The rounded bottom and gently curved sides give this tote an organic, relaxed feel. Perfect for the boho aesthetic. But the structure is substantial enough to actually use daily. Throw in your wallet, phone, sunglasses, a paperback. It handles real life beautifully.
And those leather details? They elevate the whole thing. A braided leather handle and matching tassels with gold hardware take this from craft project to fashion statement.
Materials You Will Need
Before we start crocheting, gather these supplies. Having everything ready makes the process so much smoother.
Yarn:
Hook:
Hardware and Leather Accessories:
Other Tools:
Skill Level
This crochet tutorial is best suited for confident beginners or intermediate crocheters. You should be comfortable working in continuous rounds without joining, increasing stitches evenly, and maintaining consistent tension.
If you have never crocheted in the round before, I suggest practicing with a small coaster or dishcloth project first. Come back when spirals feel natural. You will thank yourself.
Stitch Abbreviations and Definitions
Let me define every stitch and term before we begin. Refer back here if you get confused.
ch = chain: Wrap yarn over hook and pull through the loop on your hook. This creates one chain stitch.
sl st = slip stitch: Insert hook into stitch, yarn over, pull through both the stitch and the loop on your hook in one motion. Used for joining or moving across stitches invisibly.
sc = single crochet: Insert hook into stitch, yarn over and pull up a loop (2 loops on hook), yarn over and pull through both loops. Creates a short, dense stitch.
hdc = half double crochet: Yarn over, insert hook into stitch, yarn over and pull up a loop (3 loops on hook), yarn over and pull through all 3 loops. Slightly taller than single crochet with a nice drape.
BLO = back loop only: Instead of inserting your hook under both loops at the top of the stitch, you insert under only the back loop (the one farther from you). This creates a ridge on the front of your work.
inc = increase: Work 2 stitches into the same stitch. This makes your work grow wider.
st(s) = stitch(es)
rnd(s) = round(s)
Gauge
Work 14 single crochet stitches and 16 rows to measure 4 inches square using the recommended hook and yarn.
Gauge matters here because it affects the finished size. If your gauge is off, adjust your hook size. Too many stitches per inch means your tension is tight, so go up a hook size. Too few stitches means loose tension, so go down.
Finished Dimensions
Mustard Yellow Boho Tote Crochet Pattern Instructions
Now let us make this beautiful bag together. Take a breath. We will go step by step.
Base of the Bag
The base is worked in continuous spiral rounds. Do not join at the end of each round. Use a stitch marker to track where your rounds begin.
Magic Ring: Create a magic ring (also called magic circle or adjustable loop). If you prefer, you can chain 4 and slip stitch to the first chain to form a ring instead.
Rnd 1: Work 6 sc into the magic ring. Pull the tail to close the ring. Place your stitch marker in the first stitch. (6 sts)
Rnd 2: Work 2 sc in each st around. (12 sts)
Rnd 3: *Sc in next st, 2 sc in next st* repeat around. (18 sts)
Rnd 4: *Sc in next 2 sts, 2 sc in next st* repeat around. (24 sts)
Rnd 5: *Sc in next 3 sts, 2 sc in next st* repeat around. (30 sts)
Rnd 6: *Sc in next 4 sts, 2 sc in next st* repeat around. (36 sts)
Rnd 7: *Sc in next 5 sts, 2 sc in next st* repeat around. (42 sts)
Rnd 8: *Sc in next 6 sts, 2 sc in next st* repeat around. (48 sts)
Rnd 9: *Sc in next 7 sts, 2 sc in next st* repeat around. (54 sts)
Rnd 10: *Sc in next 8 sts, 2 sc in next st* repeat around. (60 sts)
Your base should now measure approximately 6 inches across and lay flat like a circle. If it is ruffling or cupping, check your tension.
Building the Sides
Here is where the magic happens. We stop increasing and start working straight up, which makes the sides rise. The textured ridges come from alternating between regular stitches and back loop only stitches.
Rnd 11: Working in BLO (back loop only), sc in each st around. (60 sts)
This round creates that first ridge and signals the transition from base to sides. You will feel your work start to cup upward. That is exactly what we want.
Rnds 12 to 14: Sc in each st around, working through both loops as normal. (60 sts each round)
Rnd 15: Working in BLO, hdc in each st around. (60 sts)
This creates another ridge. The half double crochet adds a little height and visual interest.
Rnds 16 to 18: Hdc in each st around, working through both loops. (60 sts each round)
Rnd 19: Working in BLO, sc in each st around. (60 sts)
Rnds 20 to 22: Sc in each st around. (60 sts each round)
Rnd 23: Working in BLO, hdc in each st around. (60 sts)
Rnds 24 to 26: Hdc in each st around. (60 sts each round)
Rnd 27: Working in BLO, sc in each st around. (60 sts)
Rnds 28 to 30: Sc in each st around. (60 sts each round)
Rnd 31: Working in BLO, hdc in each st around. (60 sts)
Rnds 32 to 34: Hdc in each st around. (60 sts each round)
Continue this pattern, alternating BLO ridge rounds with 3 regular rounds, until your bag measures approximately 9.5 inches from the base.
Top Edge and Hardware Attachment
Rnd 35: Sc in each st around. (60 sts)
Rnd 36: Sc in each st around. (60 sts)
Now we create openings for the D-rings.
Rnd 37: Sc in first 25 sts, ch 5, skip 5 sts, sc in next 25 sts, ch 5, skip 5 sts. (50 sc + 2 ch-5 spaces)
Rnd 38: Sc in each sc and work 5 sc into each ch-5 space around. (60 sts)
Rnd 39: Sl st in each st around. Fasten off and weave in ends.
Finishing and Assembly
Attaching the D-Rings
Thread a D-ring through each of the openings you created in round 37. The chain spaces should be just wide enough to accommodate the ring. If they feel too tight, you can gently stretch the stitches with your fingers.
If your rings do not fit through the openings, you can sew them onto the outside of the bag using matching yarn and a tapestry needle. Loop the yarn around the ring and through the stitches several times for security.
Adding the Braided Leather Handle
Clip or hook your braided leather handle onto both D-rings. Most handles come with lobster clasps or similar hardware. Make sure the handle sits comfortably on your shoulder before finalizing.
If your handle has different attachment hardware, secure it according to its design.
Attaching the Leather Tassels
This is my favorite part. Those tassels add instant polish.
Loop one tassel through the same D-ring where your handle attaches. Repeat on the other side. The tassels should dangle freely, adding movement and visual interest.
If your tassels have a leather loop at the top, simply feed it through the D-ring and pull the tassel body through the loop. This creates a secure lark’s head knot.
Helpful Tips for Success
Tension matters. Keep your stitches firm and consistent. A loose bag will stretch out and sag over time. If you tend to crochet loosely, go down one hook size.
Block your base. After completing the circular base, you can wet block it by dampening the fabric and pinning it flat to dry. This helps it lay perfectly flat before you build the sides.
Try it on as you go. Around round 25, slip a D-ring on and hold the bag up. This helps you visualize the finished size and decide whether to add or remove rounds.
Substitute yarns carefully. Cotton and cotton blends work best for bags because they do not stretch like pure acrylic. If you use acrylic, look for a tightly spun variety.
Make It Your Own
This crochet pattern is highly customizable. Consider these variations:
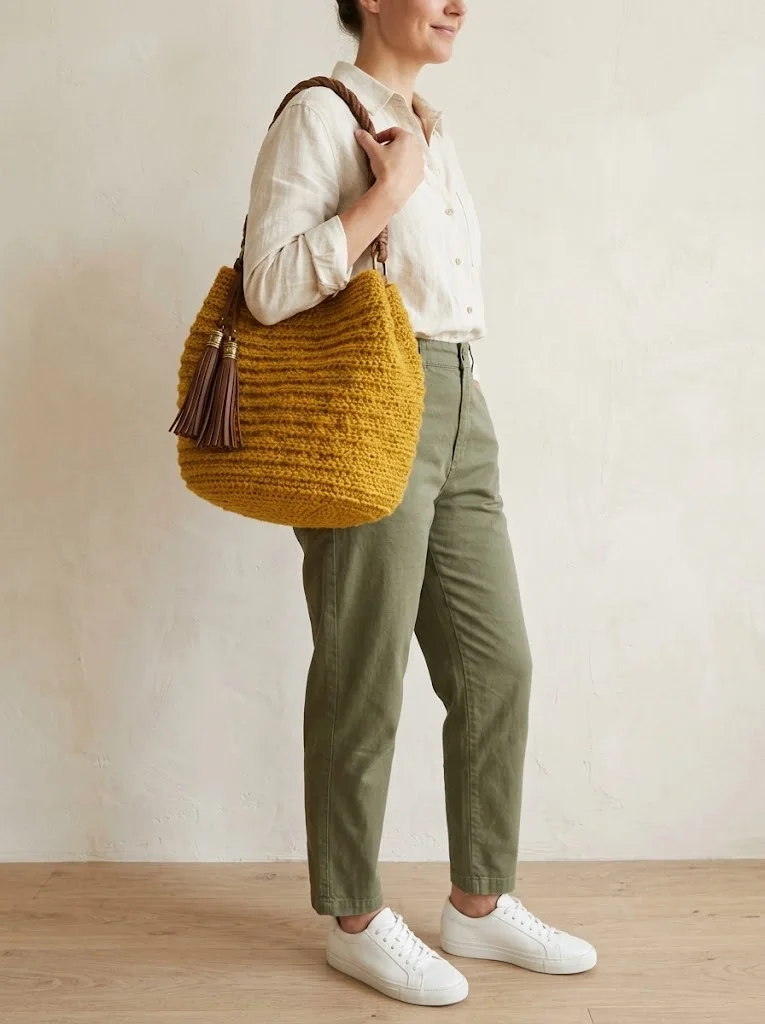
You Did It
There you have it. Your very own mustard yellow boho tote with brown leather tassels. I hope you enjoyed this crochet tutorial as much as I enjoyed designing it. This bag has become a staple in my wardrobe, and I have a feeling it will become one in yours too.
Thank you so much for choosing this pattern. It truly means the world to me that you trusted me to guide you through this project.
I would absolutely love to see your finished tote. Tag me on Instagram or share your photo in my Facebook group. Seeing your creations brings me so much joy, and it helps other crocheters feel confident to try the pattern too.
Now go show off that gorgeous bag. You earned it.